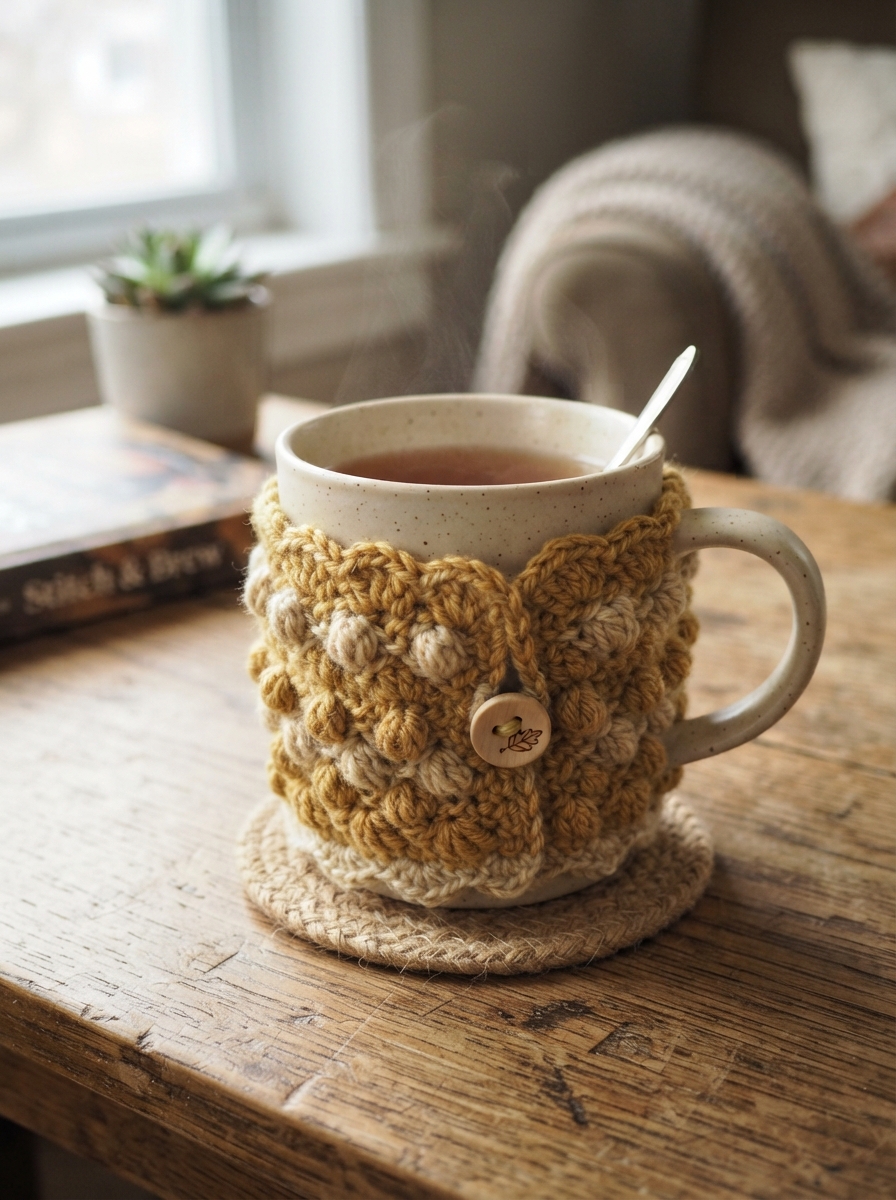
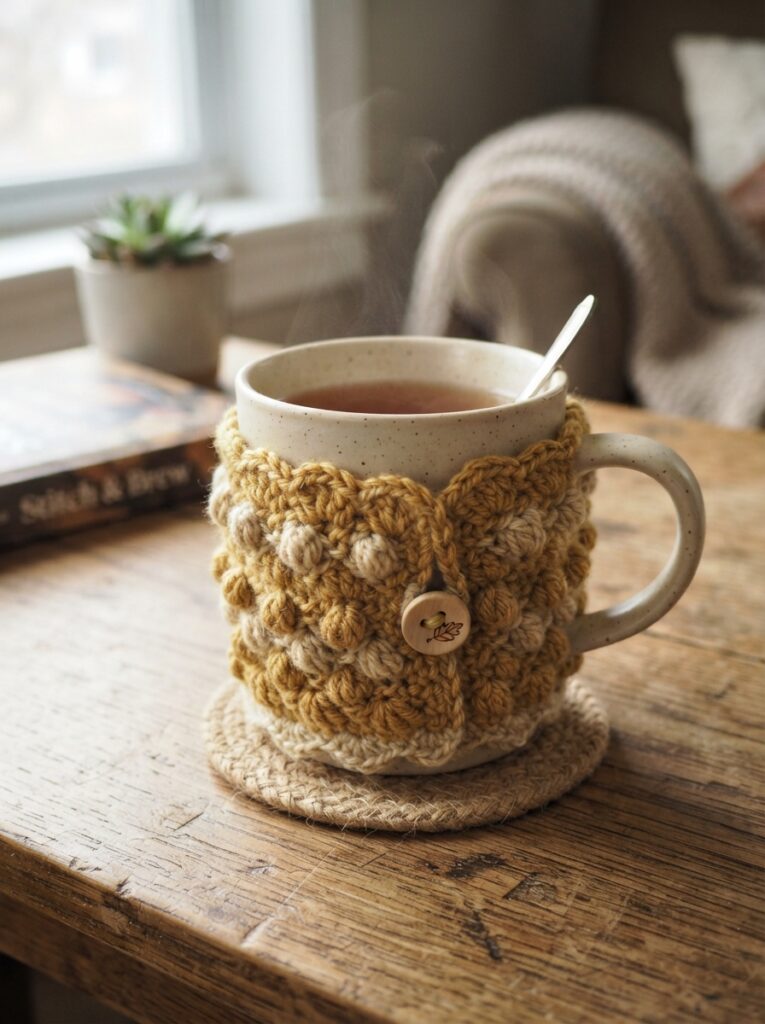
A warm drink feels even more inviting when it comes with a handmade touch. A crocheted cup cover is a simple, useful project that can transform an ordinary mug into something cozy and personal. It can help insulate your hands from a warm cup, add personality to your desk, and make a thoughtful handmade gift.
The best part? You don’t need advanced crochet skills. With basic stitches, a small amount of yarn, and a few minutes of practice, beginners can create a reusable cup cover in a variety of colors and styles.
Materials You’ll Need
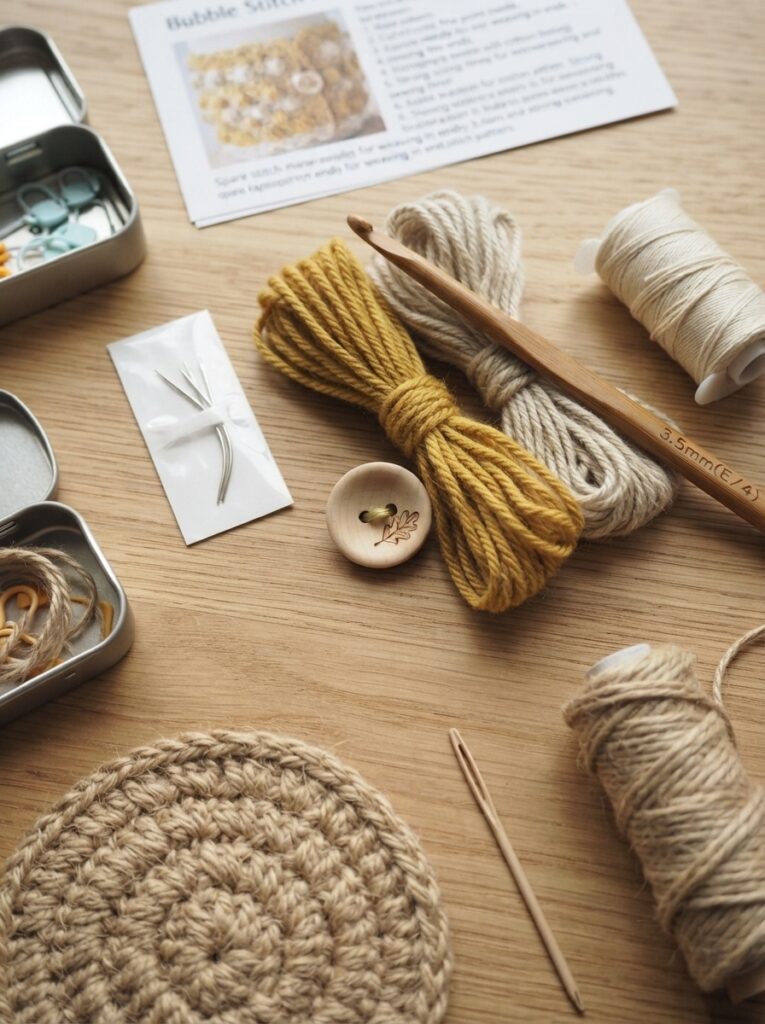
Before beginning, prepare a few simple supplies.
| Material | Recommended Choice | Why It Works |
|---|---|---|
| Yarn | Cotton or cotton blend | Durable and easy to wash |
| Crochet hook | 3–4 mm | Creates a firm fabric |
| Scissors | Sharp craft scissors | For clean yarn cuts |
| Yarn needle | Large-eye needle | For hiding loose ends |
| Button | Medium-sized, optional | Useful for fastening |
Cotton is particularly practical because it is durable and handles everyday use well. Avoid very loose or fluffy yarn if you want the stitches and shape to remain clearly defined.
Choosing the Right Size
The cover should fit snugly around the cup without being difficult to remove. Because cups vary considerably in circumference, measuring your cup before crocheting is the safest approach.
Wrap a measuring tape around the widest part of the cup where the cover will sit. Then measure the height you want the cover to have.
| Cup Type | Approximate Cover Height | Design Suggestion |
|---|---|---|
| Small coffee cup | 5–6 cm | Simple single crochet |
| Standard mug | 6–8 cm | Ribbed or textured pattern |
| Travel-style cup | 7–10 cm | Wider, adjustable design |
| Decorative cup | 5–8 cm | Add stripes or motifs |
These measurements are only starting points. Always check the actual cup because shapes differ.
How to Crochet the Cup Cover
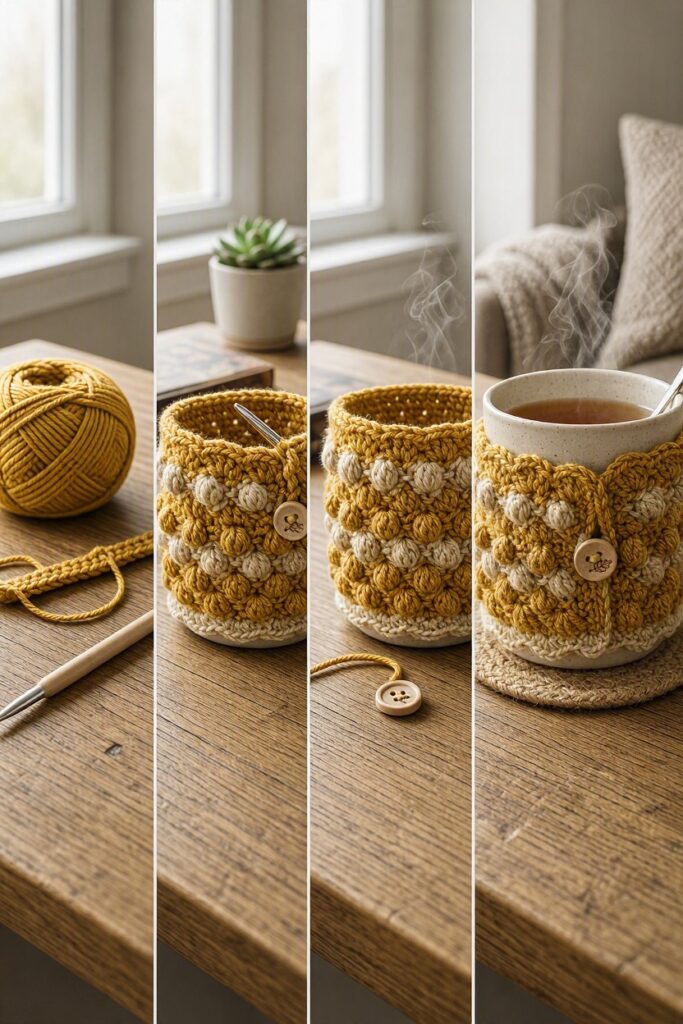
Step 1: Create the Foundation Chain
Start by making a chain long enough to cover the desired height of your cup. Remember that the direction of the foundation chain determines the height of the finished sleeve.
Keep your stitches relaxed rather than pulling the yarn tightly.
Step 2: Crochet the First Rows
Work single crochet stitches across the chain. At the end of the row, chain one and turn.
Continue working rows until the piece is long enough to wrap around the cup.
A simple process is:
- Make the foundation chain.
- Work single crochet across the chain.
- Chain one and turn.
- Repeat until the rectangle reaches the required length.
- Wrap it around the cup to check the fit.
If the cover feels too loose, remove a row or two. If it is too tight, add another row or remake the foundation with a few more chains.
Step 3: Create the Fastening
There are several ways to close the cover.
A button-and-loop closure is attractive and easy to adjust. Sew a button securely onto one end, then crochet a small chain loop on the opposite side.
For a simpler option, sew both ends together to create a permanent sleeve. This works especially well if the cover is designed for one particular mug.
Step 4: Add Decorative Details
Now you can make your design unique.
Try:
- Alternating two colors
- A simple striped pattern
- A contrasting border
- A small crochet flower
- Embroidered initials
- A textured stitch pattern
For example, a neutral beige cover with a green border can create a natural, minimalist look, while bright stripes can make a cheerful accessory for a home coffee station.
Practical Tips for Beginners
Keep the Fabric Firm
A cup cover should have enough structure to stay in place. If your stitches are very loose, try using a slightly smaller hook.
Test the Fit Frequently
Don’t wait until the end to discover that the cover doesn’t fit. Place it around the cup after several rows and make adjustments early.
Make It Washable
For an item that may encounter coffee or tea spills, washable yarn is a practical choice. Cotton is a particularly convenient option for everyday covers.
| Common Problem | Likely Cause | Helpful Fix |
|---|---|---|
| Cover stretches too much | Loose tension | Use a smaller hook |
| Cover is too tight | Foundation too short | Add more chains |
| Edges look uneven | Inconsistent tension | Count stitches each row |
| Button comes loose | Weak stitching | Sew through several times |
FAQ
1. Is a crocheted cup cover suitable for beginners?
Absolutely. A basic version can be made with simple chains and single crochet stitches. It is also a good project for practicing consistent tension.
2. Can I use acrylic yarn?
Yes, but cotton or cotton blends are often more practical for a cup cover because they are durable and easy to wash. Choose yarn according to how you plan to use the finished item.
3. How do I know what size to make?
Measure around the part of the cup where the cover will sit. Crochet a small sample first if possible, then adjust the length and height according to your cup.
4. Can I make a cup cover without a button?
Yes. You can sew the ends together for a permanent sleeve or use a simple crocheted tie or loop instead.
5. Can I make these as handmade gifts?
Definitely. Cup covers are inexpensive, quick to personalize, and easy to pair with a mug, tea, coffee, or hot-chocolate mix for a thoughtful gift set.
Conclusion
A crocheted cup cover is a small project with plenty of creative possibilities. By choosing durable yarn, measuring your cup carefully, maintaining consistent tension, and adding a practical fastening, you can create a useful accessory even if you’re new to crochet.
Start with a simple single-crochet design, then experiment with stripes, borders, textures, and personalized details. Once you become comfortable with the basic construction, you can make a collection of covers for different cups, seasons, and occasions—all while turning a few scraps of yarn into something genuinely useful.





Leave a Reply