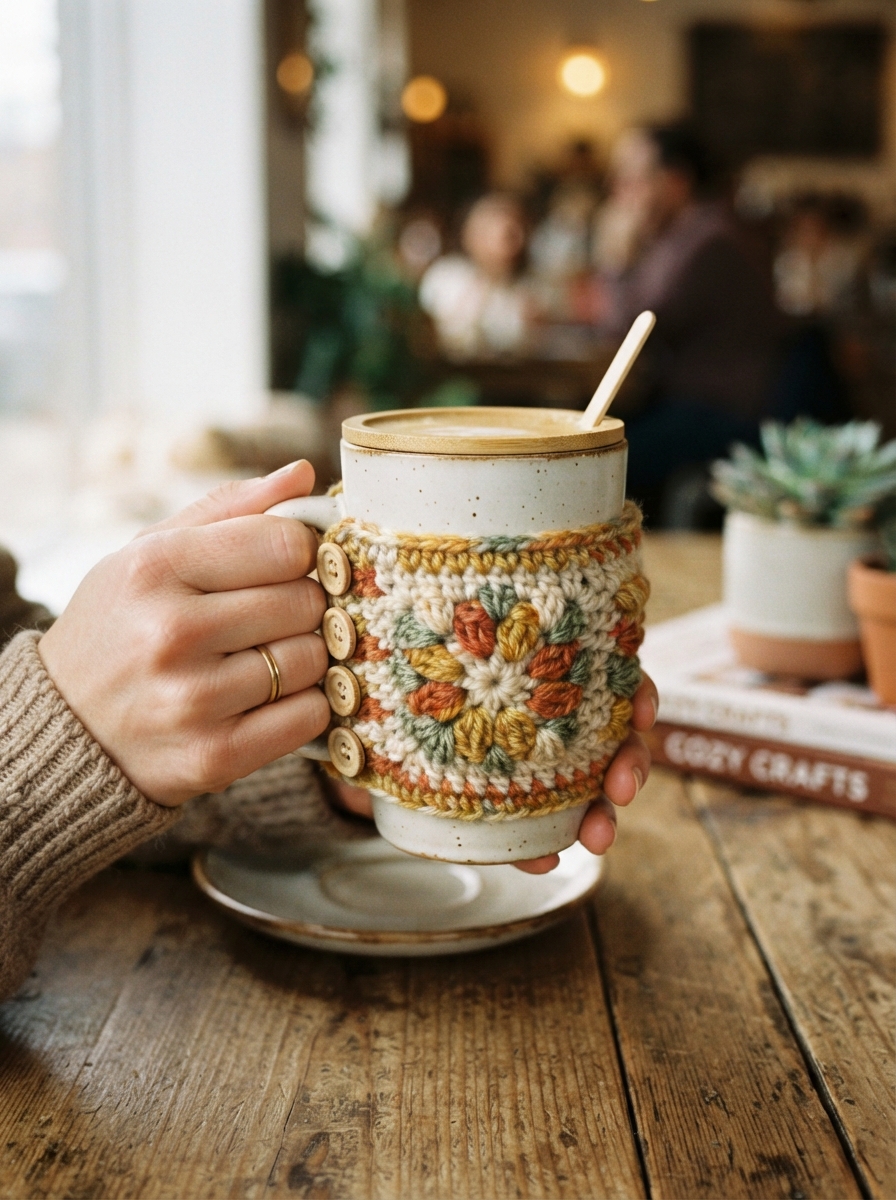
There is something special about enjoying your favorite coffee from a cup decorated with a handmade touch. A crocheted coffee cup cover is a simple project that can make an ordinary cup feel more personal while giving your hands a comfortable layer between them and a warm drink.
This beginner-friendly craft uses only a small amount of yarn and a few basic crochet techniques. You can make one for your favorite reusable cup, create matching covers for family members, or turn several into thoughtful handmade gifts.
Materials You’ll Need
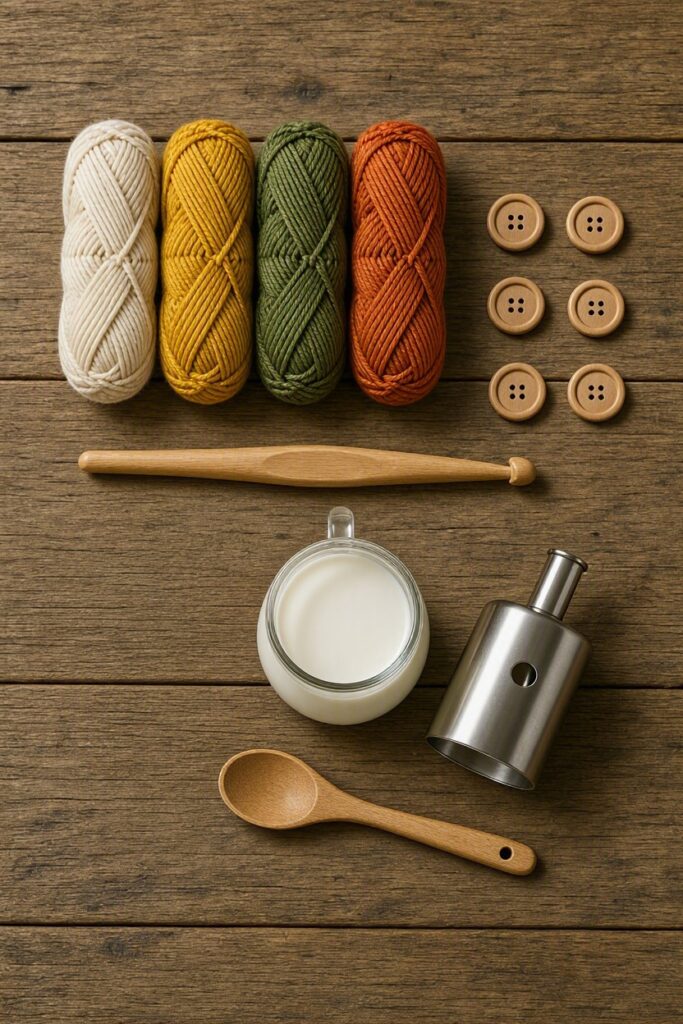
Before starting, gather a few simple supplies.
| Material | Recommended Choice | Purpose |
|---|---|---|
| Yarn | Cotton or cotton blend | Durable and washable |
| Crochet hook | 3–4 mm | Creates a firm fabric |
| Yarn needle | Large-eye needle | Weaving in yarn ends |
| Scissors | Sharp scissors | Cutting yarn |
| Button | Medium-sized, optional | Decorative closure |
| Measuring tape | Flexible tape | Checking cup size |
Cotton yarn is a practical choice because it is durable and usually easy to wash. Choose a soft yarn if the cover will frequently touch your hands.
Important: A crochet cover should not be used as protection against extremely hot liquids or as a substitute for a cup designed to prevent burns. Make sure the finished cover fits securely and does not interfere with the cup’s lid or drinking area.
Measure Your Coffee Cup
Cups and travel mugs come in many shapes and sizes, so measuring your cup before crocheting will give you a better fit.
Wrap a measuring tape around the section where you want the cover to sit. Then measure the vertical height you want.
| Cup Type | Approximate Cover Height | Design Idea |
|---|---|---|
| Small coffee cup | 5–6 cm | Simple single crochet |
| Standard mug | 6–8 cm | Textured stitches |
| Travel cup | 7–10 cm | Adjustable closure |
| Wide reusable cup | 8–11 cm | Wider sleeve |
These measurements are only guidelines. Your actual cup circumference should determine the finished length.
How to Crochet the Coffee Cup Cover
Step 1: Make the Foundation Chain
Start with a chain that determines the height of your cover. For a medium cup, approximately 10–15 chains may work, depending on your yarn and hook.
Keep your stitches relaxed. A very tight foundation chain can make the finished cover uncomfortable and difficult to adjust.
Step 2: Work the First Rows
Use single crochet for a firm, beginner-friendly fabric.
Follow these steps:
- Make your foundation chain.
- Crochet single crochet stitches across the chain.
- Chain one and turn.
- Continue crocheting rows.
- Check the width against your cup regularly.
- Stop when the piece wraps comfortably around the cup.
For a softer texture, you can use half double crochet instead.
Step 3: Check the Fit
Wrap the crochet piece around the cup before joining the ends. It should sit securely without being excessively tight.
If the cover is too loose, remove a row or two. If it is too small, continue crocheting additional rows.
Remember that crochet fabric can stretch slightly with use, so a snug fit is usually preferable to a loose one.
Add a Closure
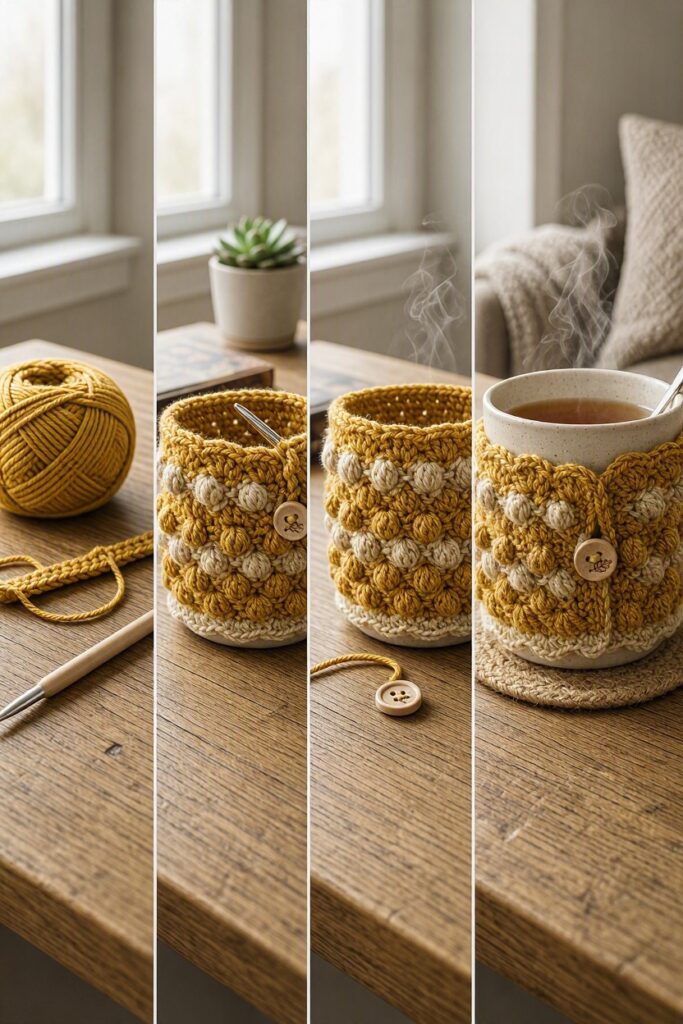
A simple button-and-loop closure makes the cover easy to remove and adjust.
Creating the Loop
At one end, crochet a short chain long enough to fit around your chosen button. Secure the loop carefully and sew the button onto the opposite end.
You can also sew the ends together if you want a permanent sleeve.
| Closure | Advantages | Best For |
|---|---|---|
| Button and loop | Adjustable and decorative | Everyday cups |
| Sewn seam | Simple and secure | One specific cup |
| Snap | Quick to open | Reusable travel cups |
| Tie | Flexible sizing | Handmade gift designs |
Make It Your Own
A basic cover can become much more interesting with a few creative details.
Try:
- Stripes in two or three colors
- A contrasting border
- A small crochet flower
- An embroidered initial
- A textured stitch pattern
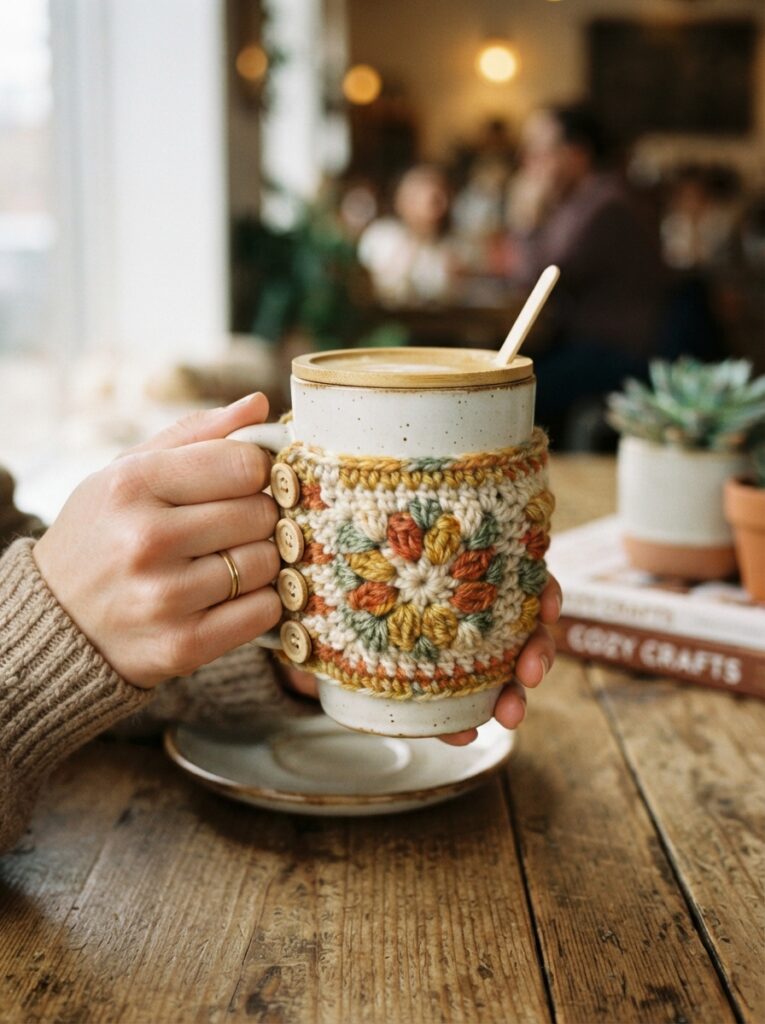
- A decorative wooden button
For example, a cream cover with a dark green border can create a natural, minimalist look. Bright stripes can give the same project a cheerful, playful appearance.
Tips for a Professional Finish
Keep the Stitches Consistent
Even tension helps the cover sit smoothly against the cup. If your fabric looks unusually loose, try a smaller hook.
Secure the Yarn Ends
Weave each loose end through several stitches on the inside of the cover. Trim the excess only after the yarn is secure.
| Common Problem | Likely Cause | Solution |
|---|---|---|
| Cover slips down | Too loose | Reduce the finished length |
| Cover is difficult to fit | Too tight | Add a few rows |
| Fabric feels floppy | Loose stitches | Try a smaller hook |
| Edges look uneven | Uneven tension | Count stitches and work slowly |
FAQ
1. Is this project suitable for beginners?
Yes. A basic coffee cup cover can be made using chains and single crochet stitches. It is a useful project for practicing consistent tension and simple construction.
2. What yarn is best for a coffee cup cover?
Cotton or cotton-blend yarn is a practical option because it is durable, washable, and provides good stitch definition.
3. How do I know what size to make?
Measure around your cup where the cover will sit, then crochet until the piece reaches that length. Check the fit several times before joining the ends.
4. Can I wash a crocheted coffee cup cover?
Usually, yes, if the yarn is washable. Always check the yarn manufacturer’s care instructions. Remove the cover from the cup before washing it.
5. Can I make the cover without a button?
Absolutely. You can sew the ends together for a permanent sleeve or use a snap, tie, or another simple fastening method.
Conclusion
Making a crocheted coffee cup cover is an easy and enjoyable project that turns a little yarn into a useful everyday accessory. By measuring your cup carefully, choosing durable yarn, maintaining even tension, and securing the finished edges, you can create a cover that is both attractive and practical.
Start with a simple single-crochet design, then experiment with colors, borders, textures, and closures. Whether you’re making one for yourself or creating a handmade gift, this small crochet project offers plenty of room for creativity.





Leave a Reply