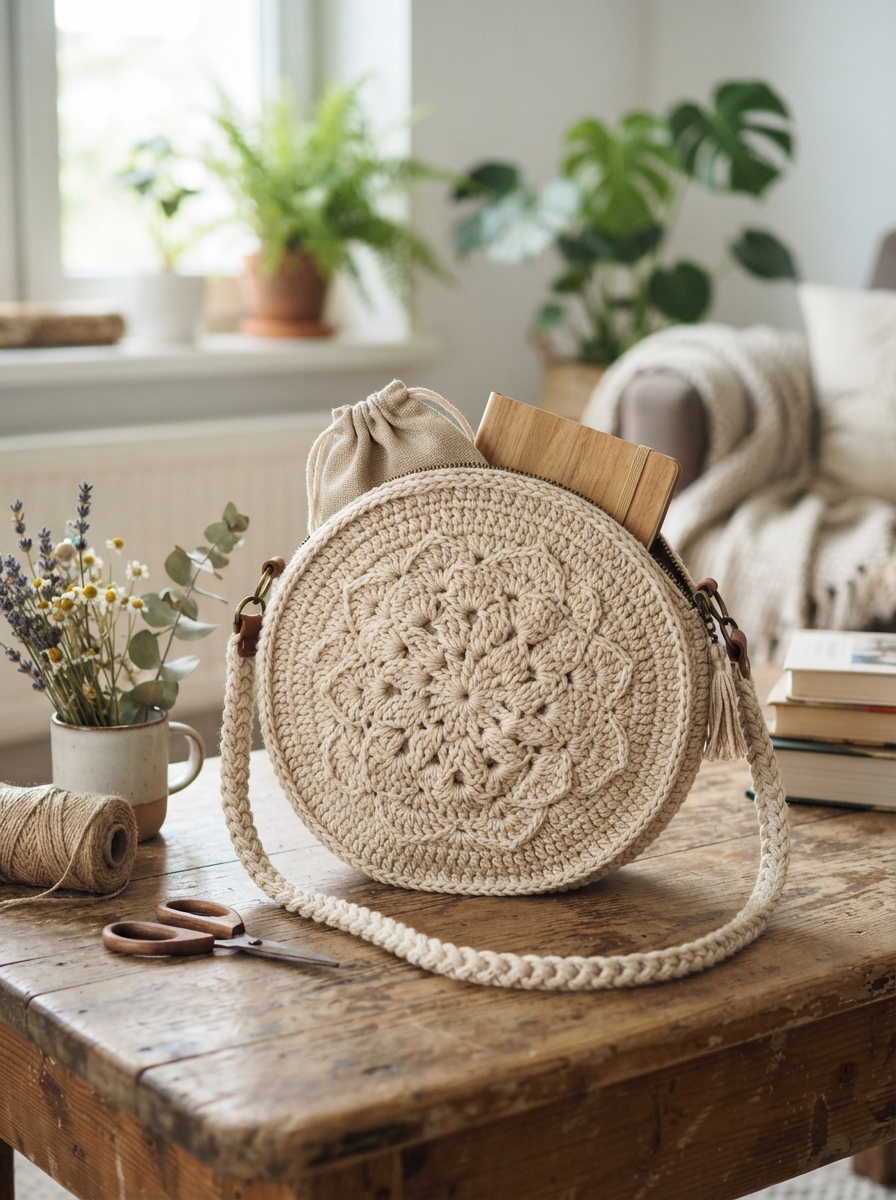
A round crochet bag is a fun way to add a handmade touch to an everyday outfit. Its curved shape gives it a distinctive look, while the basic construction is surprisingly approachable for beginners. With some yarn, a crochet hook, and a few simple stitches, you can create a practical bag for your phone, keys, sunglasses, and other small essentials.
This project is also easy to customize. Choose natural cotton for a relaxed summer style, bold colors for a playful accessory, or neutral shades for a timeless everyday bag.
Materials You’ll Need
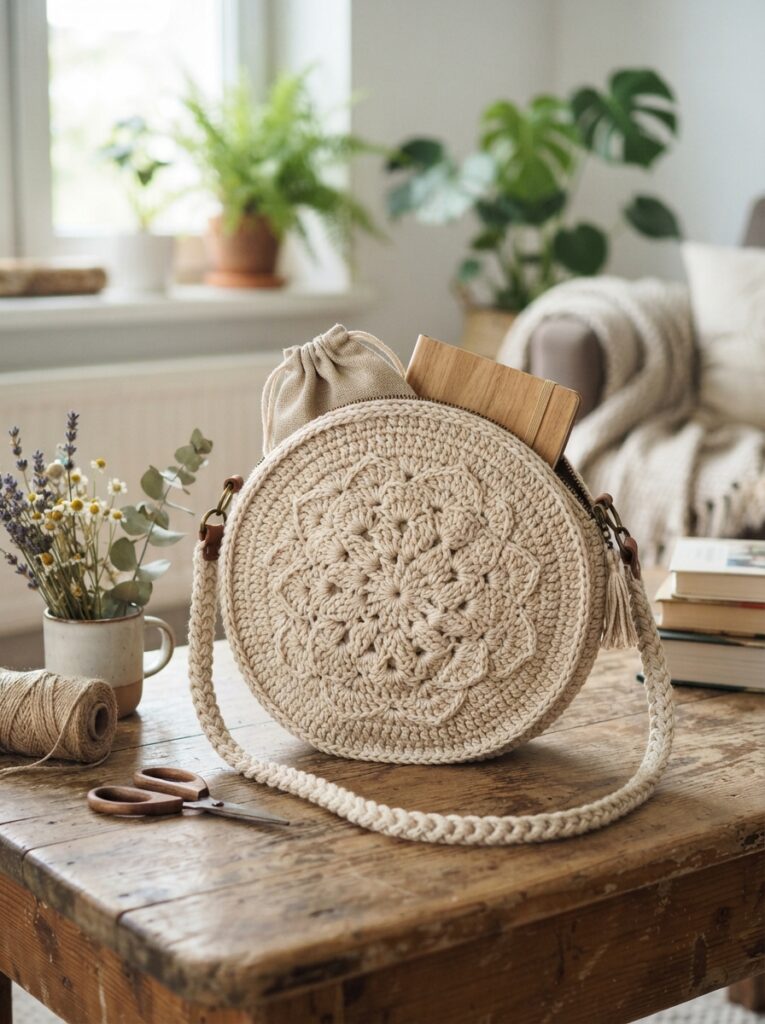
Start by gathering a few basic supplies.
| Material | Recommended Choice | Purpose |
|---|---|---|
| Yarn | Medium-weight cotton or cotton blend | Creates a firm, durable fabric |
| Crochet hook | 4–5 mm | Suitable for medium-weight yarn |
| Yarn needle | Large-eye needle | Joining and finishing |
| Scissors | Sharp scissors | Cutting yarn |
| Stitch marker | Optional | Marking the beginning of rounds |
| Button or snap | Optional | Adding a closure |
Cotton is particularly useful for bags because it provides good stitch definition and generally holds its shape well. If you prefer a softer design, a cotton-acrylic blend can also work.
Understanding the Round Shape
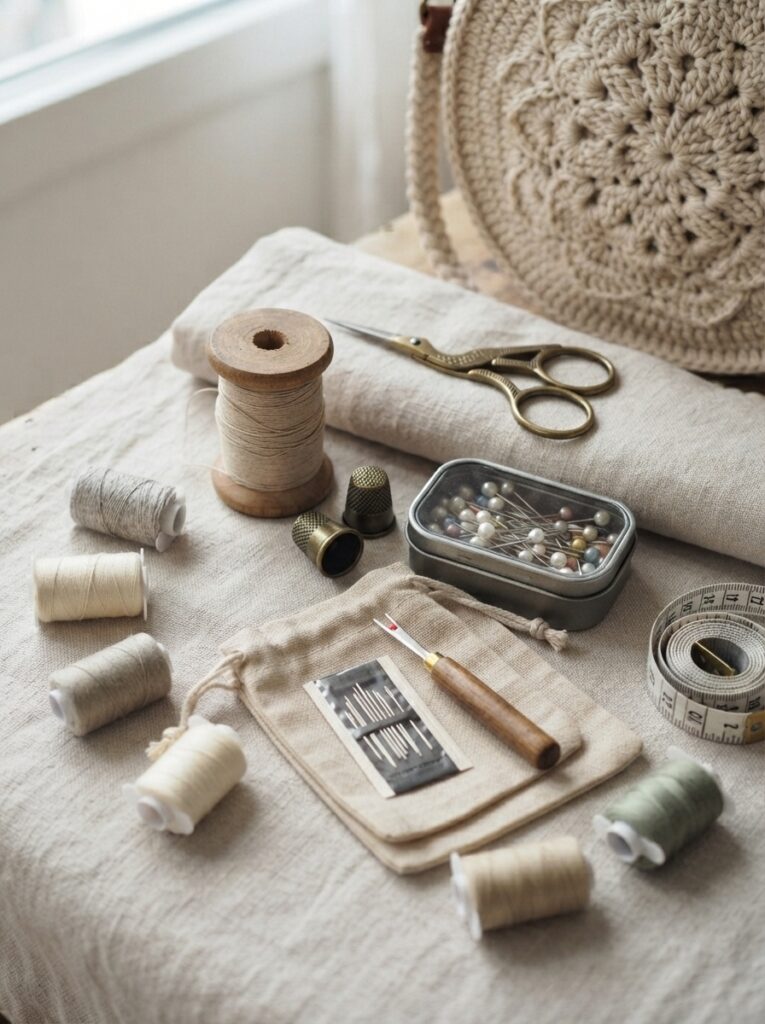
A round crochet bag is usually created from two circular panels joined around their edges. The circles can be made with simple increases, making the construction easier to understand than it might first appear.
| Bag Size | Approximate Panel Diameter | Suitable For |
|---|---|---|
| Mini | 15–17 cm | Small essentials |
| Small | 18–21 cm | Phone, keys, wallet |
| Medium | 22–26 cm | Everyday accessories |
| Large | 27–30 cm | More spacious storage |
These measurements are flexible. Measure your belongings and adjust the circle size according to your needs.
How to Crochet the Circular Panels
Step 1: Start the Center
Begin with a magic ring. If you are not familiar with this technique, you can instead chain several stitches and join them into a small ring.
Work single crochet stitches into the center. Place a stitch marker at the beginning of the round if you are working continuously.
Step 2: Add Even Increases
To keep the panel flat and round, increase the number of stitches evenly as you work.
A simple process is:
- Crochet the first round into the center.
- Add evenly spaced increases in the second round.
- Continue increasing around each new round.
- Check the circle regularly to make sure it remains flat.
- Stop increasing once the panel reaches your desired diameter.
The exact stitch count can vary depending on your yarn, hook, and tension. The important thing is to distribute increases consistently.
Step 3: Make the Second Panel
Repeat the same process to create a second circular panel. Try to make both panels the same size.
Place the circles together and check that their edges align before joining them.
Joining the Bag
Once both panels are finished, place them together with the sides you want facing outward.
Join around the edge using slip stitches or single crochet. Leave an opening at the top large enough to access the contents.
| Joining Method | Appearance | Difficulty |
|---|---|---|
| Slip stitch | Neat and subtle | Easy |
| Single crochet | Defined edge | Easy |
| Whip stitch | Flexible seam | Easy |
| Decorative crochet seam | Textured finish | Intermediate |
Avoid closing the top completely unless you plan to add a separate opening or closure.
Adding the Strap
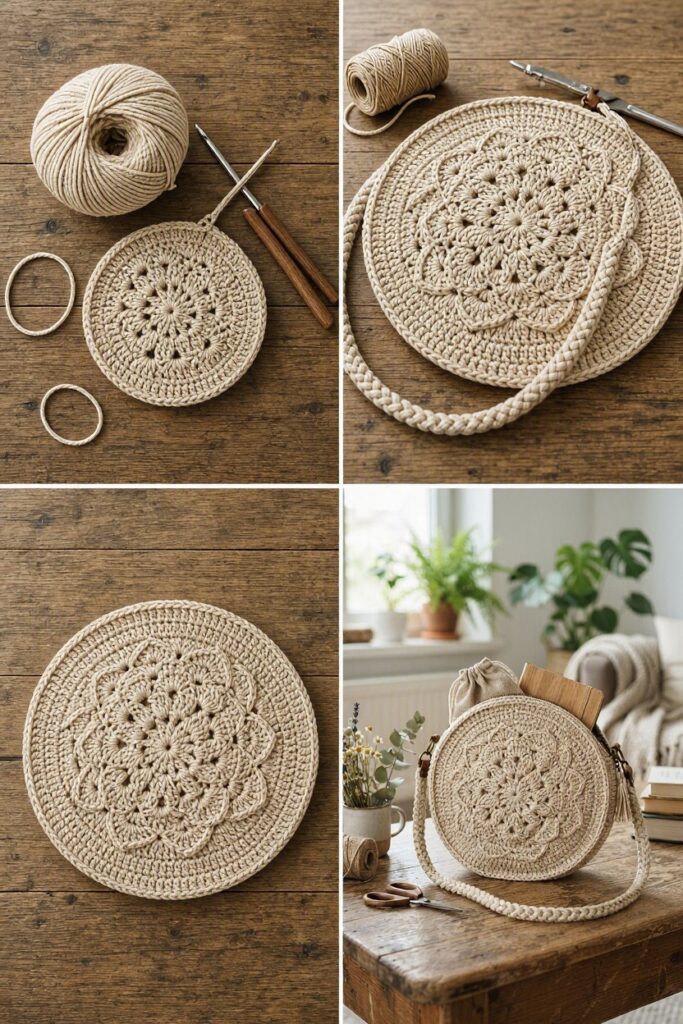
A sturdy strap makes the round bag much more practical.
Simple Crochet Strap
Create a chain to your preferred length, then work several rows of single crochet across it. A wider strap distributes weight more comfortably.
For additional strength, sew both ends securely to the bag through several stitches and reinforce them from the inside.
For a typical shoulder bag, measure the strap against your body before attaching it permanently. This helps you find a comfortable length.
Adding a Closure
A button-and-loop closure is simple and works particularly well with crochet.
Other options include:
- Magnetic snap
- Zipper
- Drawstring
- Crochet button
- Wooden button
If you add a button, stitch it firmly through the bag fabric and reinforce the area if necessary.
Tips for a Professional Finish
Keep Both Circles Flat
If your circle curls upward, you may need additional increases. If it becomes wavy, there may be too many increases.
| Problem | Possible Cause | Solution |
|---|---|---|
| Circle curls | Too few increases | Add increases gradually |
| Circle waves | Too many increases | Reduce increase frequency |
| Panels differ in size | Uneven tension | Count rounds carefully |
| Bag stretches | Loose stitches | Use a smaller hook |
Check Your Tension
Consistent tension helps both circular panels match. If your first panel is noticeably different from the second, consider measuring them before joining.
FAQ
1. Is a round crochet bag suitable for beginners?
Yes. The circular panels mainly require basic stitches and increases. Beginners should work slowly and count stitches regularly.
2. What yarn is best for a round bag?
Cotton or cotton-blend yarn is a practical choice because it is durable and provides good structure. Medium-weight yarn is also comfortable for beginners to handle.
3. Why is my crochet circle not flat?
The most common reason is an imbalance in increases. Too few increases can make the circle curl, while too many can create waves. Adjust the increase pattern gradually.
4. How can I make the bag stronger?
Use firm stitches, reinforce the joining seam, and securely attach the strap through several stitches. Avoid putting excessive weight inside a lightweight crochet bag.
5. Can I make the round bag in different sizes?
Absolutely. Simply continue or reduce the number of circular rounds to change the diameter. Remember that a larger bag may need a stronger strap and reinforced seams.
Conclusion
Making a round crochet bag is a rewarding project that combines simple crochet techniques with a distinctive finished shape. By creating two matching circular panels, joining them securely, and adding a comfortable strap, you can build a useful handmade accessory from scratch.
Start with a small design if you are new to crochet, then experiment with colors, borders, closures, and different strap styles. With a little practice, you can turn the basic round shape into a personalized bag that’s perfect for everyday use, gifts, or handmade craft collections.





Leave a Reply