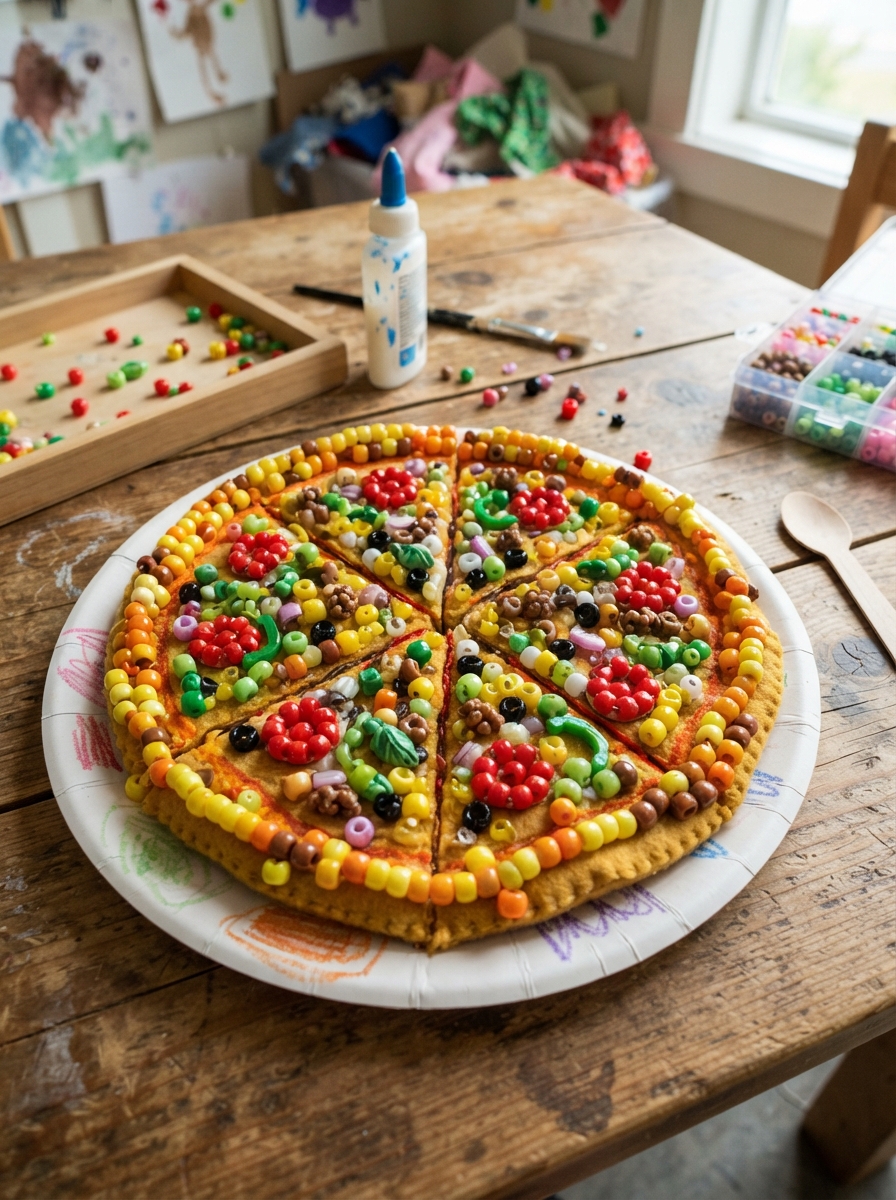
Turn a favorite comfort food into a colorful little craft with this fun beaded pizza project! Making pizza with beads is a creative activity for children, beginners, and anyone who enjoys miniature crafts. Instead of flour and toppings, you’ll use colorful beads to create a tiny pizza slice that can become a decoration, keychain, bracelet charm, or handmade gift.
The project is simple enough for beginners but offers plenty of opportunities for personalization. Kids can choose their favorite “toppings,” experiment with colors, and create their own miniature pizza designs.
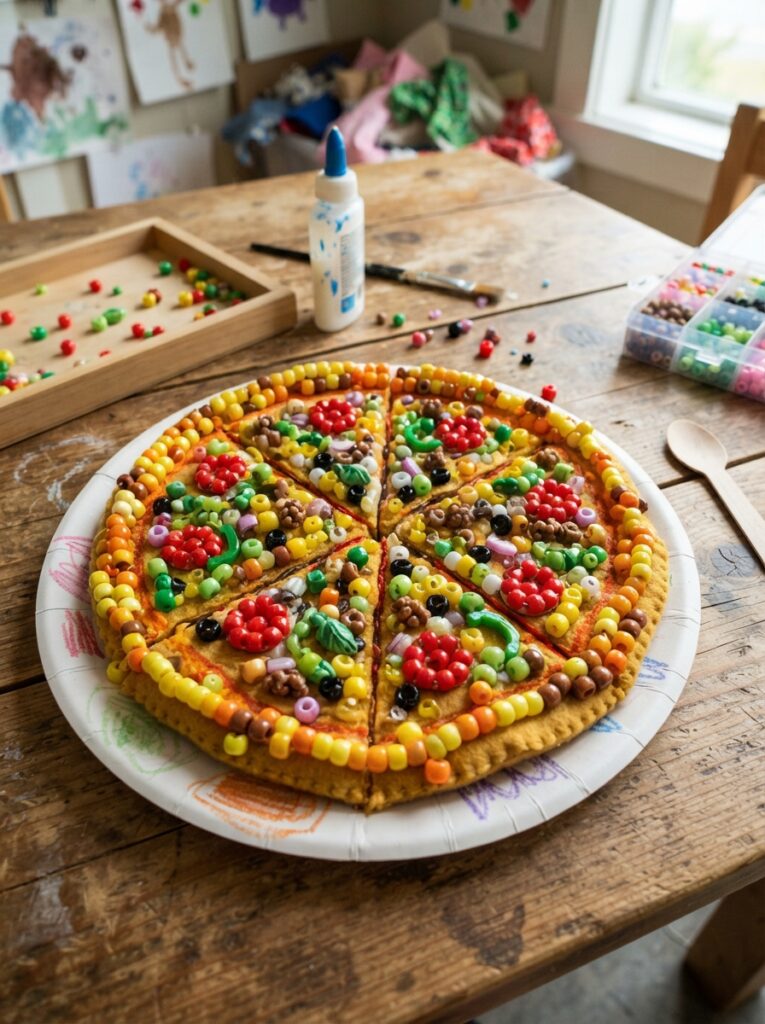
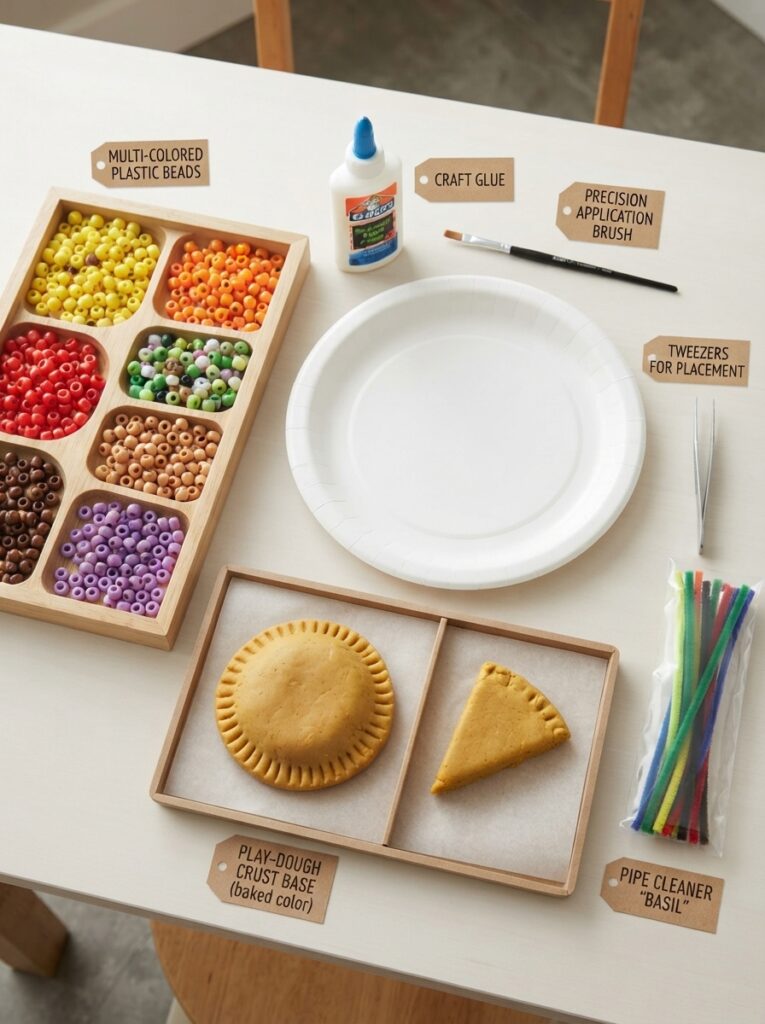
Materials You’ll Need
Before starting, gather your supplies and arrange the beads by color. This makes the process easier and helps children concentrate on the pattern.
| Material | Suggested Choice | Purpose |
|---|---|---|
| Base beads | Tan or light brown | Pizza crust |
| Red beads | Red pony or seed beads | Tomato sauce |
| Yellow beads | Yellow or orange beads | Cheese |
| Dark beads | Black or brown | Olives or toppings |
| Green beads | Green beads | Peppers or herbs |
| Beading cord | Elastic or craft cord | Connecting beads |
| Scissors | Small craft scissors | Cutting the cord |
For younger children, larger pony beads are easier to handle. Small beads should always be used with appropriate adult supervision because they can be a choking hazard.
Planning Your Beaded Pizza
A pizza slice is one of the easiest shapes to create because it naturally forms a triangle. Before threading anything, decide how large you want your pizza to be and which toppings you want to include.
Pick Your Favorite Toppings
You can use different bead colors to represent:
- Red: tomato sauce or pepperoni
- Yellow: melted cheese
- Green: peppers
- Black: olives
- Brown: mushrooms or cooked toppings
- White: small cheese highlights
Try placing the beads on the table first. This gives you a quick preview of the finished design and makes it easier to correct the pattern before threading.
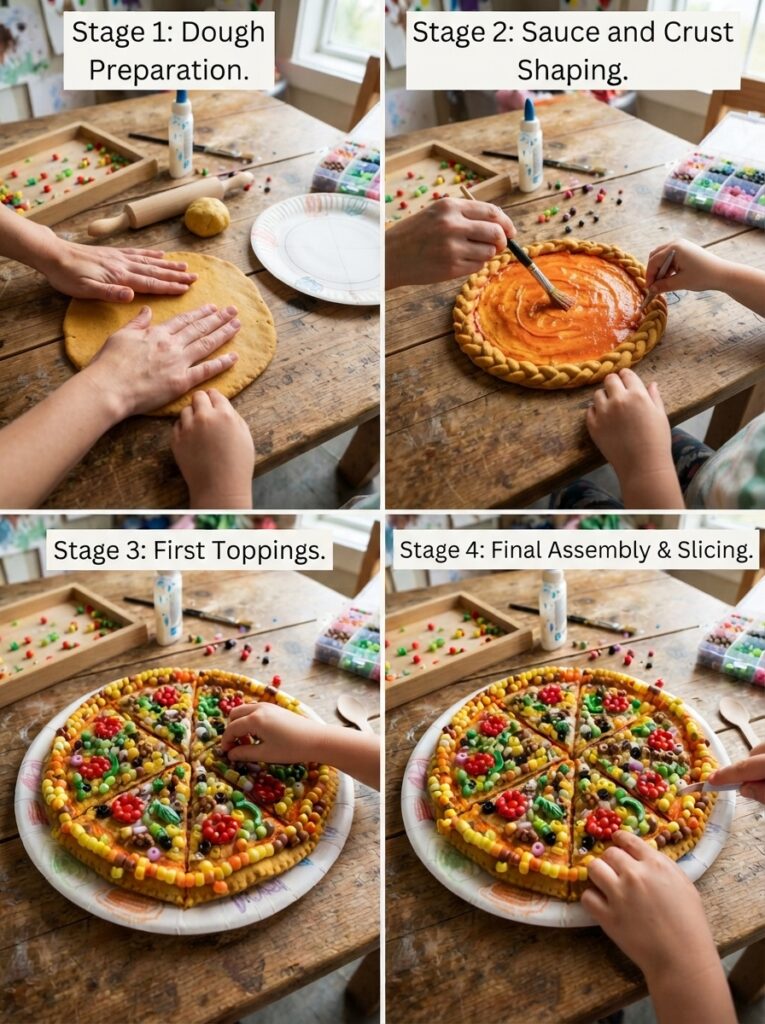
Step-by-Step Instructions
Follow these simple steps to create your miniature pizza.
- Prepare the cord: Cut a suitable length of beading cord, leaving extra cord at both ends for tying.
- Create the crust: Start with tan or brown beads along the wider edge of the pizza. This forms the crust.
- Build the pizza shape: Gradually reduce the number of beads in each row to create a triangular slice.
- Add the cheese: Use yellow beads throughout the center of the slice to represent melted cheese.
- Add toppings: Place red, green, black, or brown beads in different positions to create pepperoni, olives, peppers, or mushrooms.
- Check the shape: Look at both sides and make sure the design is reasonably balanced.
- Secure the cord: Once the pizza is finished, tie the ends securely and carefully trim away excess cord.
Helpful Tips for Better Results
| Challenge | Easy Solution |
|---|---|
| Pizza looks uneven | Count the beads in each row |
| Beads keep moving | Work on a tray or cloth |
| Pattern is confusing | Arrange each row before threading |
| Cord slips through beads | Choose cord that fits the bead holes |
| Toppings look crowded | Leave small spaces between colors |
Don’t worry about making a perfect pizza on your first attempt. Handmade crafts often have small variations, and those details give each piece its own personality.
Creative Pizza Variations
Once you’ve mastered the basic slice, try creating different designs.
| Pizza Style | Bead Combination |
|---|---|
| Classic cheese | Yellow, red, and tan |
| Pepperoni | Yellow, red, and dark red |
| Veggie | Yellow, green, red, and black |
| Mushroom pizza | Yellow, brown, and green |
| Rainbow pizza | Several bright colors |
You could also make several slices and connect them into a small pizza-themed decoration. A single finished slice can be attached to a keychain ring or used as a backpack charm.
Fun Ideas for Kids
This craft can become an imaginative activity rather than simply a beading project. Ask children to invent a name for their pizza shop and design a different pizza for each “customer.”
For example, one child might create a vegetable pizza while another makes an extra-cheesy version. Displaying the finished designs together can create a colorful miniature pizza collection.
FAQ
1. What beads are best for making a beaded pizza?
Pony beads are a great choice for beginners because they are larger and easier to handle. Seed beads can also work for more detailed designs.
2. Can younger children make this craft?
Yes, but children should be supervised when using small beads, scissors, or cord. Larger beads are generally easier for young crafters.
3. How do I make a smaller pizza?
Use fewer beads per row and choose smaller beads. Keep the triangular shape while reducing the number of rows.
4. Can I turn the pizza into a keychain?
Absolutely. After securing the cord, attach a suitable keychain ring or craft loop to the top of the pizza.
5. Can I create other foods with beads?
Definitely! Once you understand the basic technique, you can experiment with miniature fruits, cupcakes, ice cream, burgers, or other favorite foods.
Conclusion
Making pizza with beads is a simple and imaginative craft that combines colorful materials with creative design. By arranging beads into a triangular slice, adding a crust, and decorating it with toppings, beginners can create a charming miniature pizza without complicated techniques.
Whether you’re making it as a children’s activity, a backpack charm, or a handmade decoration, the project is easy to personalize. Choose your favorite colors, invent unusual toppings, and most importantly, have fun creating your own tiny beaded pizza!





Leave a Reply