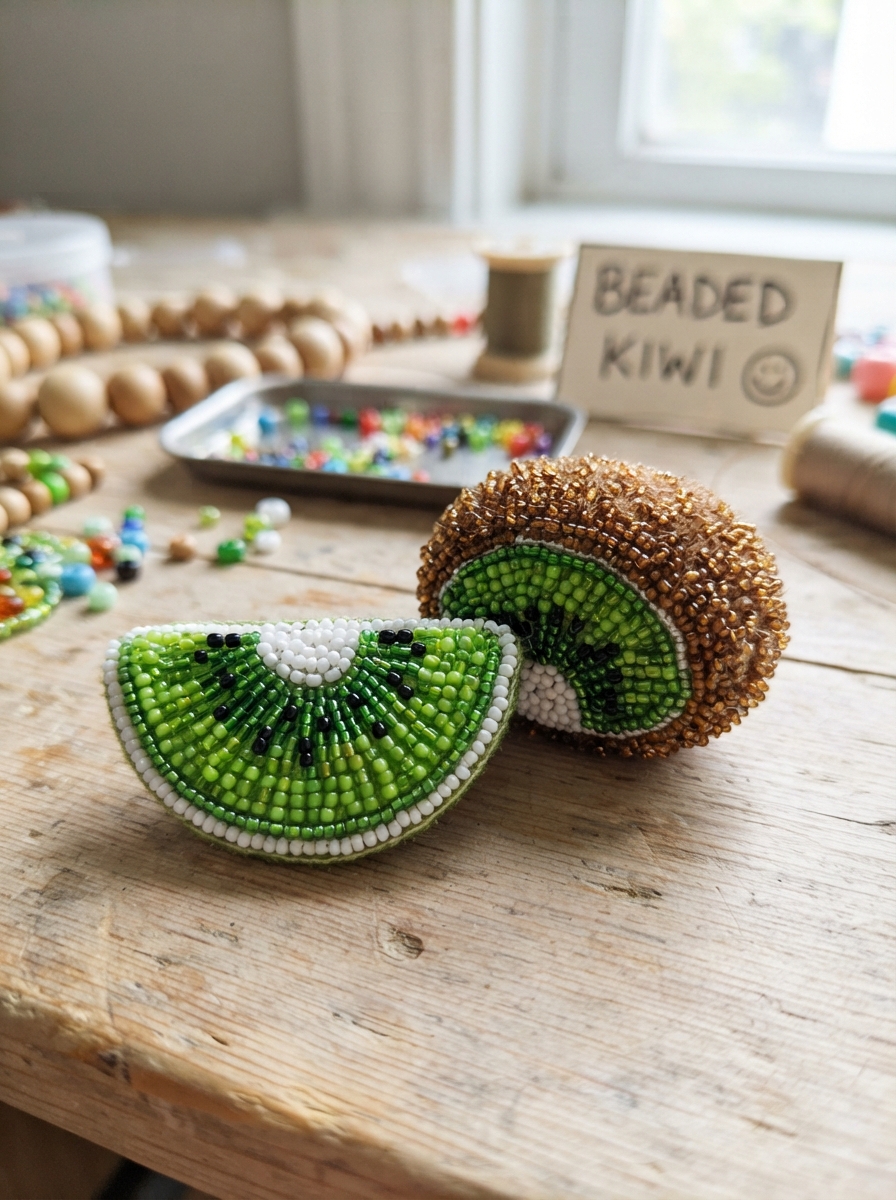
Looking for a fun craft that is colorful, simple, and perfect for little hands? Making a kiwi with beads is a creative way for children to turn ordinary craft supplies into a tiny fruit-inspired decoration. The familiar green flesh, black seeds, and brown skin make a kiwi especially easy to recreate with beads.
This activity can also help children practice concentration, counting, color recognition, and hand-eye coordination. With a few basic materials and some adult guidance, beginners can create a cute kiwi slice for a keychain, decoration, or handmade gift.
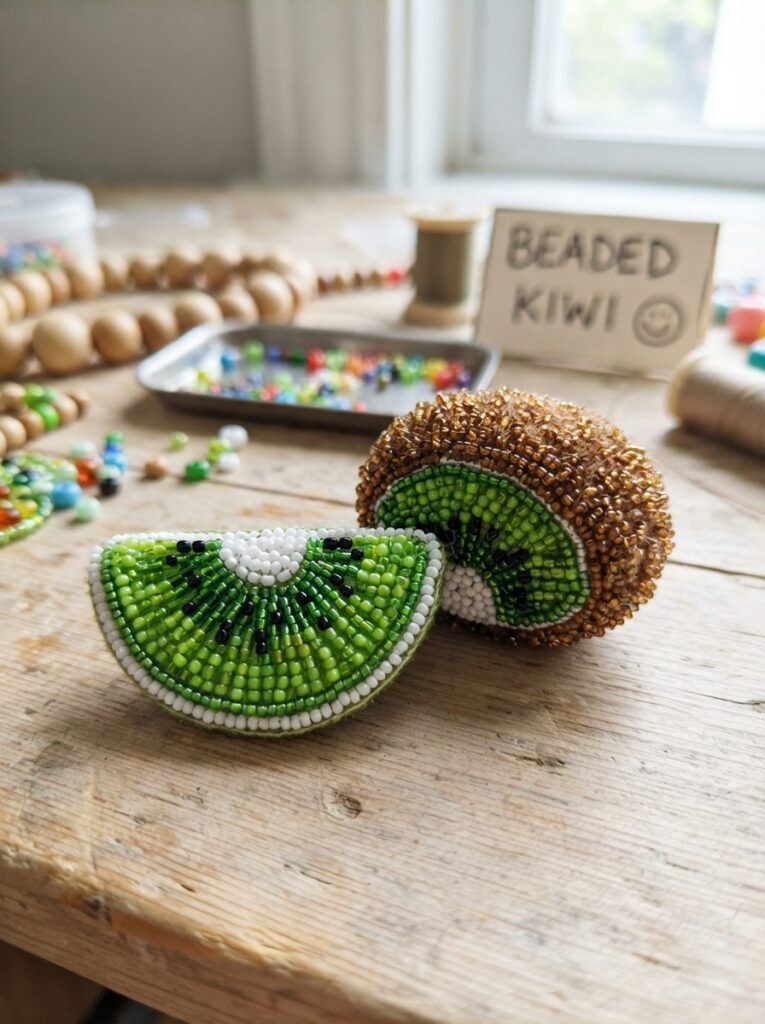
Materials You’ll Need
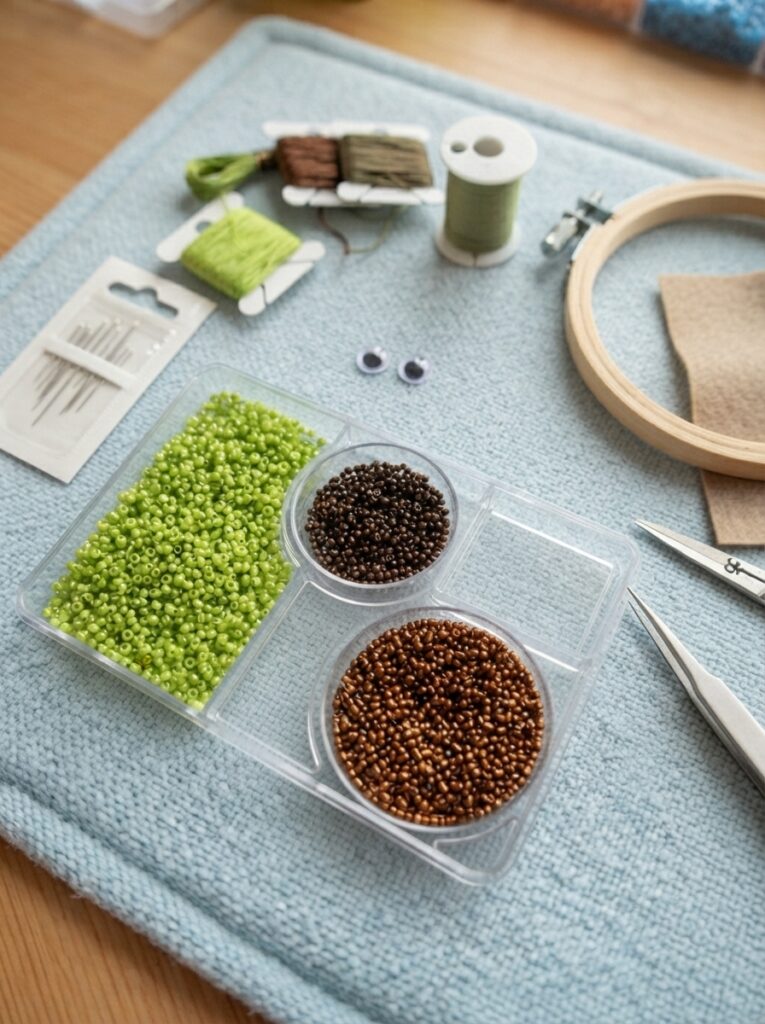
Start by gathering all your supplies before threading the beads. Larger beads are generally easier for beginners to handle.
| Material | Recommended Color | Purpose |
|---|---|---|
| Green beads | Light or medium green | Kiwi flesh |
| Brown beads | Brown or tan | Outer skin |
| Black beads | Black | Kiwi seeds |
| White beads | White or cream | Center detail |
| Beading cord | Strong, flexible cord | Holds the beads together |
| Craft wire | Flexible wire | Optional for shaping |
| Scissors | Child-safe scissors | Cutting cord |
Choosing the Right Beads
The best beads depend on the child’s age and experience. Pony beads are a convenient option because they have relatively large holes and are easy to grip.
For a realistic kiwi, combine different shades of green. A darker green border can represent the skin, while lighter green beads can form the fruit’s center.
Simple Kiwi Color Guide
| Kiwi Section | Bead Colors | Craft Tip |
| Outer skin | Brown or tan | Create a thin border |
| Flesh | Light green | Use most of the beads |
| Center | White or pale green | Keep it small |
| Seeds | Black | Space them around the center |
How to Make a Beaded Kiwi
Step 1: Prepare Your Workspace
Place the beads into small containers or sections of a bead tray. This makes the colors easy to find and prevents them from rolling across the table.
Cut a manageable piece of cord or flexible wire, leaving extra length at the ends for securing the finished design.
Step 2: Build the Kiwi Shape
A simple round or oval shape works well for beginners.
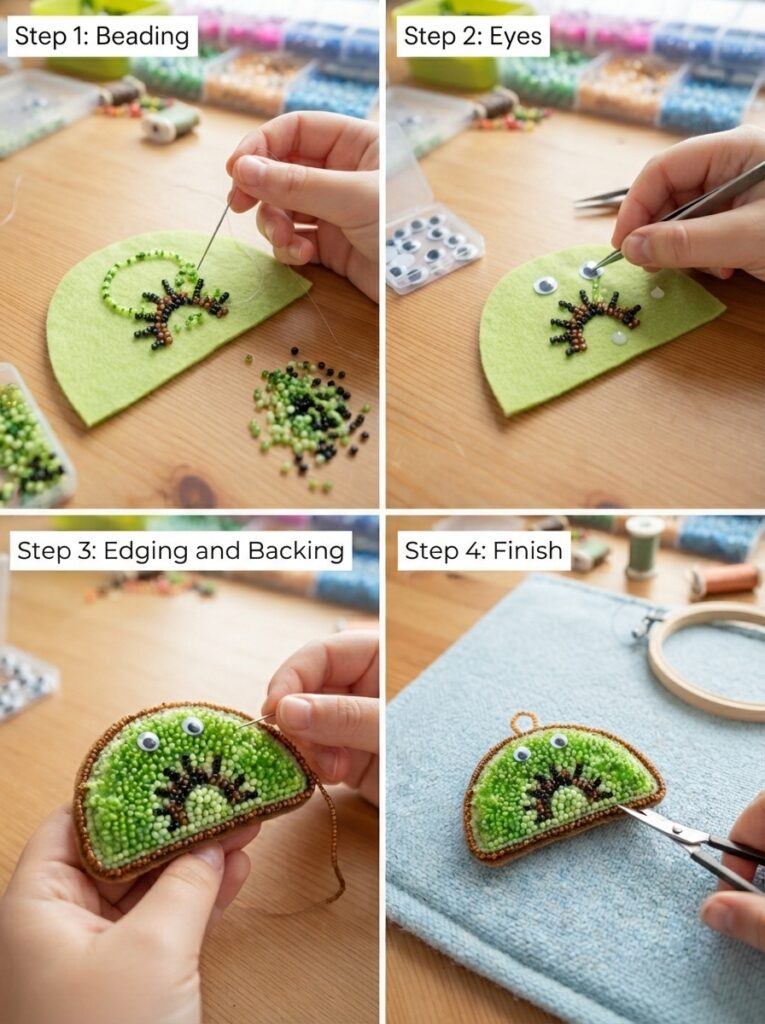
- Start with a few brown beads to create the outer edge.
- Add green beads inside the brown border.
- Place a few white or pale-green beads near the center.
- Add black beads around the center to represent the seeds.
- Continue adding beads until the kiwi reaches the desired size.
- Secure the ends carefully when the design is complete.
Don’t worry if the first kiwi isn’t perfectly round. A slightly uneven shape can give the craft a charming handmade appearance.
Step 3: Add Creative Details
Children can personalize their kiwi by changing the colors or adding a small loop at the top. For example, a child might create a tiny kiwi charm for a school bag or make several fruit designs for a colorful bracelet.
Helpful Tips for Children
Keep the project enjoyable rather than focusing on perfection.
- Sort the beads before beginning.
- Work on a flat surface.
- Count beads aloud to make the activity educational.
- Use larger beads for younger children.
- Keep unused beads away from toddlers and pets.
- Have an adult check and secure the finished piece.
Ways to Use Your Kiwi Craft
| Finished Project | Suggested Use |
| Keychain | Attach a sturdy keyring |
| Backpack charm | Add a small craft clasp |
| Decoration | Hang it in a child’s room |
| Gift | Give it to a friend |
| Fruit collection | Make kiwi, watermelon, lemon, and strawberry designs |
FAQ
1. What beads are best for making a kiwi?
Larger pony beads are ideal for beginners because they are easier to hold and thread. More experienced children can use smaller beads for extra detail.
2. Can children make a kiwi without wire?
Yes. Strong beading cord or elastic string can be used. Cord is especially useful for simple flat designs, while wire provides more structure.
3. How can I make the kiwi look realistic?
Use several shades of green, add a brown outer border, and arrange small black beads around a pale center to imitate the fruit’s natural seeds.
4. Is this craft suitable for toddlers?
Because beads are small, this activity is not suitable for unsupervised toddlers. Young children should always work with an adult who can manage the small pieces and any wire.
5. What other fruit can children make with beads?
Once they master the kiwi, children can try strawberries, watermelons, lemons, oranges, apples, or cherries. A whole fruit collection can become a fun craft project.
Conclusion
Making a kiwi with beads is a simple, colorful activity that combines creativity with useful hands-on skills. By choosing easy-to-handle beads, following a basic pattern, and experimenting with green shades and tiny black seeds, children can create a charming fruit-inspired design. Keep the process relaxed, encourage creativity, and let each child give their kiwi its own unique personality.





Leave a Reply