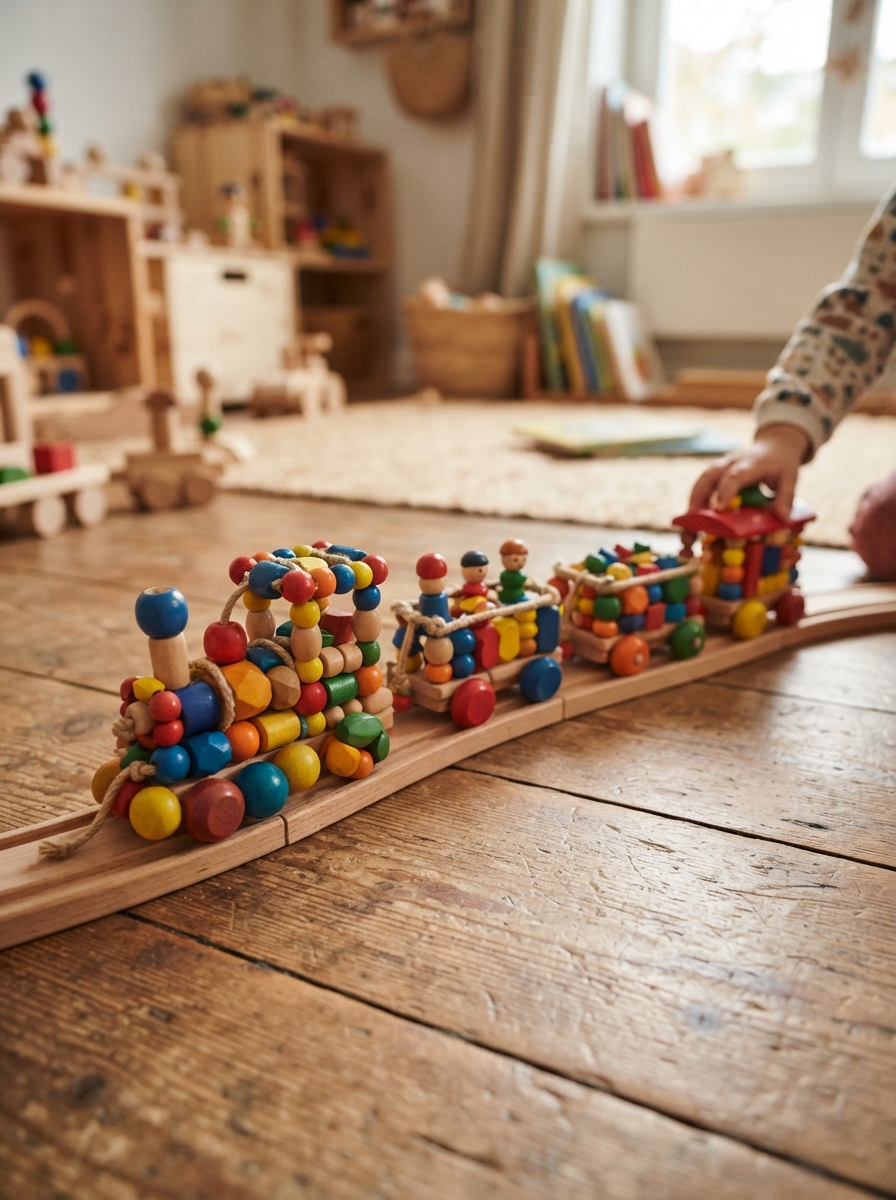
An embroidered train is a charming craft project that combines creativity, colorful threads, and simple stitching. Children can help choose the colors and watch an ordinary piece of fabric turn into a cheerful train design. Whether you are making a wall decoration, a small fabric picture, or a personalized gift, this beginner-friendly project is enjoyable for both children and adults.
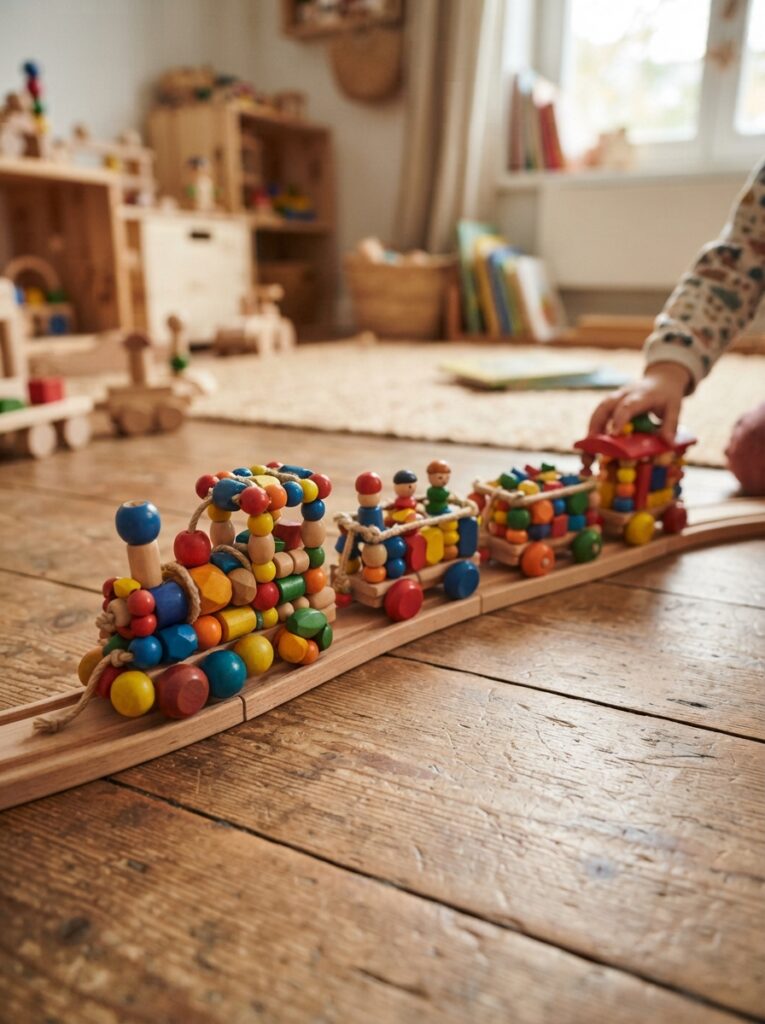
Materials You’ll Need
Before starting, gather your supplies and choose a simple train pattern. Cotton fabric works well because it is easy to handle and provides a clear surface for embroidery.
| Material | Recommended Choice | Purpose |
|---|---|---|
| Fabric | Cotton or linen | Base for the embroidery |
| Embroidery thread | Bright, contrasting colors | Creates the train design |
| Embroidery needle | Medium-sized | Makes stitching easier |
| Embroidery hoop | Small or medium | Keeps fabric stretched |
| Fabric pencil | Washable type | Traces the train pattern |
| Scissors | Sharp craft scissors | Cuts thread neatly |
For young children, an adult should handle needles and scissors. Older children can participate more actively with appropriate supervision.
Choosing a Simple Train Design
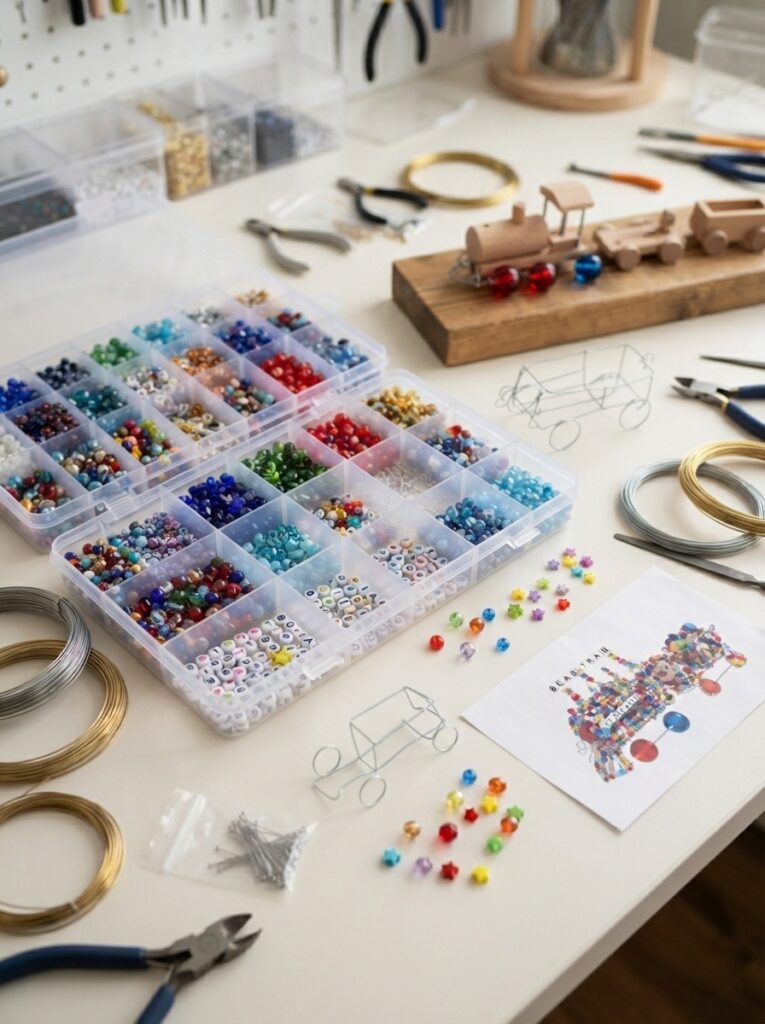
Start with basic shapes rather than a highly detailed locomotive. A simple train can include a rectangular engine, circular wheels, a chimney, windows, and one or two carriages.
| Train Part | Suggested Stitch | Color Ideas |
| Engine outline | Backstitch | Black or dark blue |
| Wheels | Running stitch | Black or gray |
| Windows | Satin stitch | Blue or yellow |
| Carriages | Backstitch | Red, green, or orange |
| Details | French knots | White or yellow |
A colorful design is particularly attractive for children’s rooms. You can also let the child select the colors, making the finished piece more personal.
How to Make the Embroidered Train
Follow these steps to create the basic design.
- Prepare the fabric: Wash and dry the fabric if necessary, then place it inside the embroidery hoop.
- Draw the train: Lightly sketch the engine, wheels, windows, and carriages with a washable fabric pencil.
- Thread the needle: Cut a manageable length of embroidery thread and separate it into fewer strands if needed for delicate details.
- Outline the train: Use a backstitch to trace the main shapes and keep the lines neat.
- Add the wheels: Stitch circular wheels using a simple running stitch or backstitch.
- Fill colorful details: Use satin stitch or small straight stitches for windows, doors, and decorative sections.
- Finish the embroidery: Secure the thread on the back and gently remove any remaining pencil marks according to the fabric-pencil instructions.
Helpful Tips for Beginners
Good preparation makes embroidery easier and more enjoyable.
- Keep the fabric stretched firmly but not excessively tight.
- Use short pieces of thread to reduce tangling.
- Make larger stitches when teaching younger beginners.
- Practice new stitches on a scrap piece of fabric first.
- Choose contrasting colors so the train stands out clearly.
- Avoid overcrowding the design with too many tiny details.
Creative Ways to Use the Finished Train
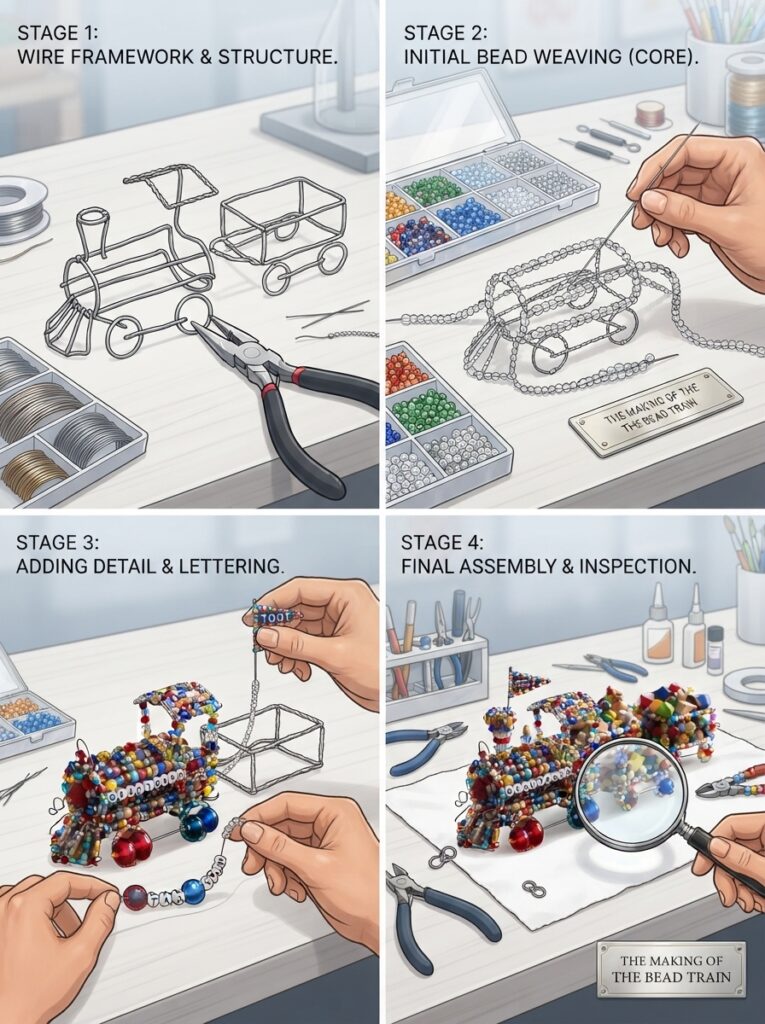
The embroidered train can become more than a simple craft. Frame it as children’s room artwork, sew it onto a fabric banner, or use it as a decorative panel for a handmade cushion.
For example, a child who loves trains could choose blue carriages, yellow windows, and green trees around the railway. Adding clouds, flowers, or a small station can turn the embroidery into a miniature story scene.
| Project Idea | Difficulty | Best Use |
| Small train picture | Easy | Wall decoration |
| Fabric banner | Easy–Medium | Children’s room |
| Embroidered patch | Medium | Bags or clothing |
| Story scene | Medium | Creative display |
FAQ
1. What fabric is best for children’s embroidery?
Cotton is an excellent beginner choice because it is stable, comfortable to stitch, and widely available.
2. Which embroidery stitches should beginners learn first?
Backstitch, running stitch, and simple straight stitches are useful starting points. They are enough to create many train designs.
3. Can younger children participate?
Yes, but children should be supervised closely around needles and scissors. They can safely help with choosing colors, drawing ideas, and preparing the design.
4. How can I make the train more colorful?
Use contrasting thread colors for the engine, carriages, wheels, and windows. You can also add colorful scenery around the train.
5. Can the finished embroidery be washed?
Usually, yes, depending on the fabric and thread. Follow the care instructions for your materials and avoid harsh washing that could damage the stitches.
Conclusion
Making an embroidered train for children is a creative way to introduce simple sewing and embroidery techniques. With basic materials, an easy pattern, and a few beginner-friendly stitches, you can create a cheerful design that feels personal and handmade. Let children participate in choosing colors and adding scenery, and the finished train can become a memorable piece of artwork they helped create.





Leave a Reply