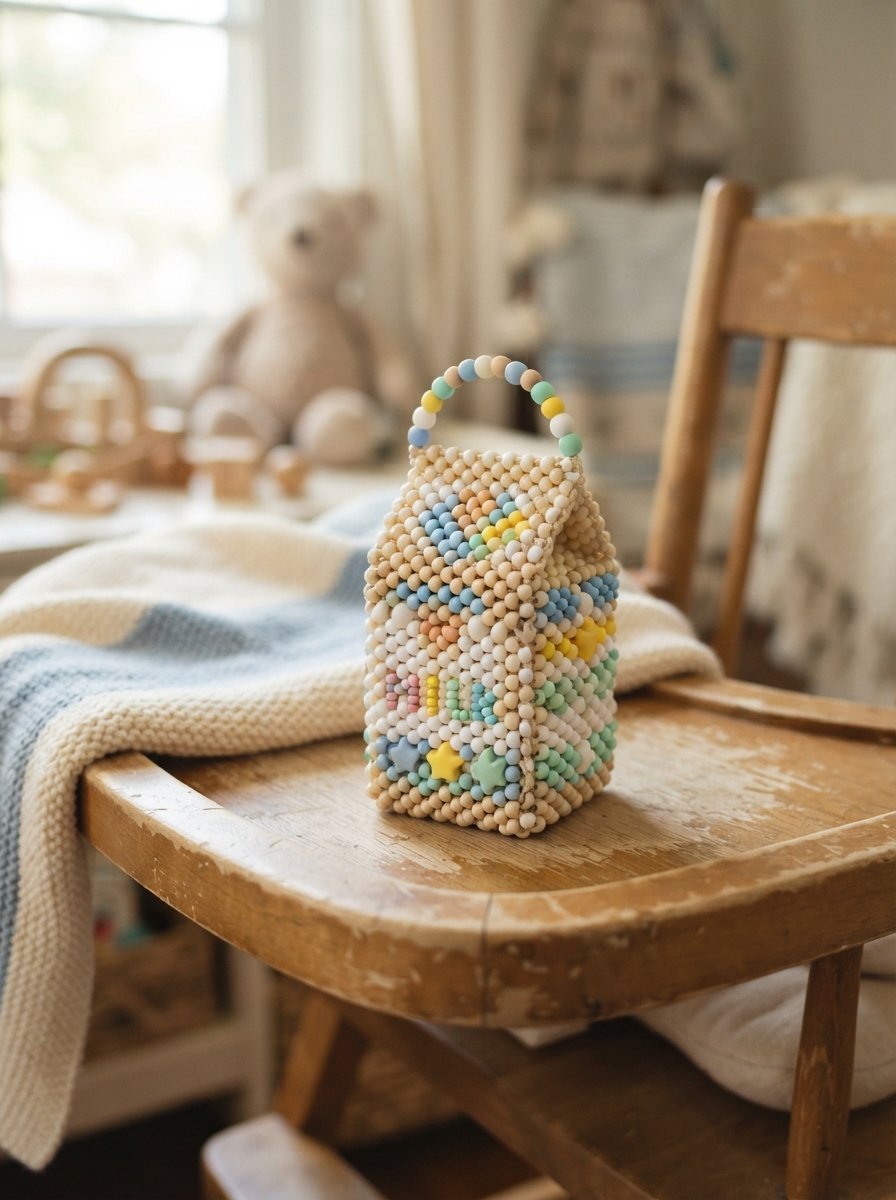
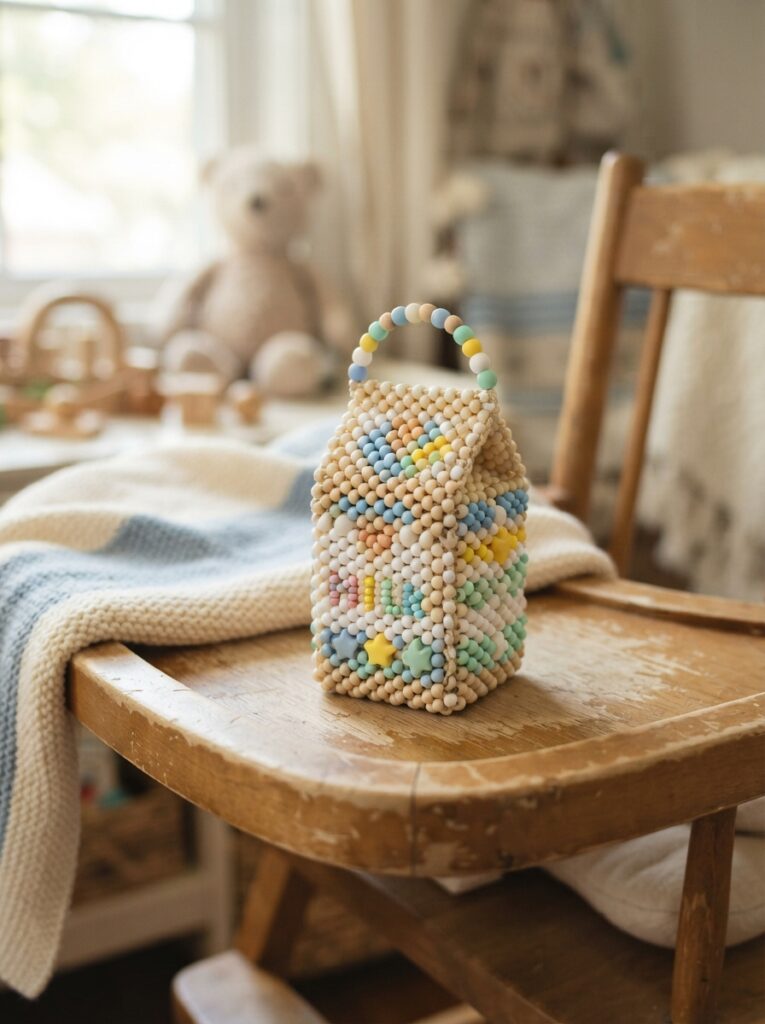
Turn a familiar everyday object into a tiny, colorful craft with this fun small milk carton made with beads! This beginner-friendly project is a great way for children to explore patterns, colors, and simple beadwork while creating a miniature object they can proudly display.
A beaded milk carton can be used as a tiny decoration, pretend-play accessory, backpack charm, or part of a miniature food collection. The design is simple enough for beginners, yet there are plenty of ways to customize it.
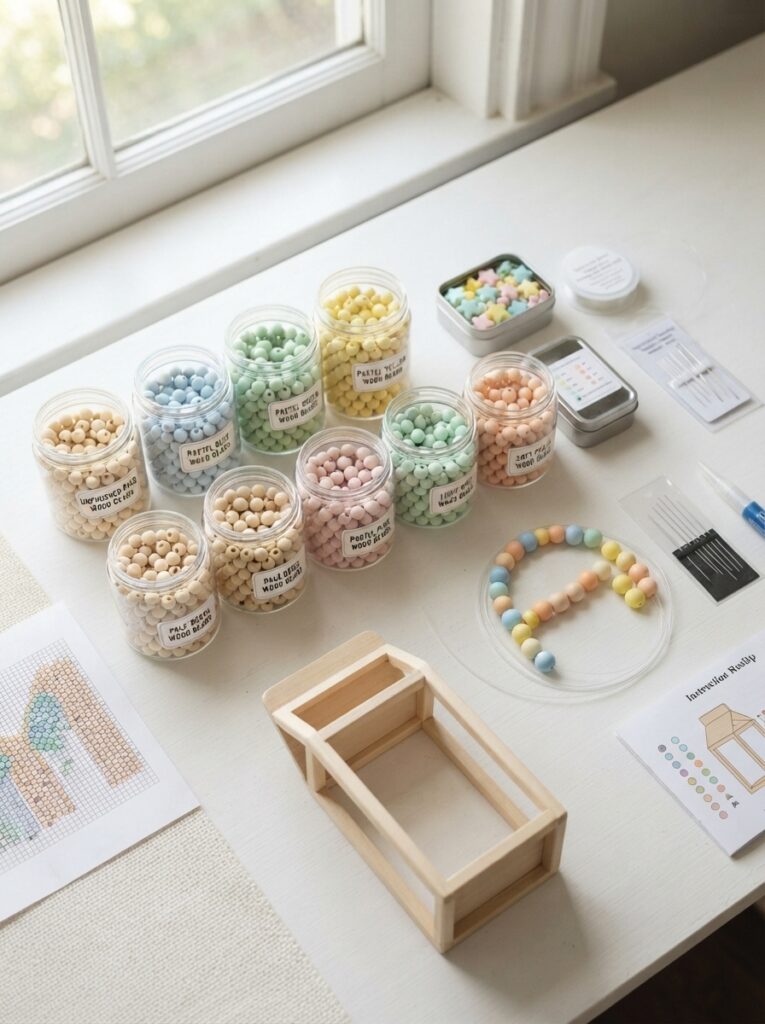
Materials You’ll Need
Prepare your materials before starting. Sorting the beads by color will make the project easier to follow.
| Material | Suggested Choice | Purpose |
|---|---|---|
| White beads | White pony or craft beads | Main carton |
| Colored beads | Blue, red, green, or pink | Label and details |
| Dark beads | Black or brown | Small decorative markings |
| Beading cord | Elastic or flexible craft cord | Connecting beads |
| Scissors | Craft scissors | Cutting the cord |
| Keychain ring | Optional | Turning it into a charm |
For younger children, larger beads are usually easier to hold and thread. Small beads should be handled with adult supervision because they can be a choking hazard.
Planning the Milk Carton Design
A miniature milk carton usually has a rectangular body and a folded-looking top. With beads, you can create the impression of these sections by arranging rows carefully.
Before threading, decide which colors you want for the carton. White works well as the main color, while blue or red can represent the label.
Simple Design Ideas
Consider adding:
- Blue beads for a classic milk label
- Green beads for an organic-style design
- Pink beads for a playful carton
- Black beads for tiny printed details
- A different color at the top to emphasize the folded carton shape
Place the beads in groups on your workspace first. This helps you visualize the finished design and makes the threading process smoother.
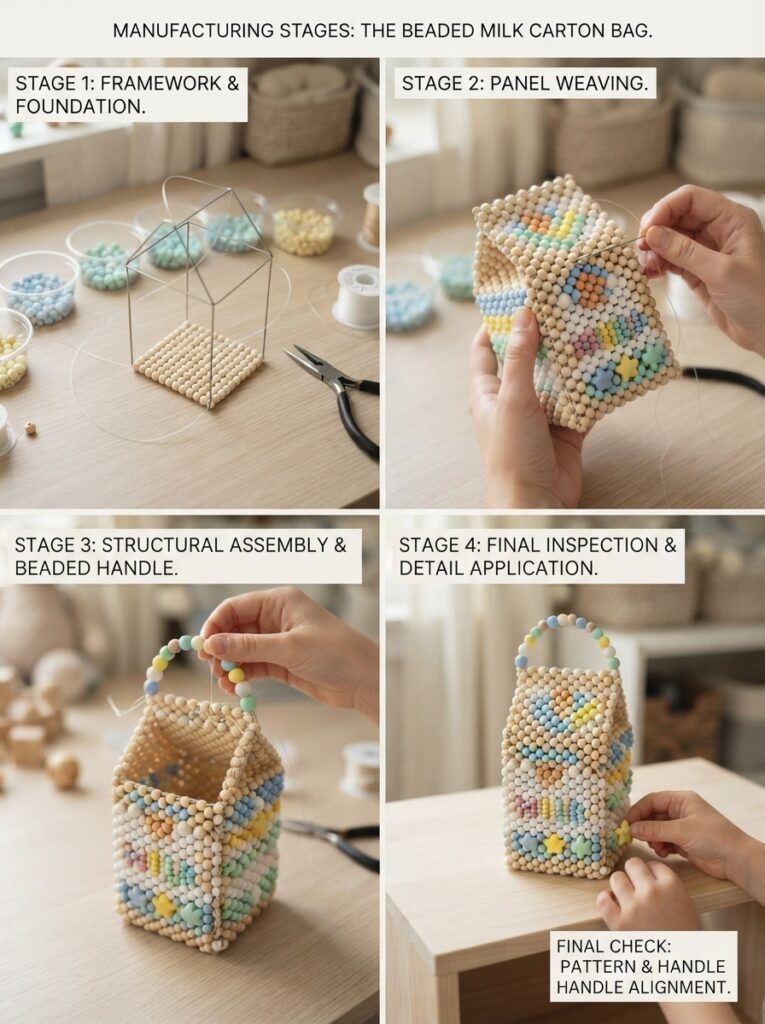
Step-by-Step Instructions
Follow these steps to build your small beaded milk carton.
- Prepare the cord: Cut a suitable length of beading cord, leaving extra material at the ends for securing the finished piece.
- Create the base: Begin with a small rectangular arrangement of white beads to form the bottom of the carton.
- Build the body: Continue adding rows while keeping the sides approximately the same size.
- Add the label: Introduce colored beads in the middle section to create a simple milk label or decorative stripe.
- Shape the top: Gradually adjust the bead arrangement near the upper section to give the carton a peaked or folded appearance.
- Add details: Use a few contrasting beads to represent writing, a logo, or a small decorative symbol.
- Secure the design: When finished, tie the cord securely and trim the excess carefully.
Helpful Tips for Beginners
| Common Problem | Practical Solution |
|---|---|
| The carton looks uneven | Count beads in every row |
| Beads roll away | Use a shallow tray |
| Colors get mixed up | Sort beads before beginning |
| Cord is hard to thread | Choose larger-hole beads |
| The finished shape feels loose | Keep the tension consistent |
Don’t pull the cord excessively tight. Moderate, even tension helps the beads stay in position without making the design difficult to shape.
Creative Variations
Once you’ve made the basic carton, experiment with different colors and styles.
| Style | Suggested Colors | Decorative Idea |
|---|---|---|
| Classic milk | White and blue | Simple label |
| Strawberry milk | White and pink | Strawberry detail |
| Chocolate milk | Brown and white | Chocolate-themed stripe |
| Fun cartoon carton | Bright colors | Funny face |
You can also make several cartons in different colors and display them together as part of a miniature grocery store or pretend kitchen.
Turning It Into a Charm
If you want to make the project useful beyond decoration, add a small loop at the top while finishing the beadwork. Once the design is securely tied, attach a suitable keychain ring.
Children can create several food-themed charms, such as a milk carton, pizza slice, fruit, or cupcake, and use them as a colorful collection.
FAQ
1. What beads are best for this project?
Pony beads or other medium-sized craft beads are excellent for beginners because they are easy to hold and thread.
2. Can young children make a beaded milk carton?
Yes, provided they are supervised. Larger beads are generally easier for young children, while small beads should be kept away from children who may put objects in their mouths.
3. Can I make the carton different colors?
Absolutely. You can create strawberry milk, chocolate milk, fruit-flavored drinks, or imaginative cartoon cartons using different bead combinations.
4. How do I keep the carton shape neat?
Count each row carefully and maintain similar cord tension throughout the project. Laying out each row before threading can also help.
5. Can I make a larger milk carton?
Yes. Simply increase the number of beads and rows while maintaining the rectangular body and peaked top. A larger design may require stronger cord.
Conclusion
Making a small milk carton with beads is a creative and accessible project for beginners. With a few basic materials, carefully planned rows, and colorful details, you can turn simple beads into an adorable miniature carton.
Whether you’re making it for a children’s craft session, a miniature collection, or a backpack charm, don’t be afraid to experiment. Try different colors, labels, and funny designs to give each little milk carton its own personality.





Leave a Reply