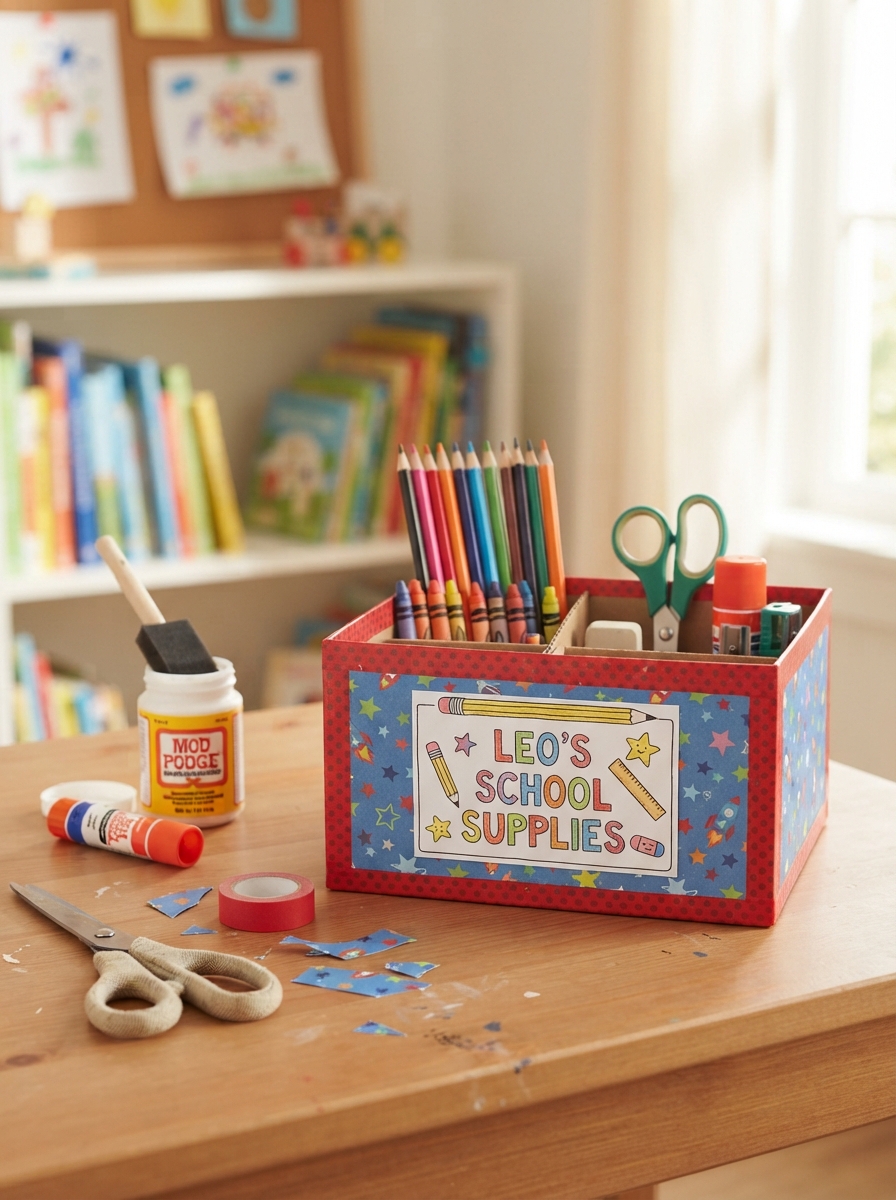
A small storage box can make a big difference when children’s pencils, erasers, crayons, and craft supplies seem to disappear everywhere. Instead of buying an expensive organizer, why not make one from simple materials you already have at home? This easy DIY project is creative, practical, and suitable for classrooms, bedrooms, or study corners. Children can also decorate their own boxes, turning organization into a fun activity.
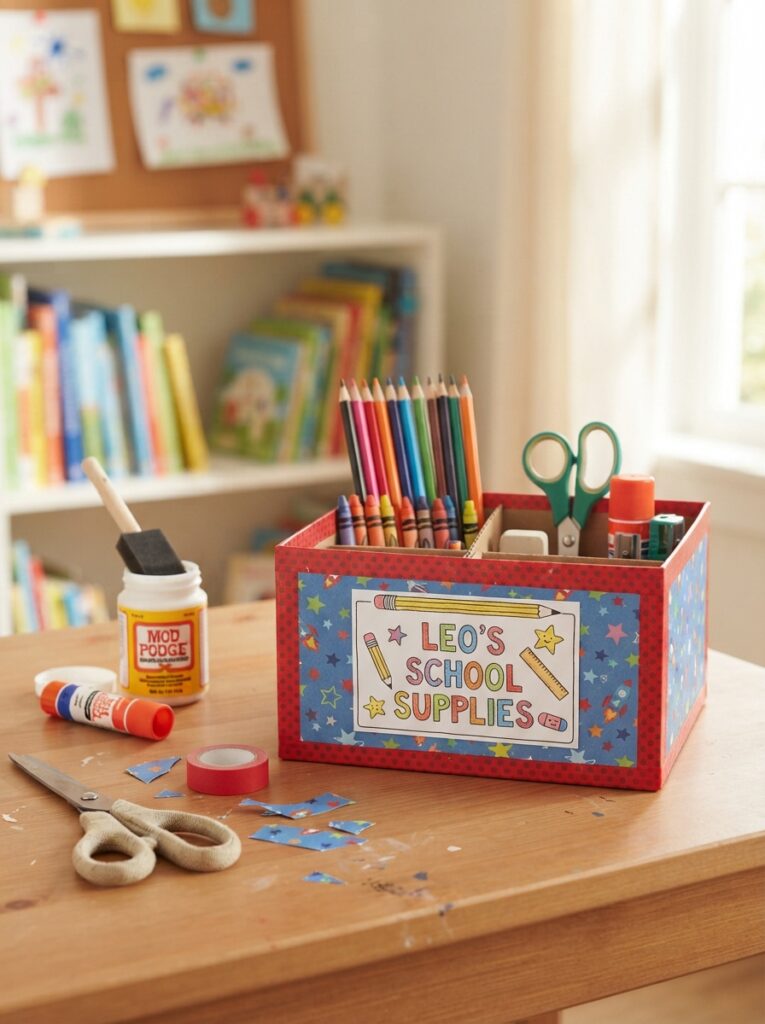
Materials You’ll Need
You can make this project using recycled cardboard, a small shipping box, or a sturdy cereal box.
| Material | Suggested Amount | Purpose |
|---|---|---|
| Cardboard box | 1 | Main storage container |
| Colored paper | 2–3 sheets | Decorating the box |
| Glue | 1 bottle | Attaching decorations |
| Scissors | 1 pair | Cutting cardboard and paper |
| Ruler and pencil | 1 each | Measuring and marking |
| Stickers or markers | Optional | Personal decoration |
Choose cardboard that is firm enough to hold school supplies without bending easily.
Choosing the Right Size
The ideal size depends on what the child needs to store. A shallow box works well for pencils and erasers, while a deeper container can hold glue sticks, crayons, or small craft materials.
| Supplies | Recommended Box Style | Useful Feature |
| Pencils and pens | Long, narrow box | Easy access |
| Crayons | Medium-depth box | Wide opening |
| Erasers and sharpeners | Small box | Compact storage |
| Craft supplies | Deeper box | More capacity |
For a younger child, avoid making the box too large. A smaller container is easier to carry and encourages children to put items back after using them.
Step-by-Step Instructions
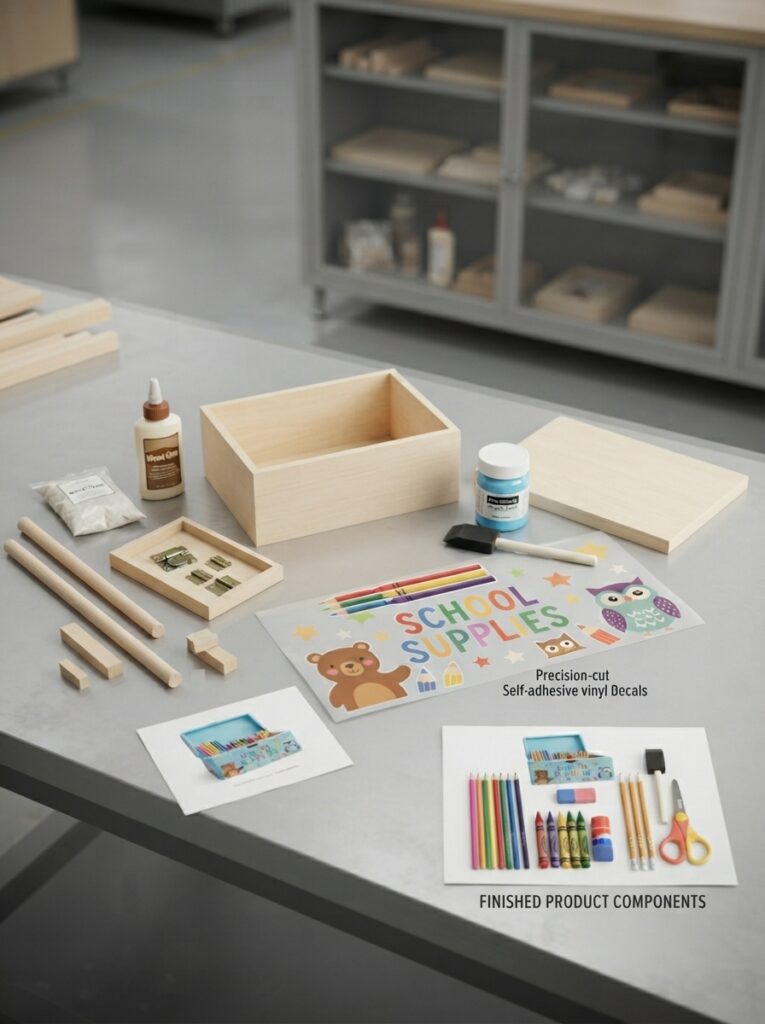
1. Prepare the Cardboard
Start by choosing a clean, dry cardboard box. Remove any labels or loose pieces. If you are making the box from flat cardboard, measure and draw the base and four sides using a ruler.
Cut along the marked lines carefully. Adults should supervise young children when scissors or craft knives are involved.
2. Build the Box
Fold the cardboard along the marked edges to create the walls.
- Fold each side upward.
- Apply glue to the joining flaps.
- Press the corners firmly together.
- Hold them in place until the glue sets.
- Check that the base sits flat.
If you are recycling an existing box, you may only need to reinforce weak corners with strips of cardboard or paper.
3. Decorate the Storage Box
Now comes the most creative part! Cover the outside with colored paper, then add simple decorations.
Children can use:
- Animal stickers
- Stars and hearts
- Their name or initials
- Colorful drawings
- Washi tape
- Favorite shapes or patterns
For example, a child who loves space could decorate the box with planets, stars, and a rocket. Another child might create a rainbow-themed organizer using bright paper.
Practical Tips for a Stronger Box
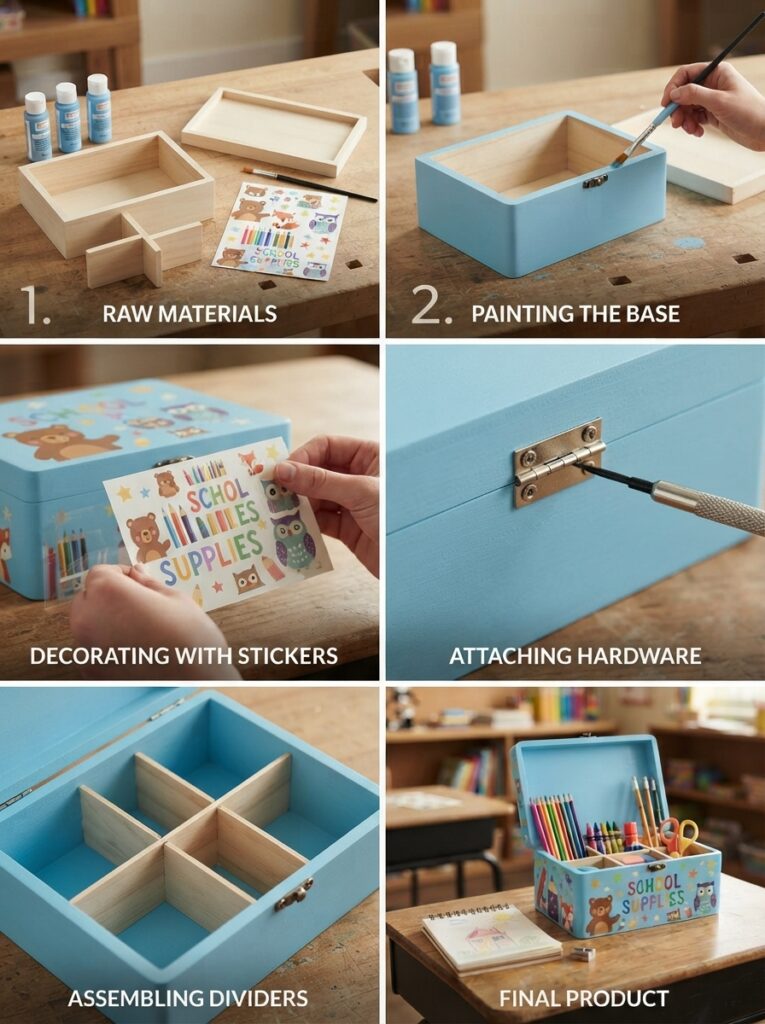
A few extra steps can help your organizer last longer.
| Improvement | Benefit |
| Reinforce corners | Prevents tearing |
| Cover the base | Adds durability |
| Use thick paper | Gives a cleaner finish |
| Add a label | Makes supplies easier to find |
| Create dividers | Keeps small items separated |
If the box will be used every day, consider covering it with clear adhesive film after decorating. This can help protect the surface from fingerprints and minor spills.
FAQ
Can I make this box without buying materials?
Yes. Recycled cereal boxes, delivery boxes, and other clean cardboard packaging can work very well.
What school supplies can I store inside?
You can store pencils, crayons, erasers, rulers, glue sticks, sharpeners, markers, and other small classroom supplies.
How can I make the box more durable?
Use thick cardboard, reinforce the corners, and cover the bottom with an additional cardboard layer if necessary.
Can young children make this project?
Yes, but younger children should receive help with cutting and gluing. They can safely participate in measuring, decorating, and organizing.
How can I add compartments?
Cut narrow strips of cardboard and glue them inside the box to create simple sections for different supplies.
Conclusion
Making a small box for children’s school supplies is an easy way to combine creativity, recycling, and organization. With cardboard, glue, paper, and a little imagination, children can create a useful container that fits their personality and study needs. Encourage them to choose the colors and decorations themselves, then make organizing supplies part of their daily routine. It is a simple DIY project with a practical result that can brighten any study space.





Leave a Reply