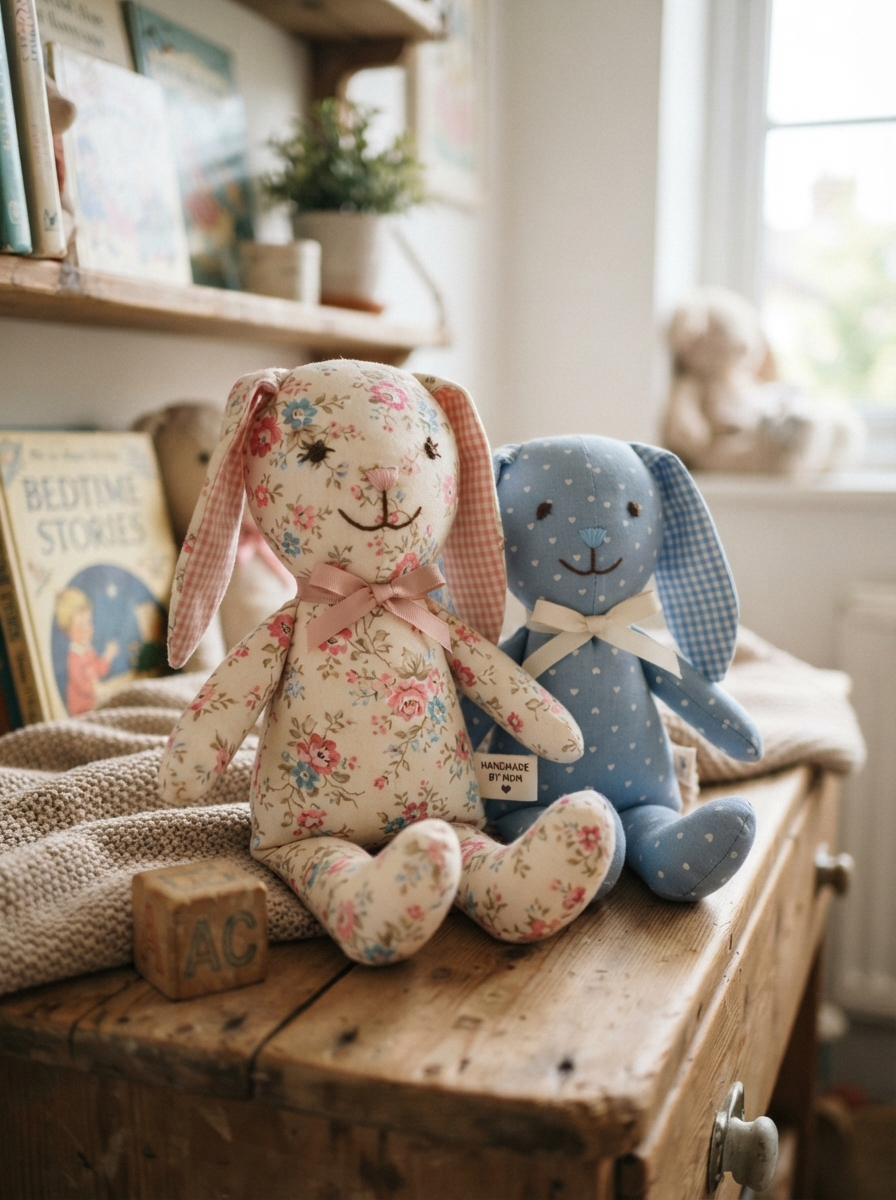
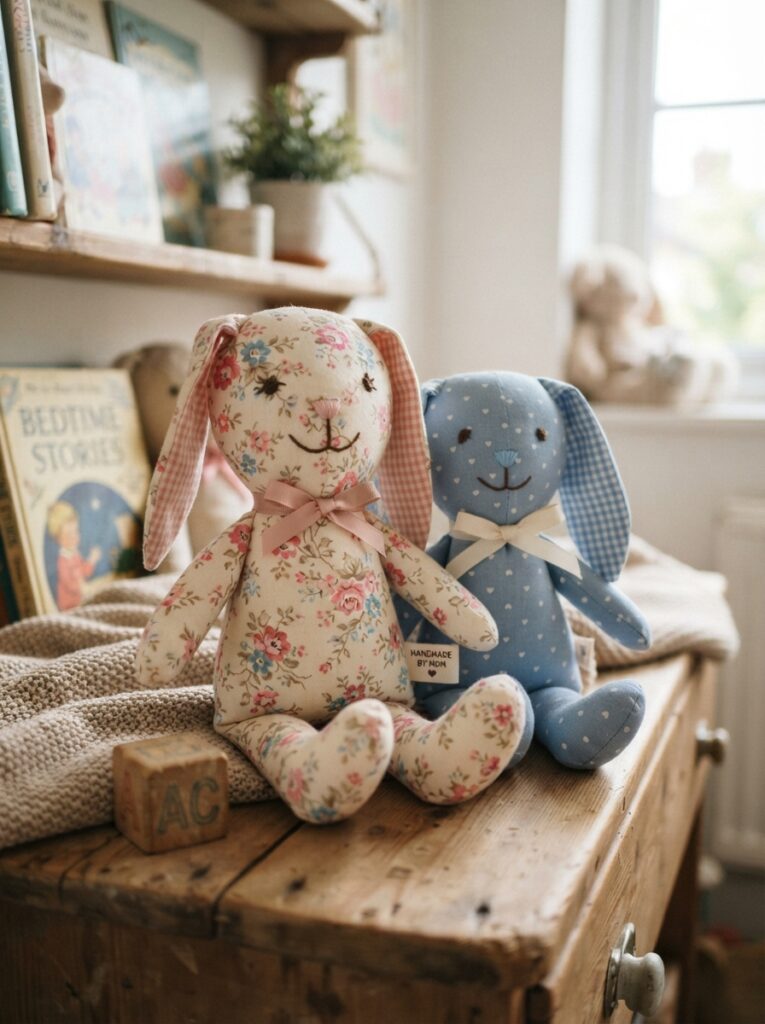
A handmade fabric rabbit is a charming sewing project that turns simple scraps of fabric into a soft, cuddly friend. It is a wonderful craft for children who are curious about sewing, creativity, and making things with their hands. With a simple rabbit shape, basic stitches, and soft filling, beginners can create a sweet decoration, keepsake, or handmade gift. Adults should supervise children when using needles, scissors, or sewing machines.
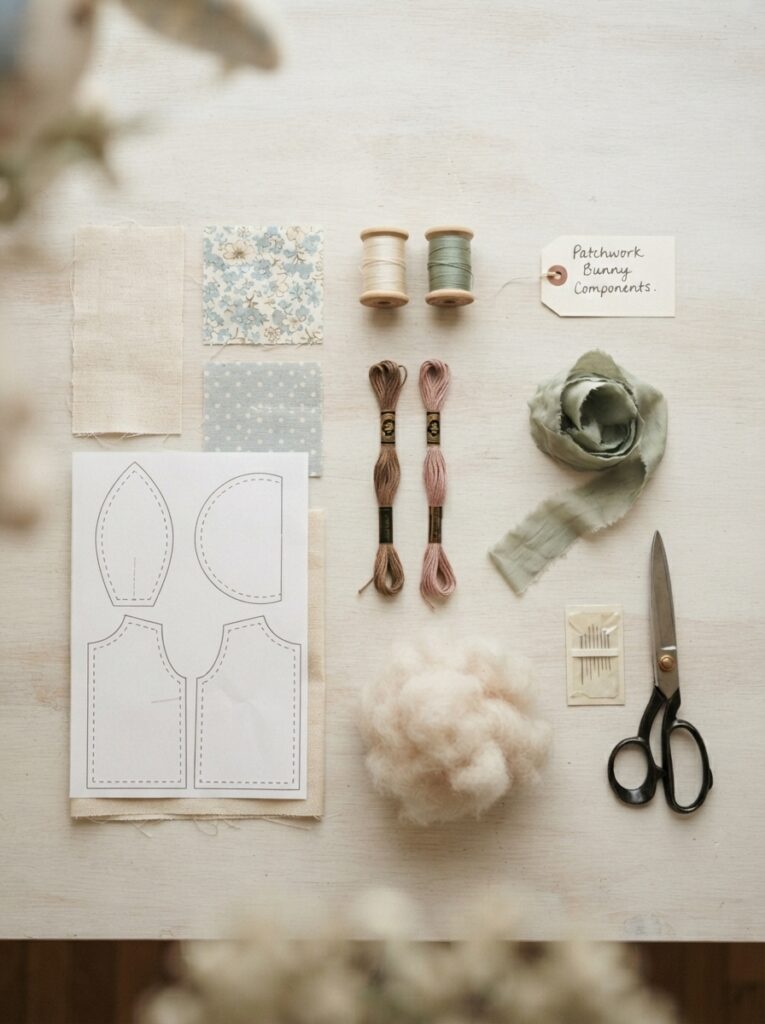
Materials You Will Need
You do not need expensive supplies for this project. Cotton or another medium-weight washable fabric works especially well.
| Material | Suggested Amount | Purpose |
|---|---|---|
| Cotton fabric | 2 pieces, about 20 × 15 cm | Rabbit body |
| Polyester fiberfill | Small bag | Soft filling |
| Sewing thread | 1 spool | Joining fabric |
| Needle or sewing machine | 1 | Sewing seams |
| Fabric scissors | 1 pair | Cutting |
| Paper and pencil | 1 sheet | Making a template |
Choose a fabric with a fun pattern, such as flowers, stars, checks, or small animals. For a child-friendly rabbit, avoid loose buttons or tiny decorations that could detach.
Creating the Rabbit Template
Draw a Simple Shape
Start by drawing a basic rabbit silhouette on paper. Include a rounded head, long ears, a small body, and simple legs. You do not need a complicated pattern.
A beginner-friendly template should have:
- Two long ears
- A rounded head
- A simple body
- Small feet
- Smooth outer curves
Cut out the paper template and place it on the fabric. Trace around it twice, leaving enough room around the outline for the seam allowance.
Cutting and Preparing the Fabric
Place the two fabric pieces together with their right sides facing inward. Pin or clip the template securely before cutting.
| Preparation Step | What to Do | Beginner Tip |
| Trace | Copy the rabbit outline | Use a washable fabric marker |
| Cut | Cut two matching shapes | Leave seam allowance |
| Pin | Secure the pieces | Keep pins away from the cutting path |
| Check | Compare both shapes | Correct uneven edges before sewing |
Before sewing, check that the ears, feet, and body are properly aligned.
Sewing the Fabric Rabbit
Once the pieces are ready, it is time to bring the rabbit to life.
- Sew around the outline. Stitch around most of the rabbit, leaving a small opening along one side or near the bottom.
- Trim carefully. Reduce excess fabric around curved areas and clip carefully between the ears without cutting the stitches.
- Turn the rabbit. Gently pull the fabric through the opening so the printed sides face outward.
- Shape the details. Use a blunt turning tool to push out the ears and corners.
- Add the filling. Insert small amounts of polyester fiberfill, starting with the ears and then filling the body.
- Close the opening. Use small hand stitches to close the remaining gap securely.
| Sewing Stage | Recommended Approach | Common Mistake |
| Main seam | Use small, even stitches | Leaving gaps |
| Curves | Sew slowly | Making sharp corners |
| Turning | Work gently | Pulling too hard |
| Stuffing | Add gradually | Overfilling |
| Final seam | Use secure hand stitches | Leaving loose threads |
Decorating the Rabbit

For an older child, simple embroidery can add personality. You could stitch eyes, a tiny nose, whiskers, or a small heart on the body.
Other ideas include:
- Adding a fabric bow
- Using contrasting fabric for the ears
- Embroidering the child’s initial
- Making a matching miniature rabbit
- Choosing seasonal fabrics for holidays
For younger children, keep decorations securely stitched and avoid small detachable parts.
FAQ
1. Can beginners make this rabbit?
Yes. A simple silhouette and basic straight stitching are enough. Hand sewing is also possible if you do not have a sewing machine.
2. What fabric is best?
Cotton is an excellent beginner choice because it is easy to cut and sew. Lightweight fleece can also work, although it may require slightly different handling.
3. How much stuffing should I use?
Add filling gradually until the rabbit is soft and holds its shape. Avoid packing it too tightly, especially around the ears.
4. Can children sew the rabbit themselves?
Older children may be able to sew simple sections with appropriate supervision. Younger children can help choose fabric, trace the template, and plan decorations while an adult handles sharp tools.
5. Can the rabbit be washed?
If washable fabric and washable filling are used, the rabbit may be washable. Check the fabric care instructions and secure all seams before washing.
Conclusion
Making a fabric rabbit by sewing is a delightful beginner craft that combines imagination with practical sewing skills. From drawing the template to choosing colorful fabric and adding soft filling, every step offers an opportunity for creativity. With careful stitching, secure construction, and age-appropriate supervision, children can enjoy creating a handmade rabbit that becomes a charming keepsake or thoughtful gift.





Leave a Reply