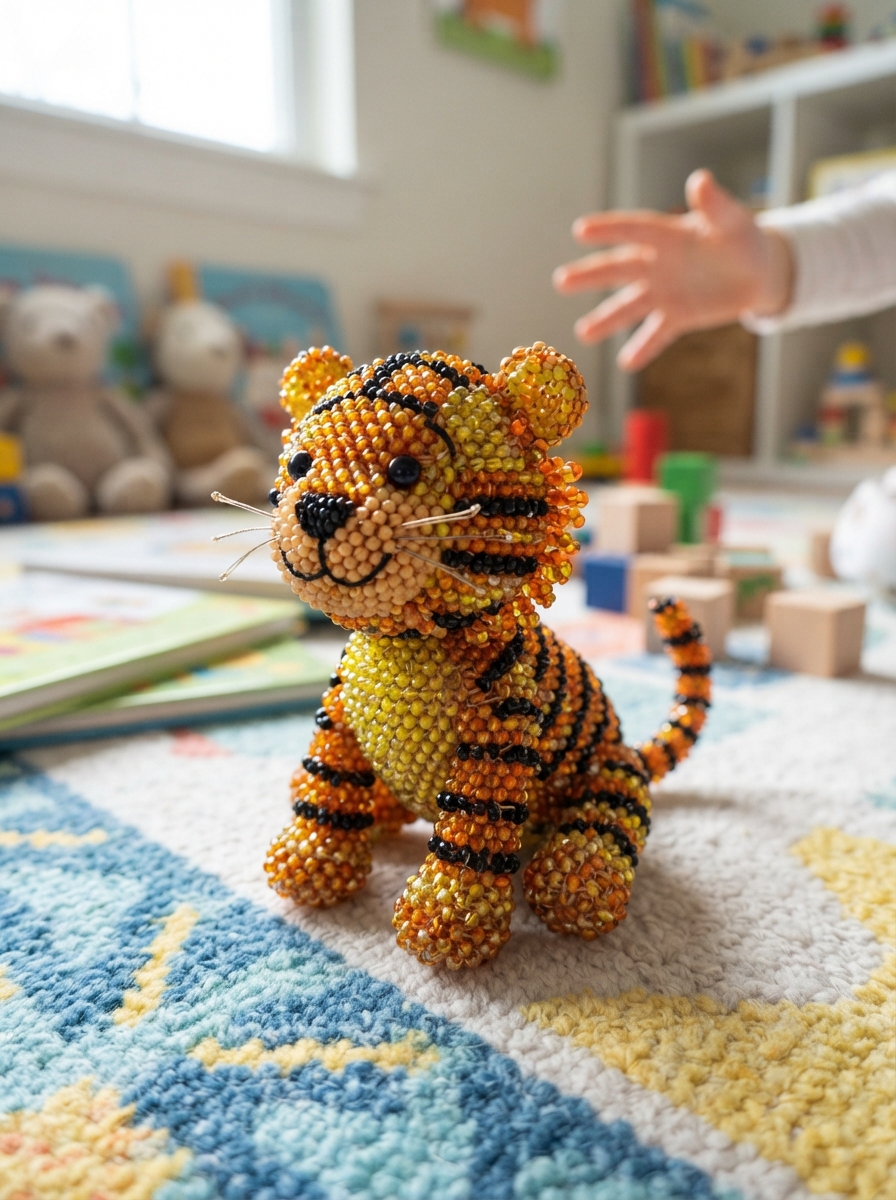
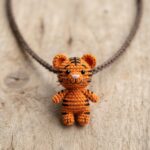
Bring the excitement of the jungle to craft time with a colorful beaded tiger! This fun project gives children an opportunity to create an animal figure while practicing patience, concentration, counting, and hand-eye coordination. With a few simple supplies and a beginner-friendly pattern, children can make a tiger that works as a small decoration, backpack charm, or handmade gift.

Materials You’ll Need
Before starting, place the materials on a clean, flat surface. Sorting the beads by color makes the project easier and more enjoyable.
| Material | Suggested Amount | Purpose |
|---|---|---|
| Orange pony beads | 25–40 | Main body and head |
| Black beads | 10–18 | Tiger stripes and eyes |
| White beads | 4–8 | Muzzle and details |
| Pink beads | 1–2 | Nose or inner ears |
| Craft wire or elastic cord | 60–90 cm | Connecting beads |
| Scissors or wire cutters | 1 pair | Cutting the cord or wire |
For young children, use larger beads and supervise the activity closely because small beads can be a choking hazard.
Choose Your Tiger Colors
A traditional tiger design uses orange, black, and white, but children can experiment with other combinations.
| Tiger Feature | Classic Color | Creative Alternative |
| Body | Orange | Yellow or gold |
| Stripes | Black | Dark brown |
| Muzzle | White | Cream |
| Nose | Pink or black | Dark brown |
| Eyes | Black | Dark brown |
Encourage children to choose their own colors. A purple-and-black tiger or a bright rainbow tiger can be just as fun as a traditional design.
Step-by-Step Instructions
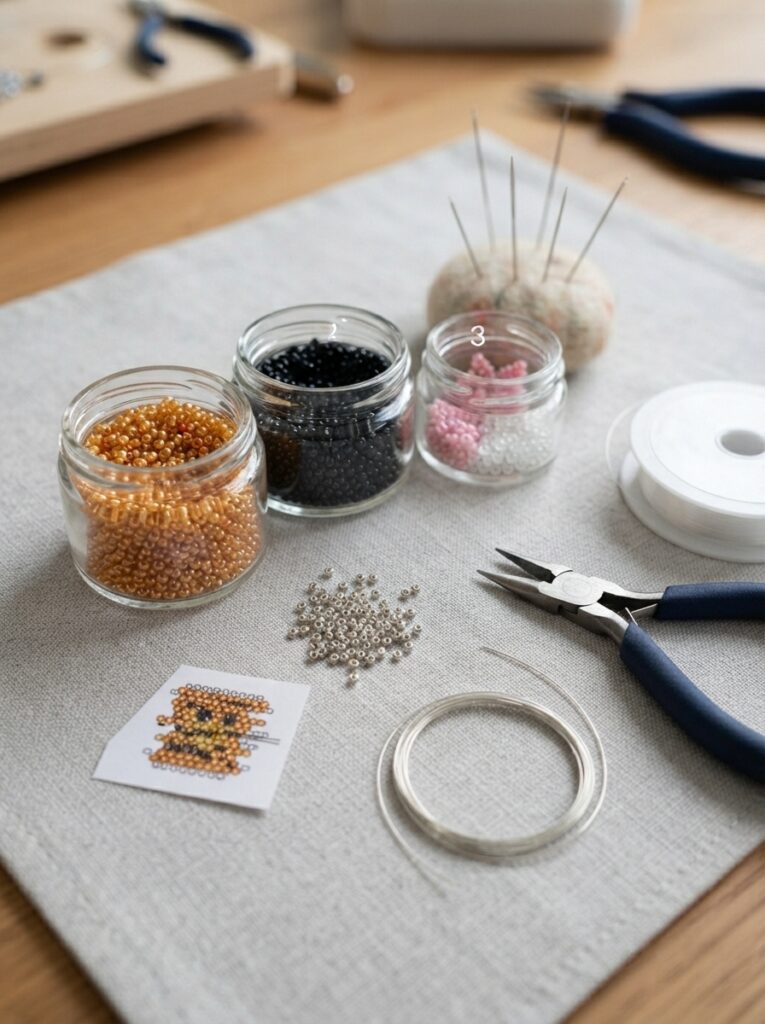
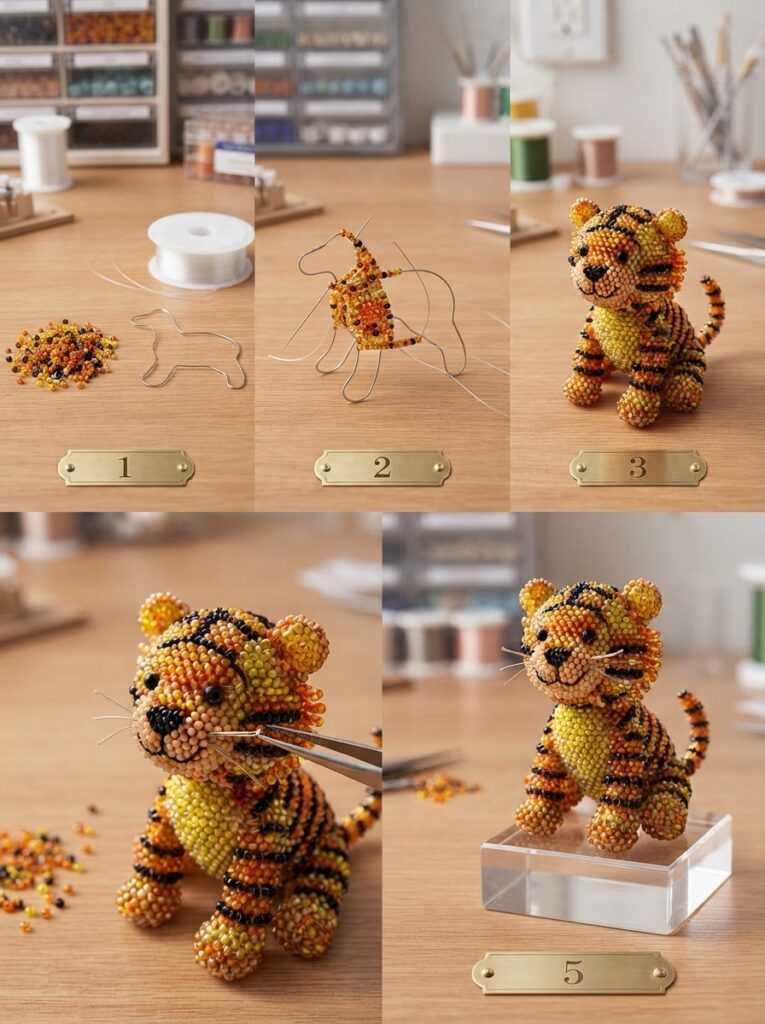
1. Prepare the Wire or Cord
Cut about 60–90 cm of flexible craft wire or elastic cord. Leave extra material at both ends so you can secure the finished figure.
Place the first beads near the center of the cord. Keeping the ends approximately even helps create a balanced pattern.
2. Create the Tiger’s Head
Begin with orange beads to form the head. Add white beads around the muzzle area and black beads for the eyes.
Follow these basic steps:
- Thread the first row of orange beads.
- Add black beads where the eyes should appear.
- Use white beads to create the muzzle.
- Add a small dark or pink bead for the nose.
- Check the shape before tightening the row.
Pull the cord gently after each section. Avoid excessive tension because it can make the design difficult to adjust.
3. Add the Tiger’s Stripes
The stripes are the most recognizable feature of a tiger. Add black beads along the sides of the head and body to create a striped appearance.
You do not need to make every stripe identical. Slight variations can give the handmade tiger a more playful look.
Build the Body and Finish the Figure
| Detail | Simple Technique | Purpose |
| Stripes | Add black beads between orange sections | Creates the tiger pattern |
| Ears | Small bead sections | Defines the head |
| Eyes | Two dark beads | Adds expression |
| Legs | Short vertical sections | Forms the body |
| Tail | Narrow bead strand | Completes the silhouette |
After completing the body, add a short tail using orange and black beads. Secure the wire by twisting it carefully or tie the cord with a firm knot. Trim excess material and make sure no sharp wire ends remain.
Helpful Tips for Children
- Sort the beads before beginning.
- Work over a tray to catch loose beads.
- Follow a simple pattern for the first attempt.
- Count each row as you work.
- Keep the cord organized to prevent tangling.
- Take short breaks during longer projects.
For example, a child could create a small orange tiger with six or eight black stripes and attach it to a backpack. Another child could make a larger tiger and display it on a bedroom shelf.
FAQ
What beads are best for beginners?
Large pony beads are a good option because they are easy to hold and thread. They also come in many bright colors.
Can younger children make a beaded tiger?
Older children can participate with appropriate supervision. Small beads should be kept away from toddlers and children who may put craft materials in their mouths.
Should I use wire or elastic cord?
Both can work. Wire is useful for shaping a figure, while elastic cord provides flexibility and is often easy for beginners to thread.
Can the tiger become a keychain?
Yes. Add a secure loop or keychain ring to the top after finishing the figure. Make sure the attachment is strong before placing it on a backpack.
Does the tiger have to follow a specific pattern?
No. A pattern helps beginners, but children can experiment with colors, stripes, and sizes to create their own unique tiger.
Conclusion
Making a beaded tiger is a creative and rewarding activity for children who enjoy animals and colorful crafts. By sorting beads, following simple rows, and adding distinctive stripes, children can develop patience and fine-motor skills while creating something they can proudly display. Whether used as a decoration, charm, or handmade gift, every beaded tiger can have its own personality.

Leave a Reply