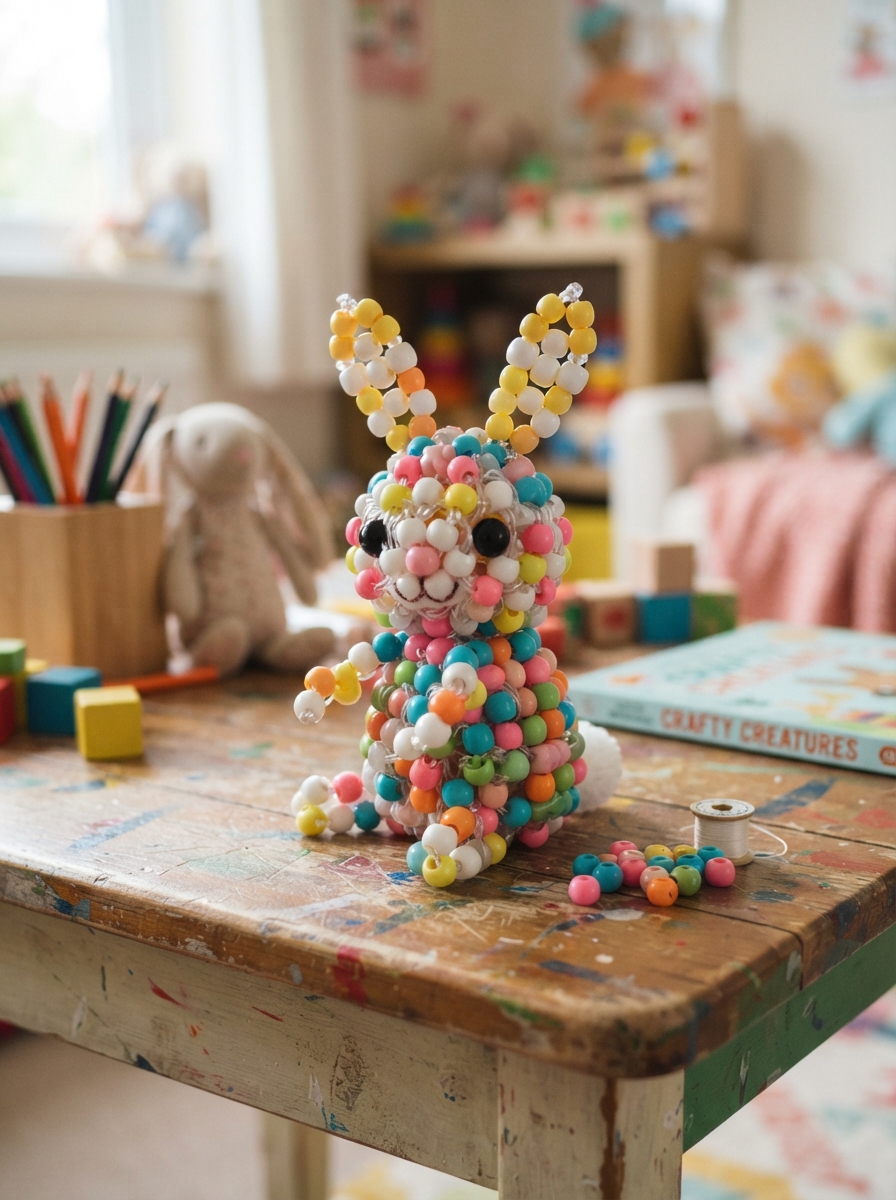
Creating a cute rabbit character from beads is a fun craft project that combines creativity, patience, and simple hand skills. Children can choose their favorite colors and turn a handful of colorful beads into a tiny bunny they can use as a decoration, charm, or handmade gift.
This project is especially enjoyable for craft afternoons, school activities, or rainy days at home. With adult supervision and appropriately sized materials, beginners can follow the steps and create an adorable beaded rabbit without complicated equipment.
Materials You’ll Need
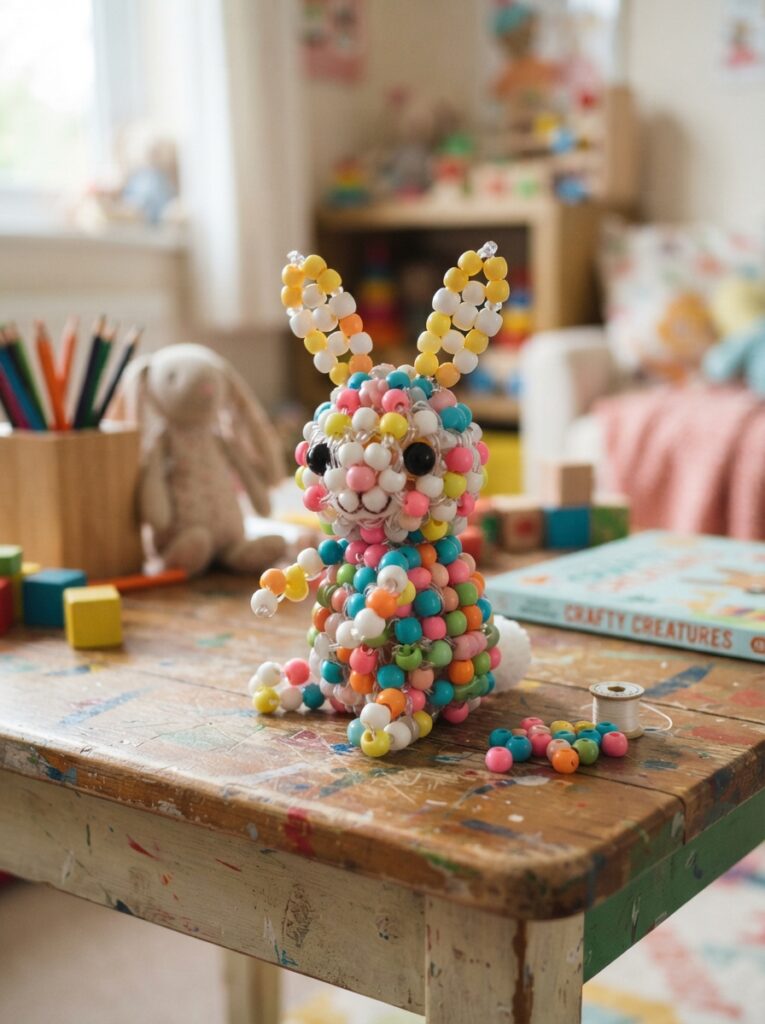
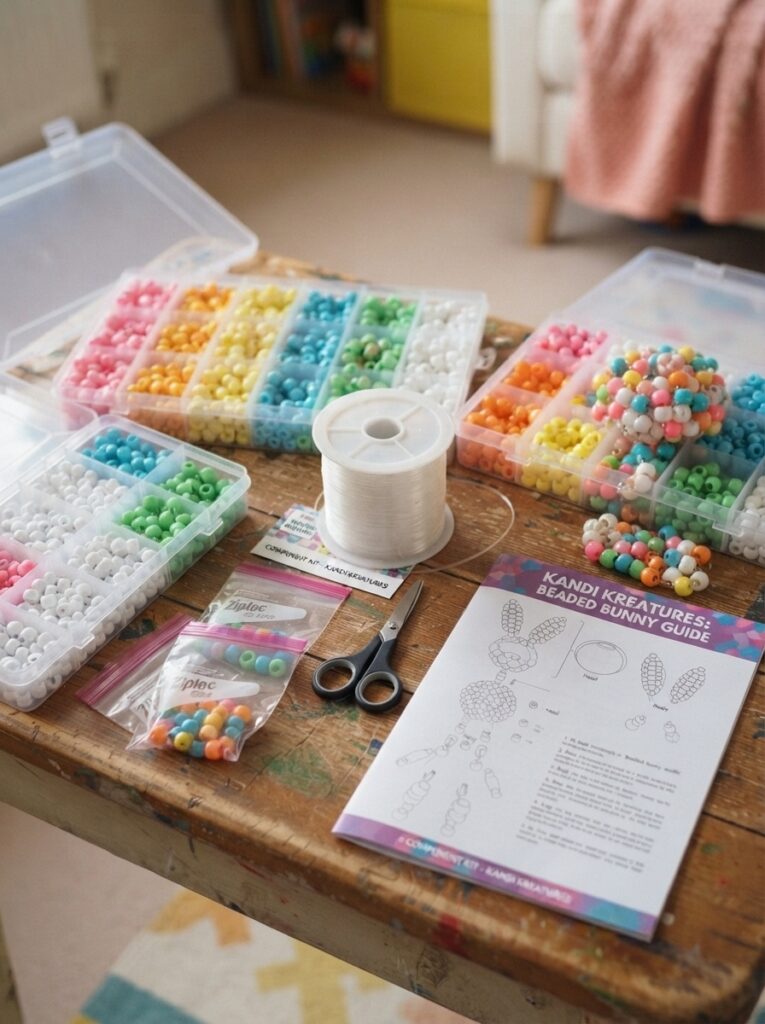
Before starting, prepare everything on a clean, flat workspace. Using a small tray or container can help prevent beads from rolling away.
| Material | Suggested Choice | Purpose |
|---|---|---|
| Craft beads | White, pink, black, or pastel | Rabbit body and details |
| Beading cord | Flexible nylon or craft cord | Holds the beads together |
| Scissors | Small, sharp craft scissors | Cutting the cord |
| Larger accent beads | Pink or another bright color | Nose, ears, or decoration |
| Small container | Any shallow tray | Keeps beads organized |
For younger children, choose larger beads that are easier to handle and supervise the activity closely because small beads can be a choking hazard.
Choosing Colors for Your Rabbit
One of the best parts of this craft is designing a rabbit with a personal style. A traditional bunny can be white with pink details, while a colorful version might use lavender, blue, yellow, or green.
| Rabbit Style | Main Color | Accent Colors |
| Classic Bunny | White | Pink and black |
| Spring Bunny | Light green | Yellow and white |
| Pastel Bunny | Lavender | Pink and cream |
| Rainbow Bunny | Mixed colors | White and black |
Try laying the beads out before threading them. This gives children a chance to experiment with the design and makes the final character more balanced.
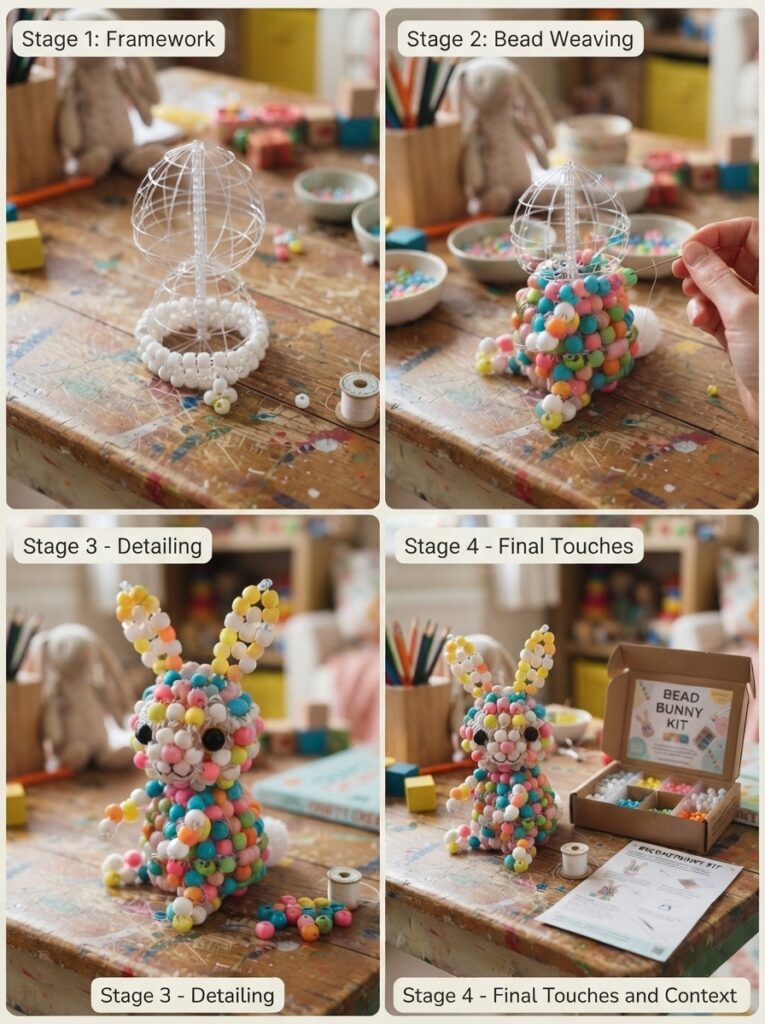
Step-by-Step Instructions
1. Prepare the Cord
Cut a manageable length of beading cord. Leave extra cord at both ends so you have enough space to secure the finished rabbit.
Avoid making the cord unnecessarily long, as excess cord can become tangled while working.
2. Create the Rabbit’s Body
Start threading the main body beads according to your chosen pattern. Keep the rows or sections symmetrical when possible.
Gently tighten the cord after each section, but do not pull so hard that the beads become difficult to move or the cord stretches.
3. Add the Head
Use a slightly different bead arrangement for the head. A few larger or differently colored beads can help distinguish the rabbit’s face from its body.
Add two dark beads for the eyes and a small pink bead for the nose if your bead size and pattern allow it.
4. Make the Ears
The ears are what give the character its unmistakable rabbit shape. Use white or your chosen main color for the outside and pink beads for the inner section.
Try making both ears approximately the same length. Small differences are perfectly fine and can give the handmade rabbit extra personality.
5. Finish and Secure the Design
When all the beads are in place, carefully tighten the cord and secure the ends with a suitable knot. An adult should handle scissors and any difficult knotting for younger children.
Check the finished rabbit carefully:
- Make sure the beads are secure.
- Trim excess cord safely.
- Check that there are no sharp or loose ends.
- Gently straighten the ears and body.
Helpful Tips for Beginners
A few simple techniques can make the project much easier:
- Sort the beads first. Separate colors and sizes before beginning.
- Use a tray. It prevents beads from disappearing across the table.
- Follow a simple pattern. Beginners should start with fewer colors.
- Work slowly. Rushing can lead to misplaced beads or loose sections.
- Take breaks. Small hand movements can become tiring during longer projects.
For example, if a child wants to make a bunny for a friend, they could choose the friend’s favorite colors and add a small ribbon afterward.
Creative Ways to Use Your Beaded Rabbit
Once finished, the rabbit can become more than just a craft project. Depending on the size and construction, it can be used as:
- A decorative piece for a child’s room
- A handmade gift
- A seasonal Easter decoration
- A classroom craft
- A cute addition to a craft display
- A small decorative charm when securely constructed
For Pinterest users, photographing the finished rabbit beside the colorful beads and materials can make an attractive project image. A bright, uncluttered background helps the finished design stand out.
FAQ
1. Is this project suitable for beginners?
Yes. A simple rabbit pattern can be a good introduction to basic bead threading. Beginners should start with larger beads and a straightforward design.
2. What beads are best for children?
Larger craft beads are generally easier for children to handle. Always choose materials appropriate for the child’s age and supervise young children because beads can be choking hazards.
3. Can I make the rabbit in different colors?
Absolutely. White and pink create a traditional bunny, but pastel, rainbow, or bright colors can make the character more playful and personalized.
4. How can I make the rabbit look more detailed?
You can experiment with different bead sizes, contrasting colors, longer ears, or small decorative accents. Keep the basic structure simple while adding details gradually.
5. Can the finished rabbit be given as a gift?
Yes, provided it is securely constructed and appropriate for the recipient. For young children, avoid presenting small-bead creations as toys that could be placed in the mouth.
Conclusion
Making a beaded rabbit character is an enjoyable way to introduce children to creative crafting. By sorting the materials, following a simple pattern, and working carefully, beginners can create a charming bunny with their own personal style.
The project also encourages patience, hand coordination, and creative decision-making. Whether you make a classic white rabbit, a colorful spring bunny, or a personalized gift, the most important part is enjoying the process and letting each child’s imagination shape the final character.





Leave a Reply