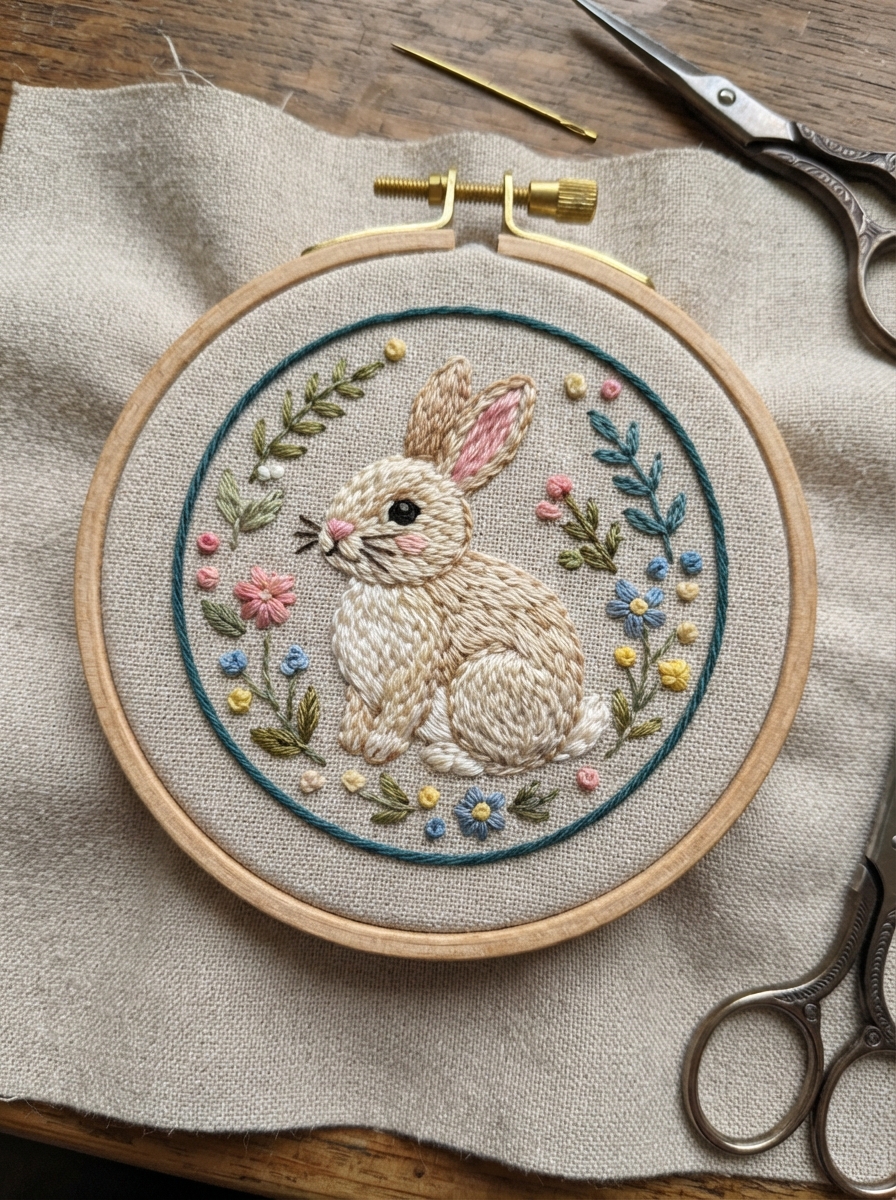
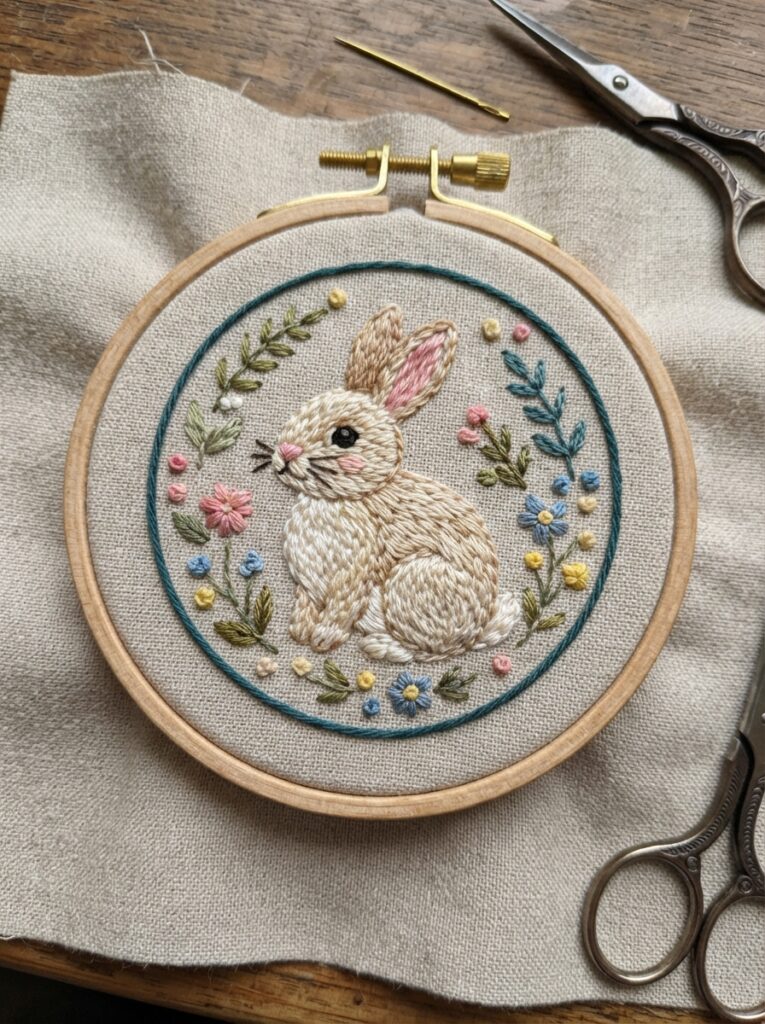
A tiny embroidered rabbit can turn a simple piece of fabric into a charming handmade decoration. Framing the rabbit inside a circle gives the design a neat, balanced appearance and makes the project especially suitable for beginners. With a few basic stitches, colorful embroidery floss, and a little patience, you can create a sweet rabbit that looks lovely on a hoop, small frame, tote bag, or children’s room decoration.
This project is also a fun craft for older children learning embroidery with adult supervision. The simple shapes make it easy to experiment with colors while practicing useful stitching techniques.
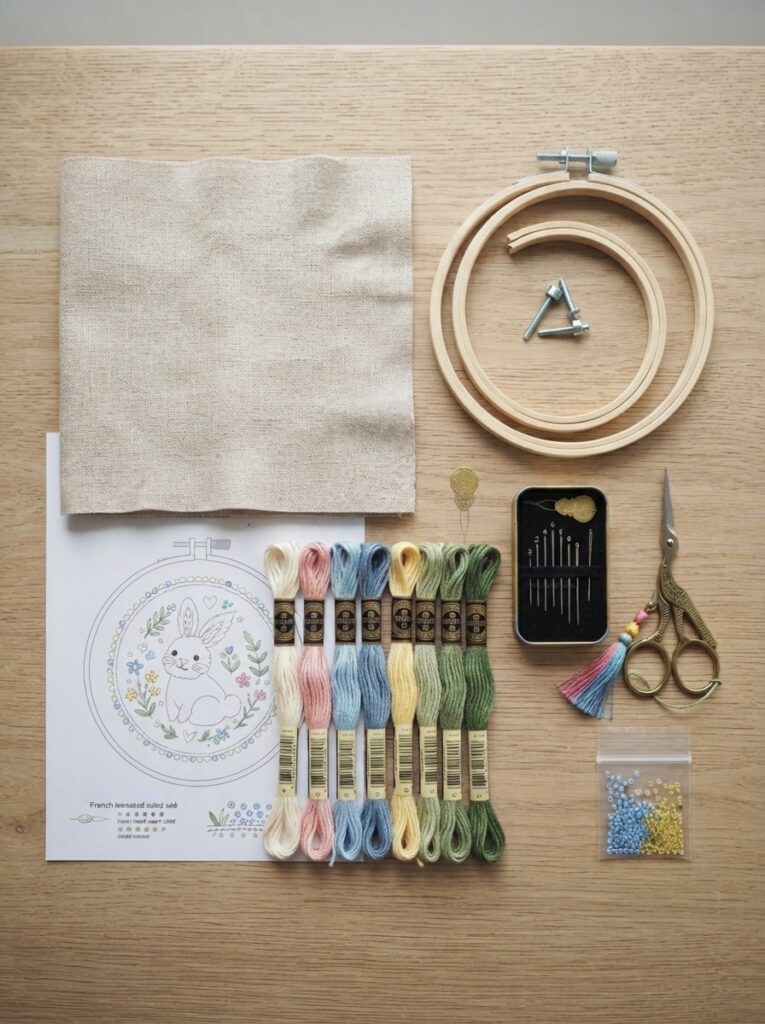
Materials You’ll Need
Prepare your supplies before beginning. Using a small embroidery hoop will help keep the fabric stable while you work.
| Material | Recommended Choice | Purpose |
|---|---|---|
| Fabric | Cotton or linen | Provides a stable stitching surface |
| Embroidery hoop | 10–15 cm | Keeps fabric smooth and firm |
| Embroidery floss | White, pink, brown, green | Creates the rabbit and details |
| Embroidery needle | Medium embroidery needle | Makes stitching easier |
| Fabric marker | Washable pen | Draws the design |
| Small scissors | Sharp embroidery scissors | Trims thread |
| Small frame | Round or square | Displays the finished piece |
Creating the Rabbit Design
Before stitching, lightly sketch your rabbit inside the center of the fabric. The design can be very simple: a round head, two long ears, a small body, and a tiny tail.
Keep the Shape Beginner-Friendly
A good beginner pattern should include:
- Two long, rounded ears
- A small oval head
- A simple body
- Two tiny eyes
- A small nose
- Optional whiskers
- A little round tail
Leave enough space between the rabbit and the circular border so the design does not feel crowded.
How to Embroider the Rabbit
Place the fabric in the hoop and tighten it until the surface is smooth. Avoid pulling the fabric excessively because this can distort the design.
Step 1: Draw the Circle and Rabbit
Use a washable fabric pen to create a circular border. You can trace around a small cup or another round object to make an even circle.
Next, sketch the rabbit lightly inside the circle. Keep the lines simple and easy to follow.
Step 2: Embroider the Rabbit Outline
Use backstitch to outline the rabbit’s head, ears, and body. Bring the needle up through the fabric, then make small, evenly spaced stitches along the drawn line.
For a softer appearance, use brown or gray thread instead of black.
Step 3: Fill the Ears and Body
Satin stitch can be used to fill larger areas. Work with short, parallel stitches placed close together.
For a quicker project, you do not have to fill the entire rabbit. An outlined rabbit with a few colored details can look just as attractive.
| Rabbit Detail | Suggested Stitch | Thread Color |
| Body outline | Backstitch | Brown or gray |
| Ears | Satin stitch | White or pink |
| Eyes | French knots | Black |
| Nose | Small straight stitch | Pink |
| Tail | Satin stitch | White |
| Whiskers | Straight stitch | Gray or brown |
Step 4: Add the Face
The face gives the rabbit its personality. Use tiny French knots for the eyes and a small straight stitch for the nose.
If French knots are challenging, make tiny straight stitches instead. The goal is to create a cute expression without making the details unnecessarily complicated.
Step 5: Decorate the Circular Border
The circle can remain simple, or you can decorate it with tiny flowers, leaves, dots, or stars.
For a child’s project, colorful dots around the border can create a cheerful appearance. For a more elegant design, use a single green or brown thread for a botanical border.
Tips for Neat Embroidery
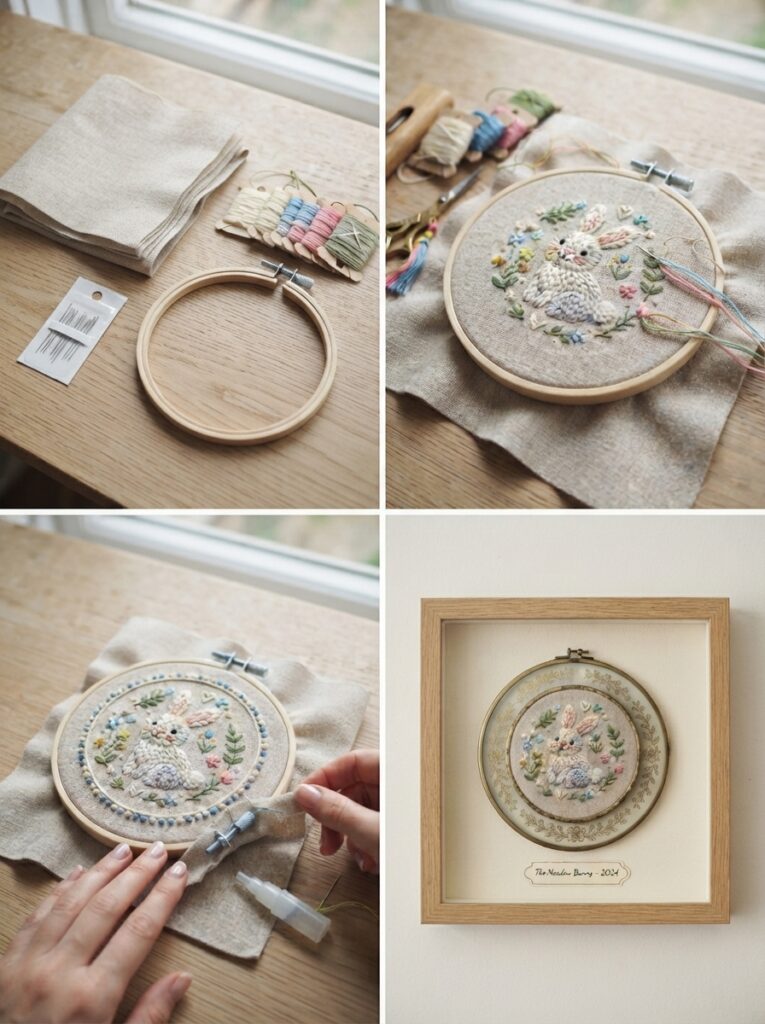
Good technique makes a noticeable difference in the final result.
- Use shorter lengths of embroidery floss to prevent tangling.
- Keep your stitches similar in size.
- Avoid pulling the thread too tightly.
- Check the back of your work occasionally.
- Use a washable marker that is suitable for your fabric.
- Practice unfamiliar stitches on scrap material first.
For example, a white rabbit with pink ears inside a green embroidered circle can make a lovely nursery decoration. A pastel version with tiny flowers around the border would also work beautifully as a handmade gift.
Helpful Stitch Guide
| Stitch | Best Use | Difficulty |
| Backstitch | Outlines and borders | Easy |
| Straight stitch | Whiskers and tiny details | Very easy |
| Satin stitch | Filling ears or tail | Easy |
| French knot | Eyes and decorative dots | Moderate |
| Lazy daisy | Small flowers | Easy |
FAQ
1. What fabric is best for this rabbit embroidery?
Cotton and linen are excellent choices for beginners because they are stable and easy to stitch. Medium-weight fabric is generally easier to handle than very thin material.
2. Can I make the rabbit without filling it?
Absolutely. A simple outline with colorful facial details can look clean and modern. This is also faster and easier for beginners.
3. How do I make a perfect circle?
Trace around a small cup, lid, or round template with a washable fabric marker. Make sure the circle is large enough to leave comfortable space around the rabbit.
4. What colors work well for a rabbit design?
White, cream, gray, brown, and soft pink are classic choices. Children may also enjoy brighter colors such as lavender, blue, yellow, or mint green.
5. Can children make this embroidery project?
Yes, older children can enjoy the project with appropriate adult supervision. Choose suitable needles and scissors, keep the design simple, and focus on learning rather than perfect stitches.
Conclusion
Embroidering a small rabbit inside a circle is a simple and rewarding project that combines creativity with basic embroidery skills. By starting with an uncomplicated design and using stitches such as backstitch, satin stitch, and straight stitch, beginners can create a charming handmade piece without complicated techniques.
Experiment with different thread colors, add flowers or decorative dots, and let the rabbit’s personality shine. Whether displayed in a hoop, framed as wall art, or given as a handmade gift, this little rabbit is sure to bring a warm touch to any space. 🐰





Leave a Reply