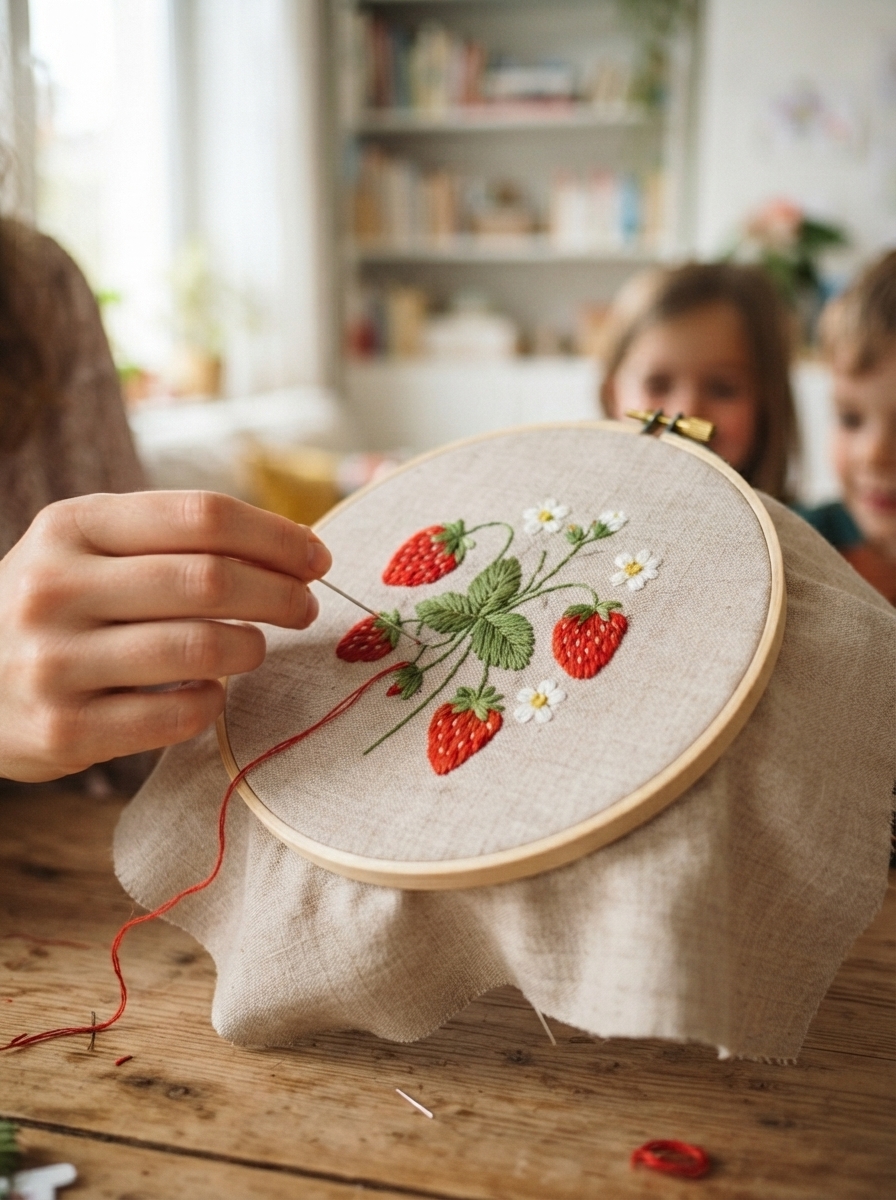
Bring a little summer charm to your fabric with strawberry embroidery! This sweet and colorful project is an excellent choice for beginners because the strawberry shape is simple to draw, easy to stitch, and perfect for experimenting with different embroidery techniques. Whether you want to decorate a tote bag, make a small hoop artwork, personalize clothing, or create a handmade gift, a strawberry design can add a cheerful touch.
You do not need advanced skills to get started. With a few basic materials and simple stitches, you can create a bright strawberry that looks handmade, playful, and unique.
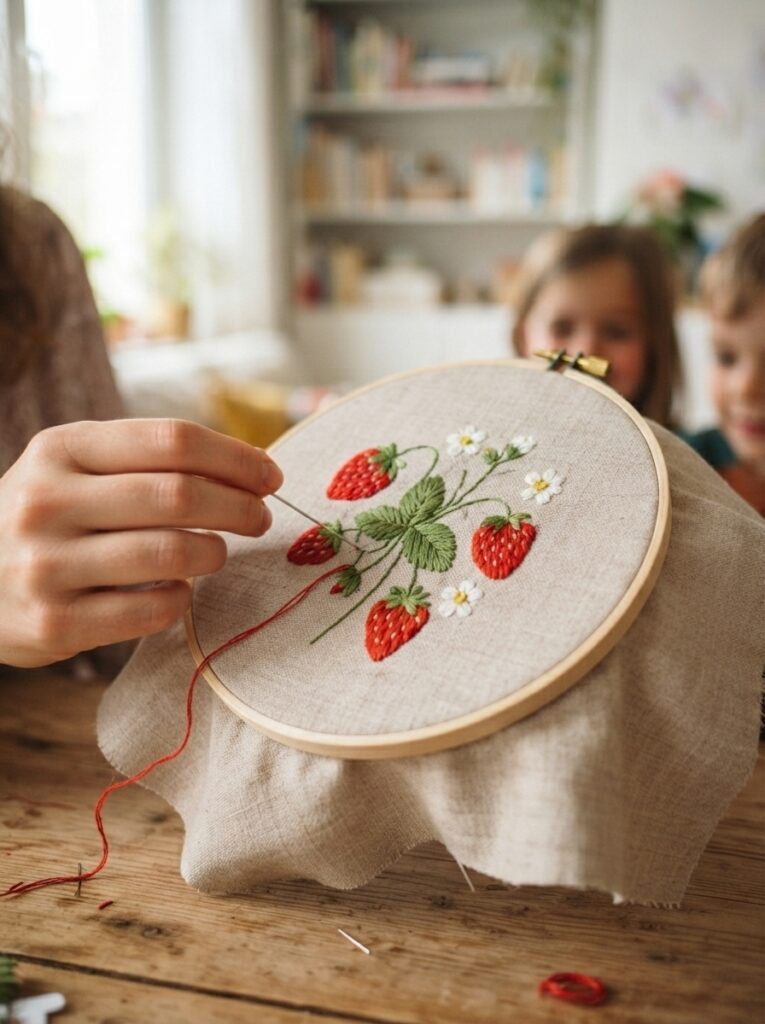
Why Strawberry Embroidery Is Great for Beginners
Strawberries have recognizable shapes, making them easy to turn into embroidery patterns. The red fruit, green leaves, and tiny seeds also provide natural opportunities to practice different stitches.
| Design Feature | Recommended Technique | Skill Practiced |
|---|---|---|
| Strawberry outline | Backstitch | Stitch control |
| Red fruit | Satin stitch | Filling shapes |
| Green leaves | Straight stitch | Direction and spacing |
| Seeds | Small straight stitches | Precision |
Materials You Will Need
Before beginning, prepare your materials on a clean, comfortable work surface. Keeping everything nearby makes the process smoother.
- Cotton, linen, or another embroidery-friendly fabric
- Embroidery hoop
- Red embroidery floss
- Green embroidery floss
- Black, brown, or cream floss for seeds
- Embroidery needle
- Small embroidery scissors
- Washable fabric marker or pencil
- Simple strawberry template
Choosing the Right Fabric and Thread
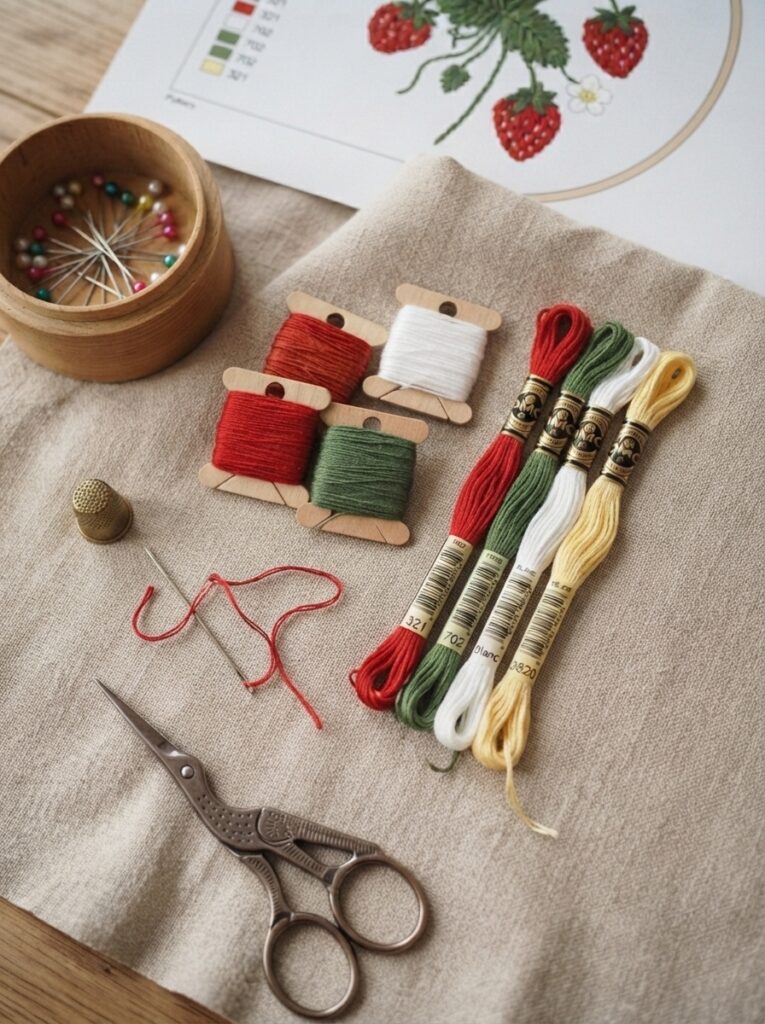
A medium-weight cotton fabric is often a comfortable option for beginners. It is sturdy enough to hold stitches while remaining easy to work with.
| Material | Beginner Recommendation | Why It Works |
| Fabric | Medium-weight cotton | Easy to stitch |
| Hoop | 10–15 cm | Comfortable for small designs |
| Thread | Embroidery floss | Available in many colors |
| Needle | Embroidery needle | Suitable for multiple strands |
How to Make a Strawberry Embroidery
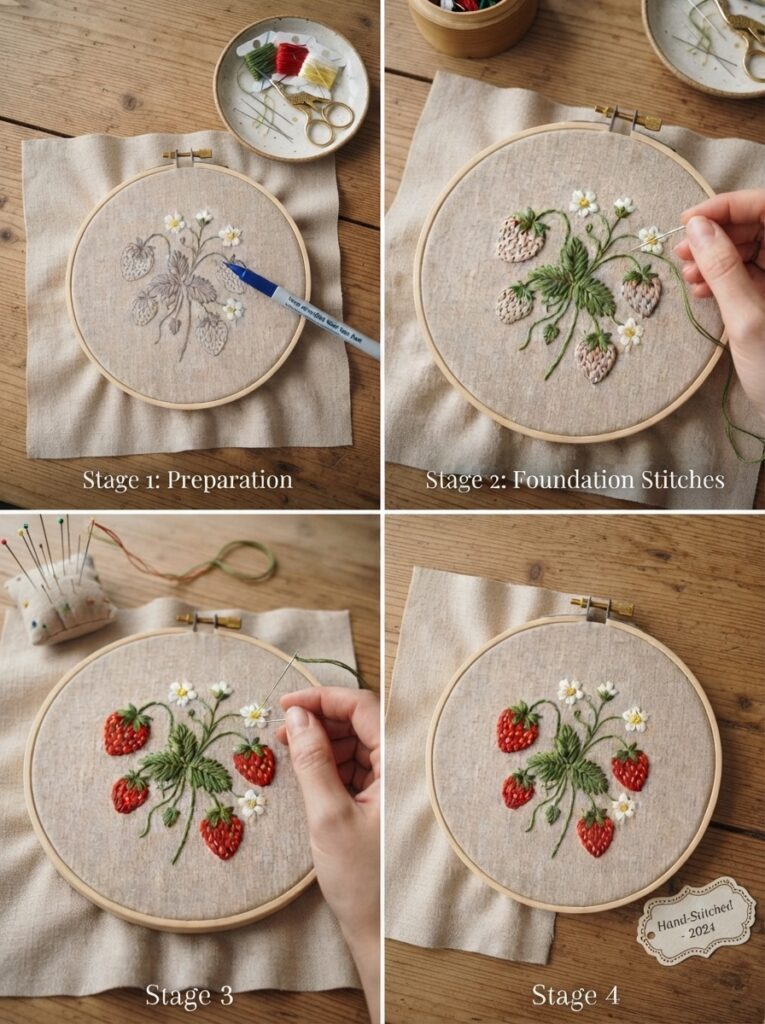
1. Draw the Strawberry
Place the fabric inside your hoop and tighten it gently. The fabric should be smooth without being stretched excessively.
Use a washable marker to draw a simple strawberry shape. Add a leafy crown at the top and lightly mark where the seeds will go.
For a first project, keep the strawberry relatively large. This gives you more space to practice your stitches.
2. Stitch the Strawberry Outline
Thread your needle with red floss and use a backstitch to trace the outside of the strawberry.
Try to keep your stitches relatively even. If your first few stitches look different in size, do not worry—consistent practice will improve your control.
3. Fill the Fruit
Use a satin stitch to fill the strawberry with red thread. Work with closely spaced, parallel stitches that follow the shape of the fruit.
Another option is to leave the inside unfilled and create a simple outlined strawberry. This can give the finished design a lighter, minimalist appearance.
Add the Leaves
Switch to green floss and stitch the leafy top using short straight stitches. You can fill each leaf individually or simply outline them.
4. Add the Seeds
The seeds are what make the design instantly recognizable. Use short stitches in black, brown, cream, or a darker red.
Space them naturally across the fruit rather than arranging every seed perfectly. Slight variations can make the embroidery look more organic.
A simple finishing process is:
- Check the front for loose or uneven threads.
- Secure the thread on the back.
- Trim excess thread carefully.
- Remove any remaining fabric markings.
- Keep the embroidery in the hoop or transfer it to another project.
Practical Tips for Better Results
A few simple habits can make strawberry embroidery easier and more enjoyable:
- Avoid pulling the thread too tightly.
- Use shorter thread lengths to reduce tangling.
- Practice satin stitch on scrap fabric first.
- Keep the needle and scissors safely stored when not in use.
- Choose contrasting colors so the strawberry stands out.
- Leave enough space between seeds to keep the design clear.
- Take breaks during longer embroidery sessions.
A Fun Real-Life Project
A small strawberry embroidery can become a personalized summer tote bag. For example, stitch three strawberries of different sizes near one corner, add a few tiny flowers, and use green thread for delicate stems. The same design could also decorate a fabric pencil case, kitchen towel, or handmade card.
FAQ
1. Is strawberry embroidery suitable for beginners?
Yes. The design uses simple shapes and basic stitches, making it an excellent first embroidery project. Start with an outline before trying filled sections.
2. What stitch is best for filling the strawberry?
Satin stitch creates a smooth, solid appearance. However, you can also use simple straight stitches if you prefer a more textured finish.
3. How can I make the strawberry look more realistic?
Use two shades of red to create subtle variation, then add darker green or lighter green leaves. Slightly varying the seed placement can also make the design feel more natural.
4. Can I embroider a strawberry on clothing?
Yes, provided the fabric is suitable for embroidery and the finished stitching will not interfere with how the garment is worn or washed. Stabilizing the fabric can help keep the design neat.
5. What can I make with strawberry embroidery?
You can create framed artwork, hoop decorations, tote bags, clothing details, pencil cases, bookmarks, cards, and handmade gifts. Small strawberry motifs are particularly versatile.
Conclusion
Strawberry embroidery is a cheerful project that combines simple shapes, bright colors, and useful beginner stitches. From outlining the fruit to filling it with red thread and adding tiny seeds, every step provides an opportunity to practice embroidery skills.
Start with a simple design, work patiently, and do not worry about making every stitch perfect. Your finished strawberry will have its own handmade character—and that is what makes embroidery so special.





Leave a Reply