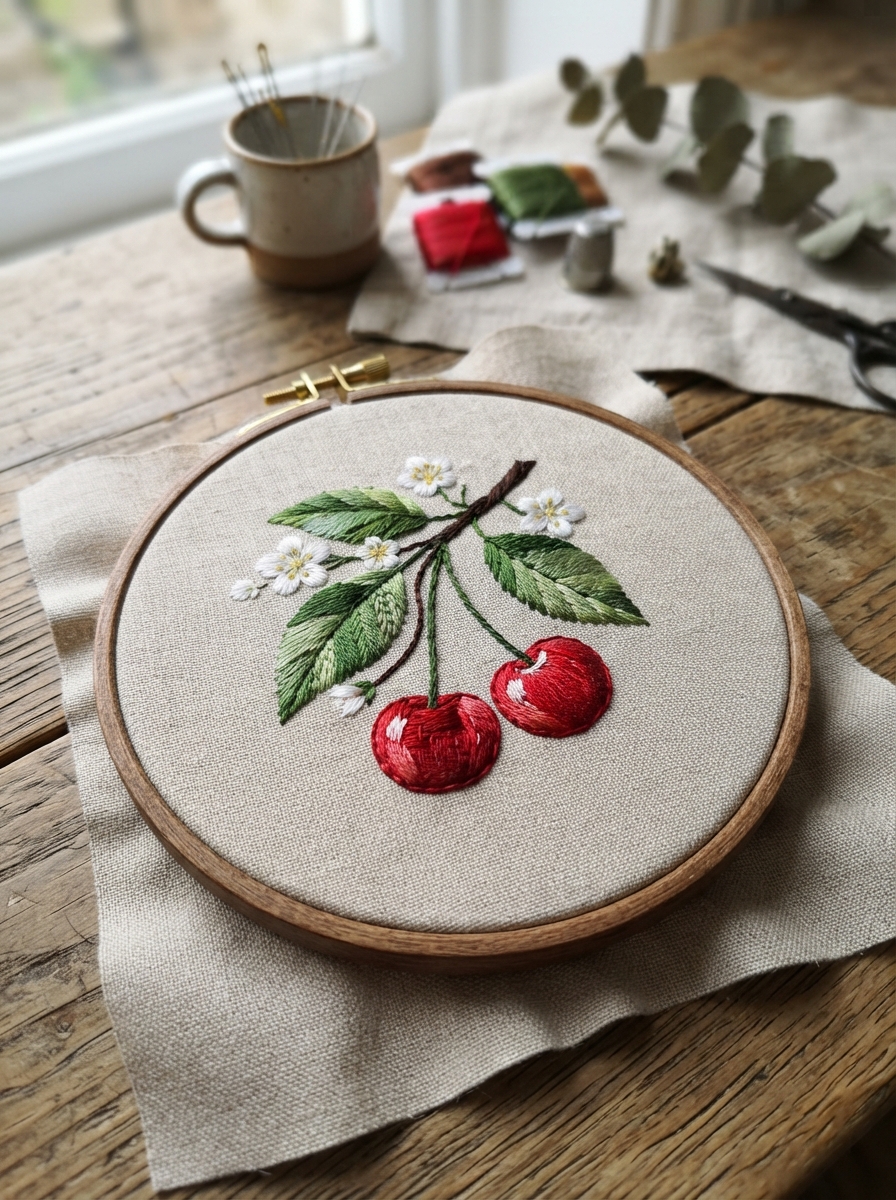
Add a playful touch to your favorite fabric with cherry embroidery! With their round shapes, curved stems, and bright colors, cherries make an excellent beginner embroidery project. You can stitch a single cherry, create a pair connected by stems, or build a cheerful fruit pattern with several cherries.
This craft is simple enough for beginners but versatile enough to inspire more advanced designs. Once finished, your cherry motif can decorate a tote bag, embroidery hoop, pencil case, clothing, kitchen towel, or handmade card.

Why Cherry Embroidery Is a Great Beginner Project
Cherry designs use only a few recognizable elements: red fruit, green stems, and small leaves if you choose to add them. This makes it easy to practice basic embroidery without working on complicated shapes.
| Design Element | Suggested Stitch | Main Skill |
|---|---|---|
| Cherry outline | Backstitch | Creating smooth curves |
| Cherry fruit | Satin stitch | Filling small shapes |
| Stems | Stem stitch | Following curved lines |
| Leaves | Straight stitch | Practicing direction |
| Highlights | Small straight stitch | Adding detail |
Materials You Will Need
Gather your supplies before starting. You do not need expensive equipment for this project.
- Cotton or linen fabric
- Small embroidery hoop
- Red embroidery floss
- Green embroidery floss
- White or pink floss for optional highlights
- Embroidery needle
- Small embroidery scissors
- Washable fabric marker
- Simple cherry template
Choosing Fabric and Thread
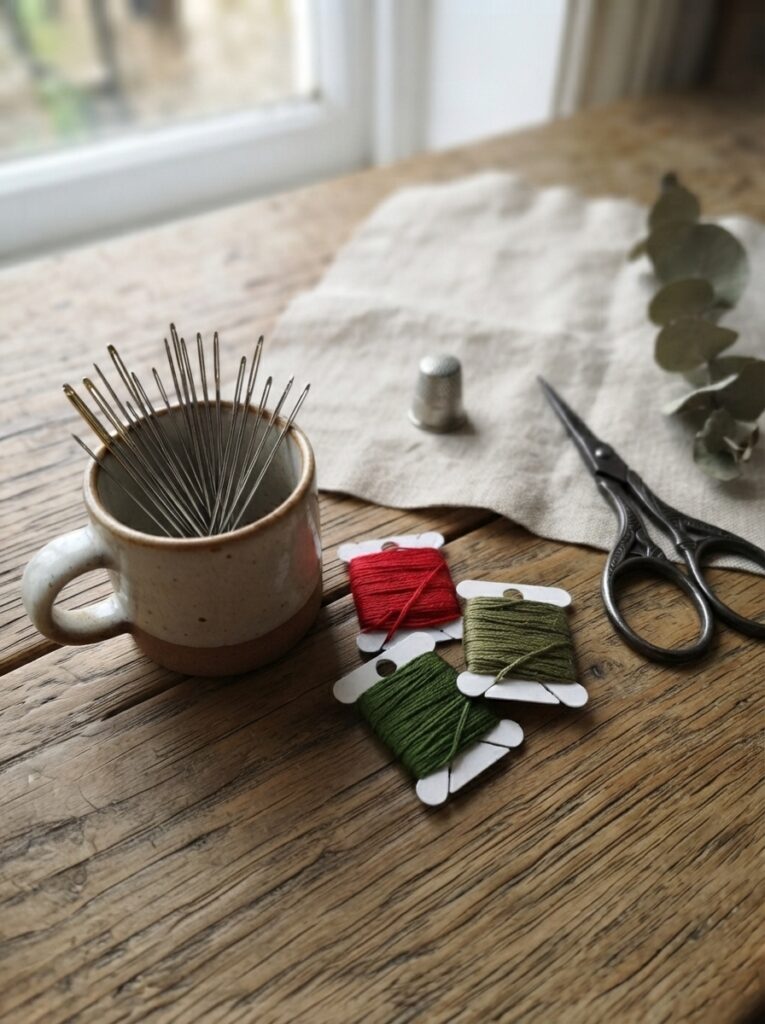
For a first project, medium-weight cotton is a practical choice because it is stable and relatively easy to stitch. Embroidery floss is also convenient because it can be separated into individual strands to create thinner or thicker lines.
| Supply | Recommended Choice | Helpful Tip |
| Fabric | Medium-weight cotton | Avoid very stretchy fabric |
| Hoop | 10–15 cm | Easy to hold while stitching |
| Thread | Embroidery floss | Separate strands for detail |
| Needle | Embroidery needle | Choose an eye large enough for your thread |
How to Make a Cherry Embroidery
1. Prepare Your Pattern
Place the fabric in the embroidery hoop and tighten it gently. The fabric should be smooth and firm but not stretched excessively.
Use a washable fabric pencil to draw two small circles for the cherries. Add curved stems connecting them at the top. You can also draw one or two leaves for a more detailed design.
Keep the first pattern simple. Larger cherries are easier to stitch than tiny ones.
2. Stitch the Cherry Outlines
Thread your needle with red floss and use a backstitch to follow the outline of each cherry.
Work slowly around the curves. Rather than making extremely long stitches, use shorter stitches around rounded sections. This helps the outline maintain its shape.
3. Fill the Fruit
For a bold design, fill each cherry using satin stitch. Place the stitches close together and keep them generally parallel.
If satin stitch feels difficult, you can use simple straight stitches instead. They create a slightly textured appearance while remaining easy to control.
Add a Small Highlight
A tiny white or pale-pink stitch near the edge of each cherry can create the impression of a glossy surface. This detail is optional but gives the fruit a cheerful, polished appearance.
4. Add the Stems and Leaves
Switch to green embroidery floss. A stem stitch works especially well for the curved cherry stems because it creates a smooth, slightly raised line.
For leaves, use short straight stitches following the direction of the leaf. You can use two shades of green if you want additional depth.
Finish by securing the thread neatly at the back of the fabric and trimming excess thread.
Practical Tips for Better Results

Keep these simple suggestions in mind while working:
- Do not pull the thread too tightly.
- Use shorter lengths of floss to reduce tangling.
- Practice unfamiliar stitches on scrap fabric first.
- Leave enough space between separate design elements.
- Use contrasting thread colors against your fabric.
- Keep your pattern simple when learning.
- Take regular breaks during longer embroidery sessions.
A Fun Real-Life Example
A pair of embroidered cherries can make a plain canvas pencil pouch much more personal. For example, stitch two bright-red cherries near one corner, add green stems, and place a few tiny leaves around them. The same motif could be repeated across a tote bag to create a playful fruit pattern.
FAQ
1. Is cherry embroidery suitable for beginners?
Yes. Cherries are made from simple circular shapes and curved lines. Beginners can start with outlines before moving on to filled stitches.
2. Which stitch is best for cherry stems?
Stem stitch is an excellent choice because it follows curves smoothly. Backstitch is another simple option if you are still learning.
3. How do I make the cherries look shiny?
Add one or two tiny stitches in white, cream, or pale pink near the upper side of each cherry. Keep the highlight small so it does not overpower the fruit.
4. Can I use colors other than red?
Absolutely. Embroidery is a creative craft, so you can experiment with pink, orange, purple, burgundy, or even rainbow-colored cherries. Choose colors that work well with your background fabric.
5. What can I decorate with cherry embroidery?
Cherry motifs work well on tote bags, clothing, pencil cases, fabric hoops, bookmarks, kitchen towels, greeting cards, and small handmade gifts. For frequently washed items, secure the embroidery carefully and follow the fabric’s washing instructions.
Conclusion
Cherry embroidery is a fun and approachable project that combines bright colors with simple stitching techniques. By outlining round cherries, filling the fruit, and adding curved green stems, you can create an attractive design without complicated embroidery skills.
Start with a simple pair of cherries, practice your stitches patiently, and then experiment with leaves, highlights, and different colors. Whether displayed in a hoop or added to an everyday item, your handmade cherry design can bring a cheerful and personal touch to almost any fabric project.
Leave a Reply