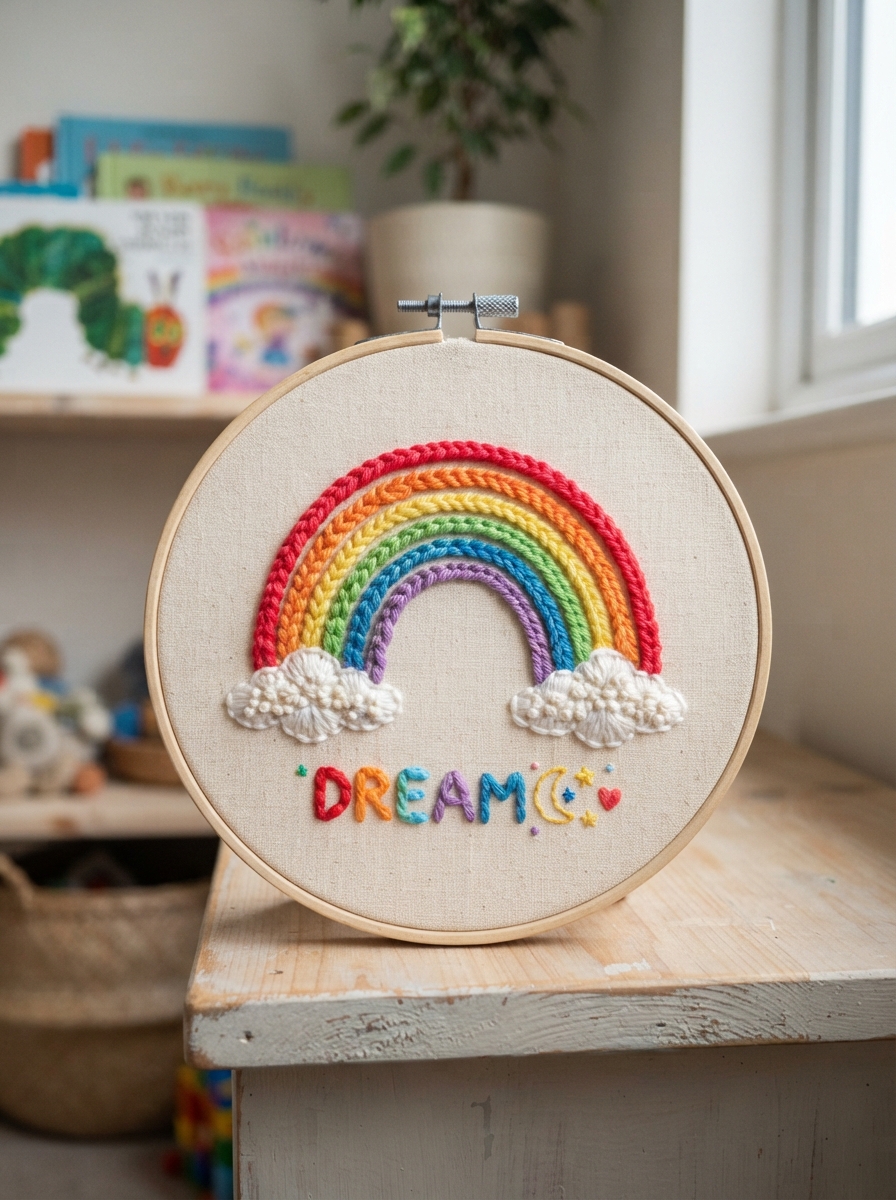
Few embroidery designs feel as cheerful and timeless as a colorful rainbow. With its curved lines and simple shapes, a rainbow is an excellent project for beginners, children, and anyone who wants to create bright handmade décor. You can stitch one on a small hoop, decorate a fabric pouch, personalize a child’s room, or turn it into a thoughtful handmade gift.
The best thing about rainbow embroidery is its flexibility. You can follow traditional rainbow colors or create your own palette using soft pastels, bold shades, or even a single-color design. With a few basic stitches and some patience, you can make a beautiful piece that feels completely personal.
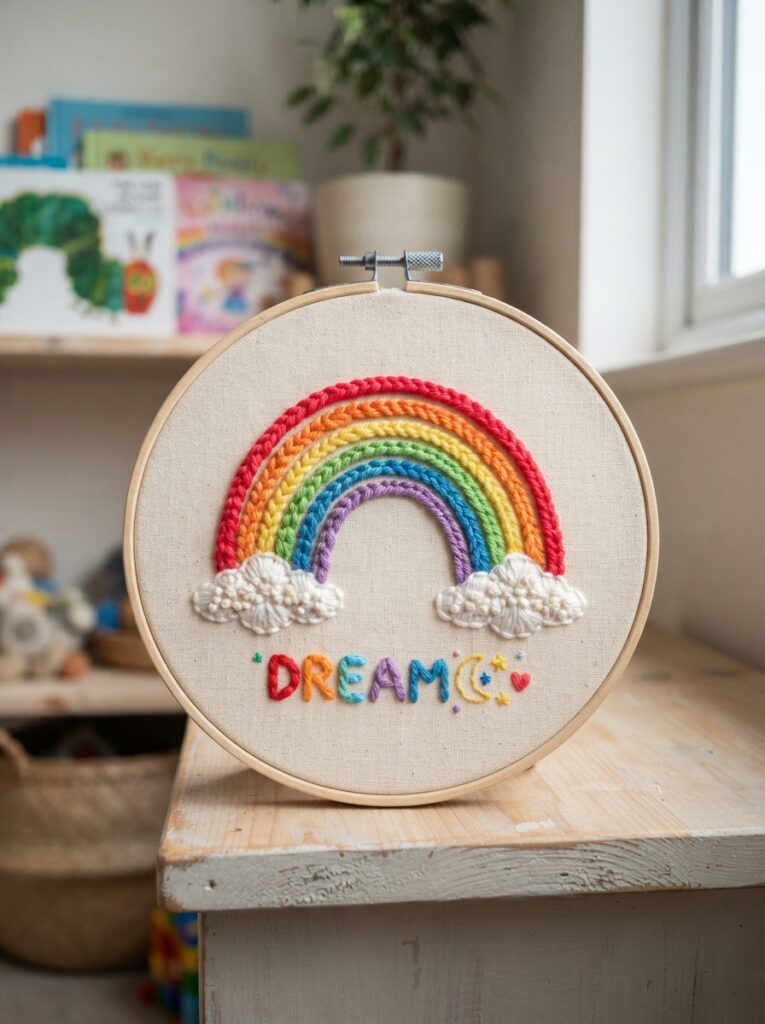
Materials You’ll Need
Start with simple, accessible supplies. Cotton or linen fabric works particularly well because it is stable and easy to stitch.
| Material | Recommended Choice | Purpose |
|---|---|---|
| Fabric | Cotton or linen | Provides a stable stitching surface |
| Embroidery hoop | 10–15 cm | Keeps fabric smooth |
| Embroidery floss | 5–7 colors | Creates colorful rainbow stripes |
| Embroidery needle | Medium embroidery needle | Makes stitching easier |
| Washable fabric pen | Fine tip | Draws the rainbow |
| Small scissors | Sharp embroidery scissors | Trims thread |
| Optional frame | Small wooden frame | Displays finished embroidery |
Planning Your Rainbow Design

Before picking up your needle, decide how you want the rainbow to look. A classic design usually contains several curved bands arranged from the outside toward the center.
Simple Color Palette
Traditional rainbow colors can include:
- Red
- Orange
- Yellow
- Green
- Blue
- Indigo
- Violet
You do not have to use all seven. A five-color rainbow is easier for a small project and can look just as attractive.
For a softer nursery decoration, try pastel pink, peach, yellow, mint, and lavender. For a child’s craft, bright contrasting colors can make the design more playful.
How to Make Rainbow Embroidery
Place the fabric securely inside the embroidery hoop. It should feel firm and smooth but should not be stretched excessively.
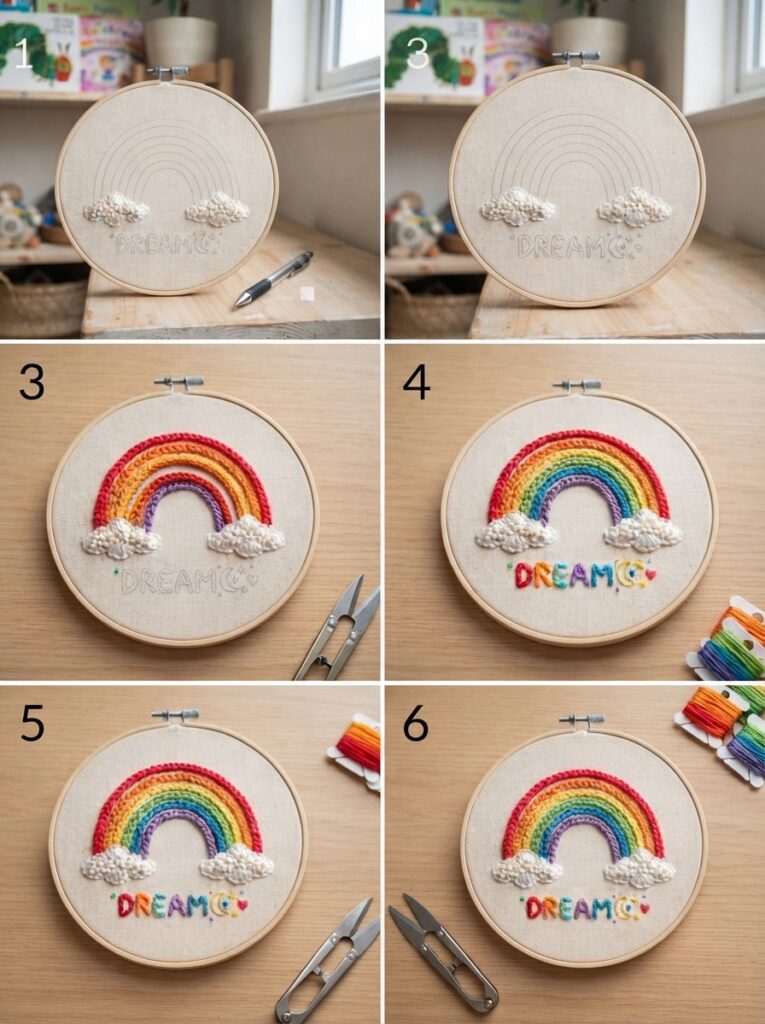
Step 1: Draw the Rainbow
Use a washable fabric marker to lightly draw several parallel curved lines. Start with a large arch and gradually draw smaller arches underneath it.
Try to keep a similar distance between each line. This will make the finished rainbow look balanced.
Step 2: Stitch the Outer Arc
Choose your first color and thread the needle. A backstitch is a simple choice for creating clean curved lines.
- Bring the needle up at the beginning of the arch.
- Make a short stitch along the curved line.
- Bring the needle back up slightly ahead.
- Repeat until you reach the end of the arc.
- Secure the thread neatly on the back.
Shorter stitches make it easier to follow curves smoothly.
Step 3: Add the Remaining Colors
Continue stitching each curved line with a different color.
| Rainbow Section | Suggested Color | Stitch |
| Outer arc | Red | Backstitch |
| Second arc | Orange | Backstitch |
| Third arc | Yellow | Backstitch |
| Fourth arc | Green | Backstitch |
| Fifth arc | Blue | Backstitch |
| Inner arc | Purple | Backstitch |
For a thicker, more textured rainbow, you can use stem stitch instead of backstitch.
Step 4: Add Decorative Details
Once the rainbow is complete, consider adding small clouds, stars, flowers, or hearts.
Lazy daisy stitches work nicely for tiny flowers, while French knots can create little decorative dots.
Tips for Neat Rainbow Embroidery
A few small adjustments can make the finished project look much cleaner.
- Use shorter pieces of floss to reduce tangling.
- Keep your thread tension consistent.
- Do not pull stitches too tightly.
- Use a sharp needle appropriate for your fabric.
- Practice curved stitches on scrap fabric first.
- Leave enough space between rainbow bands.
- Choose colors that are easy to distinguish from one another.
If a child is making the project, let them choose the colors themselves. The rainbow does not need to follow a traditional color order. A child might create a pink-and-purple rainbow with yellow stars, turning the embroidery into a unique piece of artwork.
Creative Ways to Display Your Rainbow
| Display Idea | Best For | Helpful Tip |
| Embroidery hoop | Wall decoration | Choose a hoop that complements the fabric |
| Small frame | Gifts | Center the design carefully |
| Tote bag | Personalization | Use durable stitching |
| Cushion cover | Room décor | Keep the design away from seams |
| Fabric banner | Children’s room | Combine several small rainbows |
FAQ
1. What stitch is easiest for rainbow embroidery?
Backstitch is one of the easiest choices for beginners. It creates a clean continuous line and is relatively simple to control around curved shapes.
2. Do I need seven colors?
No. You can use as many or as few colors as you like. Three to five colors are especially practical for a small beginner project.
3. Why do my curved stitches look uneven?
This often happens when stitches are too long. Use shorter stitches around curves and maintain gentle, even thread tension.
4. Can children make rainbow embroidery?
Yes, with appropriate adult supervision. Keep the design simple and use suitable needles and scissors. Older children can practice basic stitches while choosing their own colors.
5. How can I make my rainbow more decorative?
Add embroidered clouds, flowers, stars, hearts, or tiny beads if appropriate for your project. Keep embellishments balanced so the rainbow remains the main focus.
Conclusion
🌈 Rainbow embroidery is a colorful, approachable craft that allows beginners to practice basic stitches while creating something cheerful and personal. With stable fabric, a few embroidery threads, and a simple curved design, you can make a beautiful project without complicated techniques.
Start with backstitch, experiment with different color combinations, and gradually add decorative details as your confidence grows. Whether you frame it, display it in a hoop, or turn it into a personalized fabric accessory, a handmade rainbow brings a bright and creative touch wherever it goes.
Leave a Reply