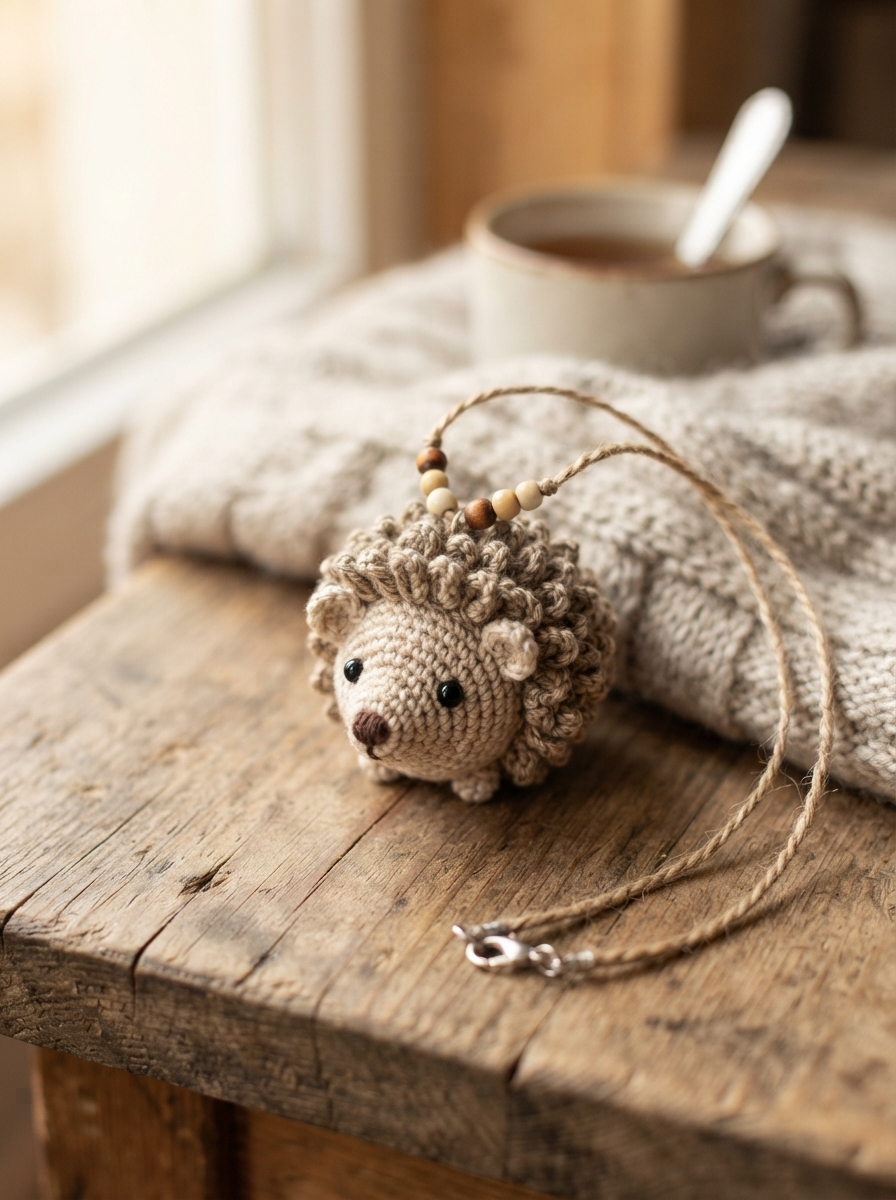
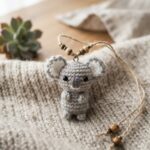
Small crochet projects can be surprisingly rewarding. A tiny crochet hedgehog pendant combines the cozy charm of handmade crochet with the personality of a woodland animal. It can be worn as a necklace, attached to a keyring, added to a bag, or given as a thoughtful handmade gift.
The best part is that you do not need advanced crochet skills to make one. With a little yarn, a small hook, some stuffing, and a few basic stitches, beginners can create an adorable hedgehog in an afternoon.
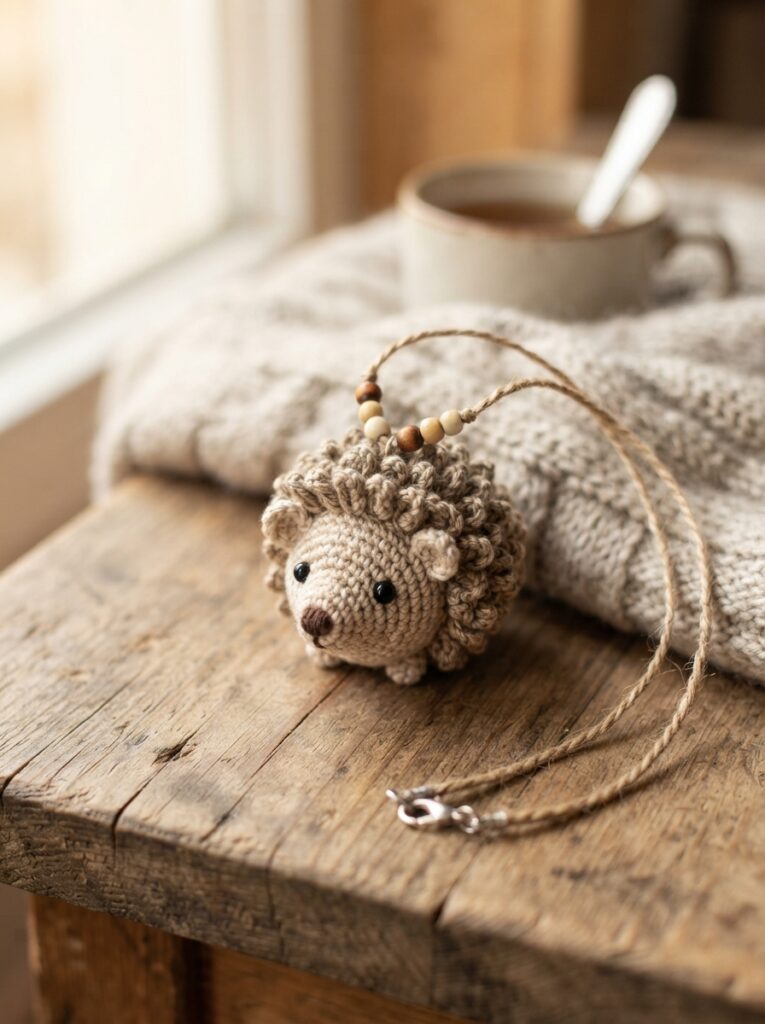
Why Make a Crochet Hedgehog Pendant?
A miniature hedgehog is an excellent project when you want something decorative without committing to a large pattern. Its rounded body and simple facial details make it easy to customize.
You can make your pendant:
- As a cute everyday necklace
- As a handmade birthday or holiday gift
- For decorating a backpack or handbag
- As a small crochet charm
- In natural brown shades or playful colors
Materials and Tools
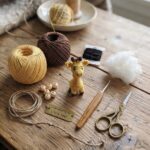
Choosing lightweight materials is important because a pendant should remain comfortable when worn.
| Material | Suggested Choice | Purpose |
|---|---|---|
| Yarn | Cotton or cotton-blend | Creates a firm, neat shape |
| Crochet hook | 2–3 mm | Suitable for miniature crochet |
| Stuffing | Polyester fiberfill | Gives the body volume |
| Embroidery thread | Black or dark brown | Eyes, nose, and details |
| Needle | Small yarn needle | Sewing and finishing |
| Chain or cord | Lightweight necklace chain | Turns the crochet piece into a pendant |
Choosing the Right Yarn
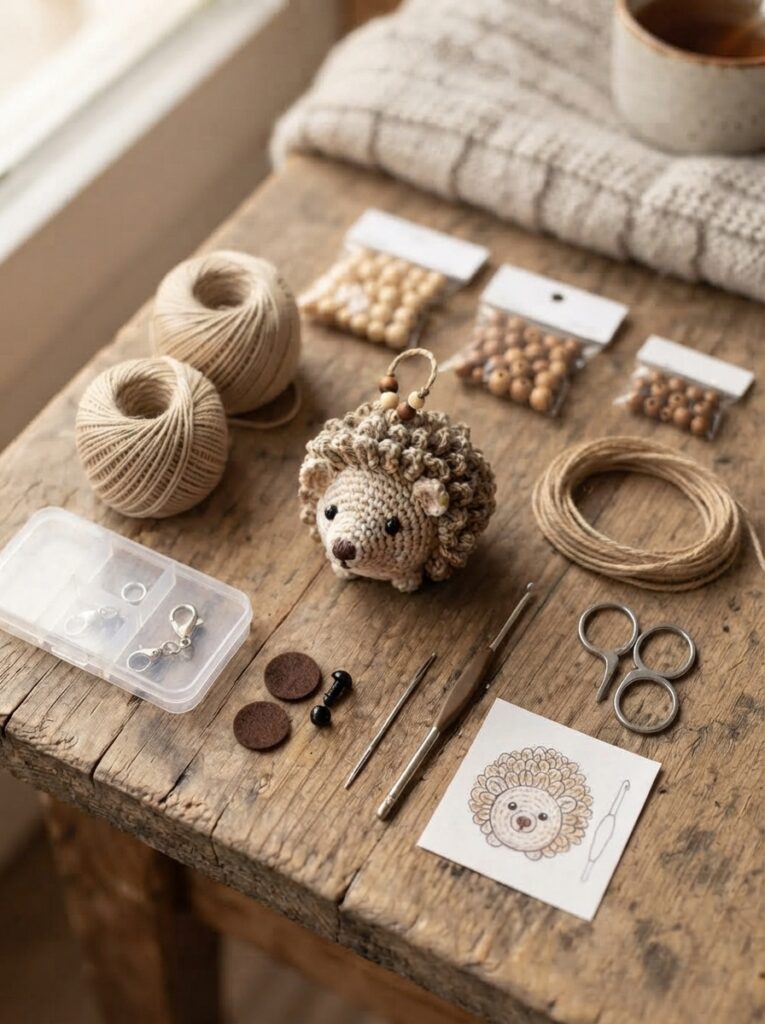
Cotton yarn is particularly useful for small crochet accessories because it holds its shape well and usually produces clearly defined stitches. A medium-brown yarn can represent the hedgehog’s body, while beige or cream works nicely for the face.
If you want a softer appearance, a cotton-blend yarn can also work. Avoid very thick yarn for your first pendant because it can make a miniature design bulky and difficult to shape.
How to Crochet a Hedgehog Pendant
You can create the hedgehog from a simple rounded body and then add the characteristic face, ears, and spines.
Step-by-Step Construction
- Start with the body
Make a small magic ring and work single crochet stitches into it. Continue crocheting in the round, adding increases gradually until you have a rounded shape. - Build the main body
Work several rounds without increases. Keep your stitches relatively tight so the stuffing will not show through the fabric. - Create the face
Use beige or cream yarn for a small muzzle area. This can be crocheted separately and sewn onto the front, or worked directly into the body if you are comfortable changing colors. - Add the stuffing
Before closing the body, insert a small amount of polyester fiberfill. Add it gradually rather than packing it tightly. The finished pendant should feel firm but not overly stretched. - Shape the head
Begin decreasing stitches evenly to close the rounded body. Make sure the stuffing remains evenly distributed as you work. - Make the ears
Crochet two tiny semicircles or small rounded pieces. Sew them near the upper sides of the head. - Add the face
Embroider two small eyes and a tiny nose. For a beginner-friendly version, embroidered details are preferable to loose plastic pieces. - Create the hedgehog spines
Add texture to the back with small embroidered lines, surface crochet, or short loops of contrasting yarn. Keep the front smoother so the face remains easy to see. - Attach the pendant loop
Sew a secure loop of yarn to the top of the hedgehog, then connect it to a lightweight chain or cord.
Simple Construction Guide
| Part | Recommended Approach | Beginner Tip |
|---|---|---|
| Body | Single crochet in rounds | Use a stitch marker |
| Muzzle | Small crocheted oval | Keep it slightly raised |
| Ears | Tiny rounded pieces | Sew symmetrically |
| Eyes | Embroidery | Use small, even stitches |
| Spines | Embroidery or surface crochet | Concentrate texture on the back |
Color Ideas for Your Hedgehog
Traditional colors are lovely, but handmade accessories give you plenty of freedom.
| Style | Body Color | Face Color | Detail Color |
|---|---|---|---|
| Woodland | Warm brown | Cream | Dark brown |
| Soft Neutral | Taupe | Beige | Black |
| Autumn | Rust brown | Ivory | Dark chocolate |
| Playful | Mustard or pink | Cream | Black |
For example, a warm brown hedgehog with a cream face can create a natural woodland look, while a pastel version can feel more playful and modern.
Choosing a Chain or Cord
The necklace hardware should complement the size of the crochet piece.
- Thin metal chain: Gives the pendant a polished appearance.
- Cotton cord: Works well for a casual handmade style.
- Waxed cord: Offers a slightly stronger, rustic finish.
- Ribbon: Can create a softer decorative necklace.
For children, consider making the hedgehog as a bag charm rather than a necklace, especially if the pendant contains small components.
Practical Tips for Beginners
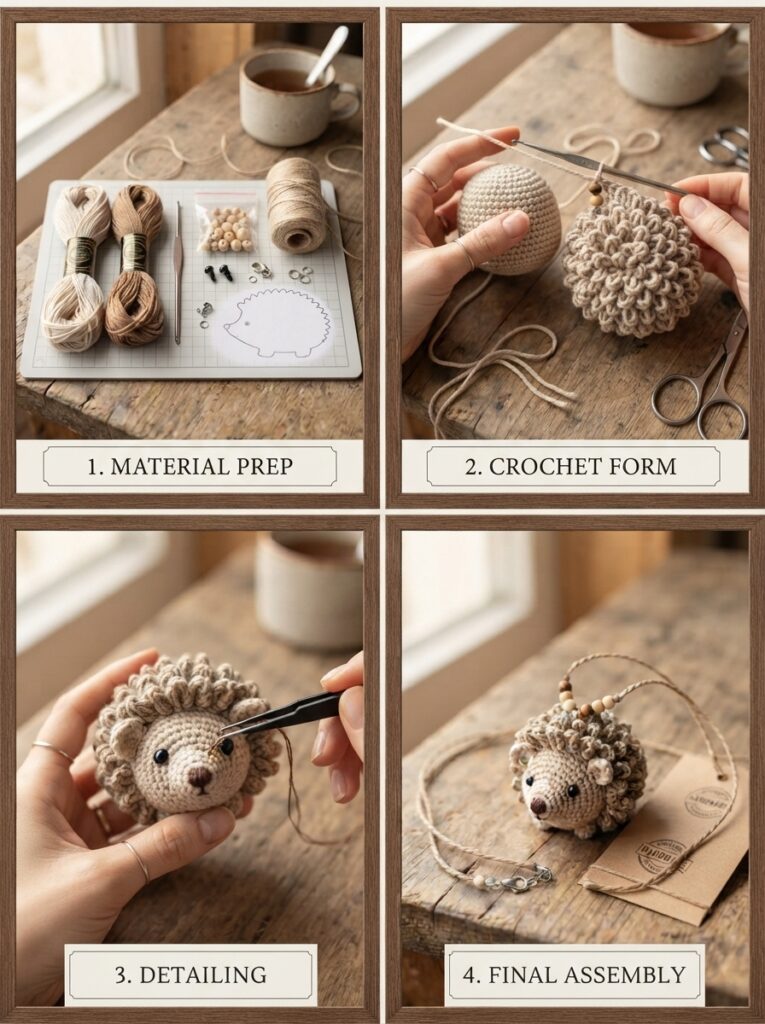
Small crochet projects require a little extra attention because every stitch is visible.
Keep Your Tension Consistent
Tight, even stitches help prevent stuffing from showing. If your fabric feels too loose, try a slightly smaller hook.
Make the Face Symmetrical
Place the eyes at the same height and check the positioning before permanently securing them. A tiny change in eye placement can dramatically change the expression.
Secure Every Attachment
The necklace loop is one of the most important parts. Stitch it firmly through several rows of crochet rather than attaching it to only one stitch.
Try a Practice Version
If you are new to amigurumi-style crochet, make a simple test body first. This helps you understand increases, decreases, stuffing, and shaping before working on the final pendant.
FAQ
1. Is a crochet hedgehog pendant suitable for beginners?
Yes. The basic shape uses simple techniques such as single crochet, increases, decreases, and sewing. Beginners may want to practice working in the round before starting.
2. What yarn is best for a small hedgehog?
Cotton or cotton-blend yarn is a good choice because it creates firm stitches and holds small shapes well. Lightweight yarn also keeps the finished pendant comfortable.
3. How can I make the hedgehog look more realistic?
Use earthy colors and add darker textured stitches across the back. A cream face, tiny black nose, and carefully embroidered eyes can create a convincing woodland appearance.
4. Can I turn the hedgehog into a keychain?
Absolutely. Instead of attaching a necklace chain, sew a strong loop to the top and connect it to a keyring or lobster clasp. Reinforce the attachment because keychains receive more pulling than necklaces.
5. How do I make the pendant more durable?
Use firm crochet tension, secure the stuffing inside the body, and weave yarn ends carefully into the crochet fabric. Reinforce the top loop with several stitches before attaching the jewelry hardware.
Conclusion
A crochet hedgehog pendant is a charming little project that brings together creativity, crochet skills, and woodland-inspired design. With basic stitches, lightweight yarn, simple embroidered details, and a secure necklace loop, even beginners can create a personalized accessory.
Start with a simple brown-and-cream hedgehog, then experiment with colors, textures, and different types of chains. Whether worn as jewelry, attached to a bag, or given as a handmade gift, this tiny crochet creation is a wonderful way to turn a few scraps of yarn into something memorable.
Leave a Reply