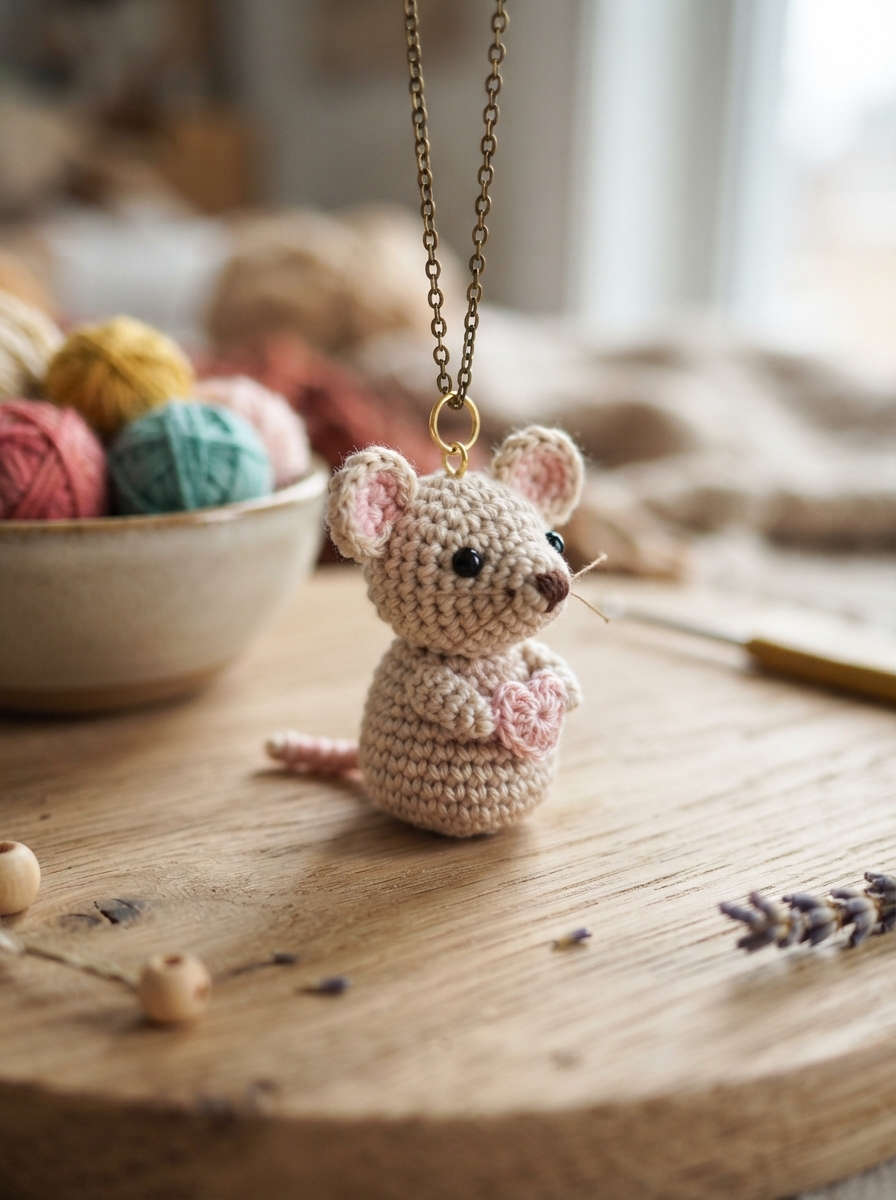
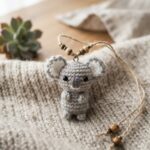
Small crochet projects have a special charm. With only a little yarn, you can create a miniature character that becomes a necklace, bag charm, or thoughtful handmade gift. A crocheted mouse pendant is a particularly sweet project because its rounded body, little ears, and long tail create a recognizable shape without requiring complicated techniques.
This project is suitable for beginners who want to practice miniature crochet and for experienced crafters looking for a quick creative idea. You can make a traditional gray mouse, choose soft pastel colors, or design a completely whimsical character. The small finished size also makes this an excellent way to use leftover yarn from larger projects.
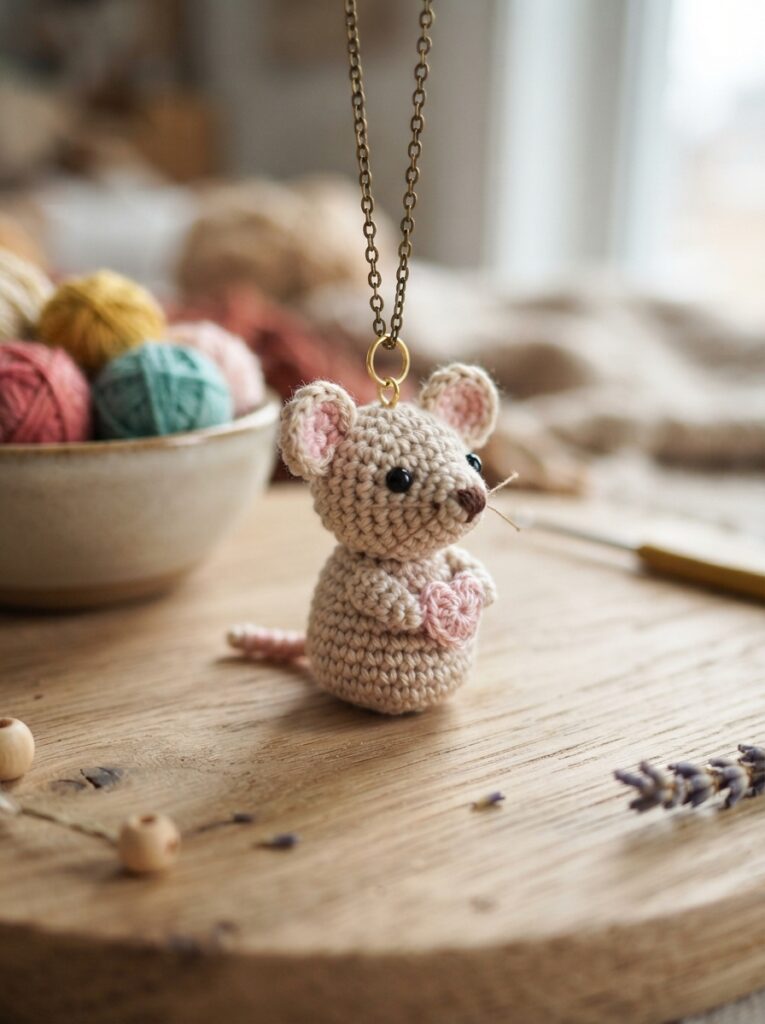
Why Make a Crocheted Mouse Pendant?
A miniature mouse is easy to personalize, and its simple shape gives you plenty of freedom to experiment. Unlike a large amigurumi project, a pendant can often be completed with a small amount of material.
Creative Ideas for Your Mouse
You can change the character simply by adjusting a few details:
- Use gray or beige yarn for a natural appearance.
- Choose pink yarn for the ears and nose.
- Add a tiny embroidered bow.
- Make the ears round, pointed, or slightly folded.
- Give the mouse a long, curved tail.
- Add a miniature heart or flower.
- Create several mice in different colors for matching gifts.
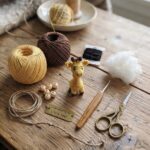
For Pinterest, a useful presentation idea is to photograph the finished mouse beside the yarn, crochet hook, and a few decorative elements. This gives viewers a clear impression of how the project comes together.
Materials and Tools
A miniature pendant does not require a large collection of supplies.
| Material | Recommended Choice | Purpose |
|---|---|---|
| Yarn | Smooth cotton or acrylic | Creates the mouse |
| Crochet hook | 2.5–3.5 mm | Produces compact stitches |
| Fiberfill | Polyester stuffing | Gives the body structure |
| Tapestry needle | Small blunt needle | Sewing and finishing |
| Embroidery thread | Black, pink, or brown | Facial details |
| Necklace chain or cord | Lightweight material | Pendant attachment |
Choosing the Right Yarn
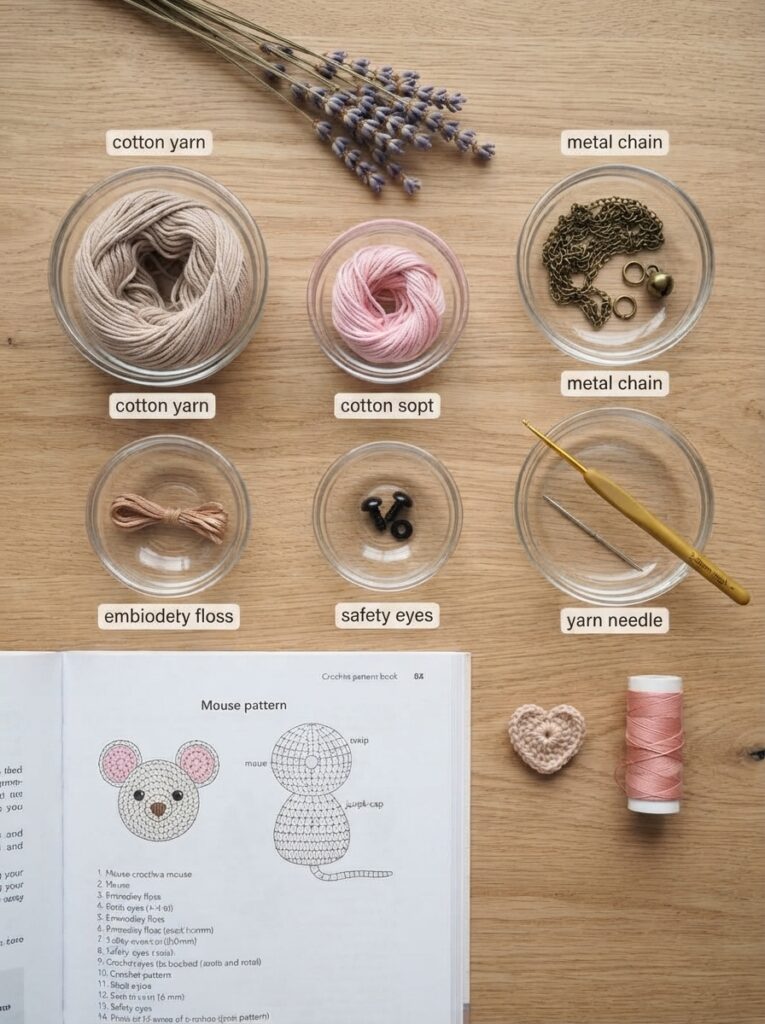
Smooth yarn is generally easier for miniature projects because you can see individual stitches clearly. Cotton is a good choice when you want a firm, neat finish, while acrylic provides softness and many color options.
Very fluffy yarn can be difficult for beginners because it hides the stitches. Start with a smooth, medium-weight yarn and move to textured fibers once you are comfortable with the technique.
How to Crochet the Mouse
The exact stitch counts will depend on the pattern, but the construction can be approached in several simple stages.
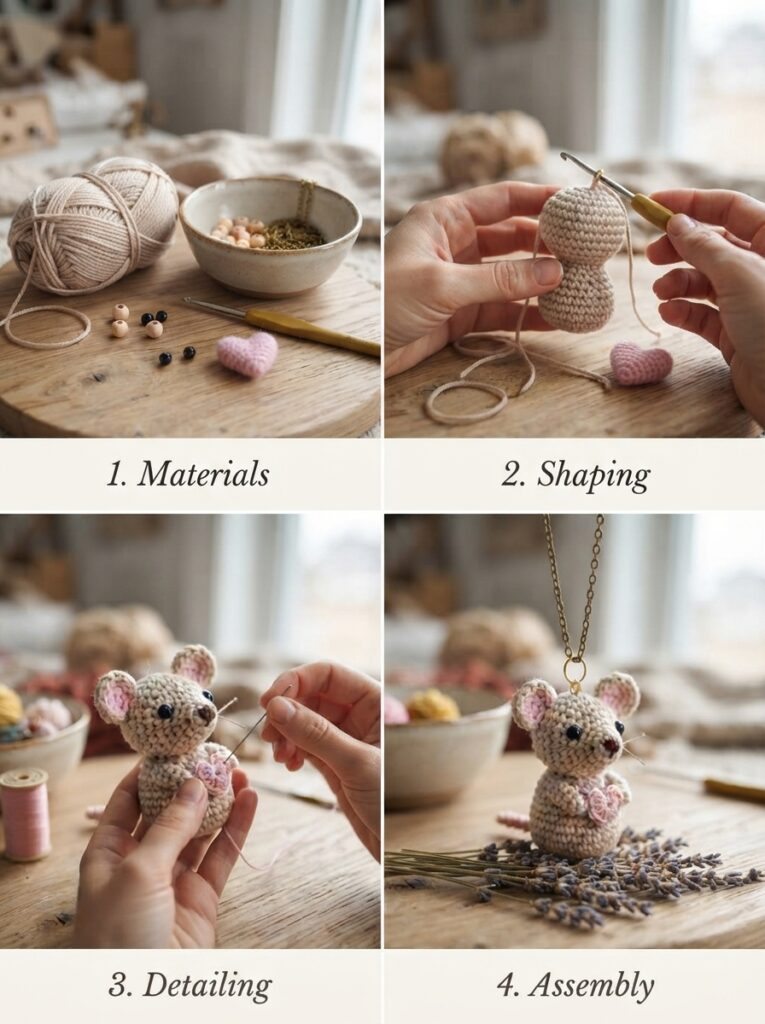
Step-by-Step Construction
- Begin with the body. Make a magic ring and work single crochet stitches in continuous rounds.
- Increase gradually. Add stitches to create a small rounded body.
- Work the center section. Continue crocheting without increases to establish the desired length.
- Add fiberfill. Place small amounts inside as the body takes shape.
- Decrease to close. Reduce the stitch count gradually and finish the opening securely.
- Make the ears. Crochet two small rounded pieces and sew them to the head.
- Add the face. Embroider small eyes, a nose, and optional whiskers.
- Create the tail. Crochet a narrow cord or chain of stitches and attach it securely.
- Add the necklace loop. Sew a strong loop to the top of the mouse before attaching the chain.
Shaping the Mouse
The proportions are important when working on such a small animal. A slightly rounded body combined with two visible ears will immediately suggest a mouse.
Do not make the body too large or heavily stuffed. A compact shape is usually more comfortable when worn as jewelry.
Choosing Colors and Details
A mouse does not have to be gray to look charming. Handmade crochet gives you the freedom to create your own color combination.
| Mouse Style | Main Colors | Optional Details |
|---|---|---|
| Classic mouse | Gray and cream | Pink nose |
| Soft woodland mouse | Beige and brown | Small embroidered flower |
| Pastel mouse | Pink, mint, or lavender | Contrasting ears |
| Winter mouse | White and light gray | Blue accent |
If you are creating a gift, you could use colors that match the recipient’s favorite accessories or clothing.
Selecting a Necklace Chain or Cord
The attachment should complement the tiny crochet figure without making it unnecessarily heavy.
| Attachment | Style | Main Advantage |
|---|---|---|
| Cotton cord | Casual | Lightweight and adjustable |
| Thin metal chain | Polished | Creates a traditional jewelry appearance |
| Waxed cord | Rustic | Durable and suitable for handmade styles |
| Satin ribbon | Delicate | Adds color and softness |
Always test the connection before wearing the necklace. Gently pull the attachment point to make sure the stitches remain secure.
Practical Tips for Better Results
Miniature crochet requires patience, but a few habits can make the process easier:
- Use a stitch marker at the beginning of continuous rounds.
- Count stitches after every increase and decrease section.
- Keep your tension consistent.
- Stuff gradually rather than filling the body all at once.
- Avoid overstuffing because it can stretch the stitches.
- Position the ears before sewing them permanently.
- Use several stitches to secure the tail.
- Weave in yarn ends carefully.
If the first mouse does not look perfectly symmetrical, do not be discouraged. Small handmade variations are normal and can give the finished piece a unique personality.
Frequently Asked Questions
1. Is a crocheted mouse pendant suitable for beginners?
Yes. It is a manageable miniature project if you already know basic stitches such as single crochet, increases, and decreases. Beginners should choose a simple pattern with few separate pieces.
2. How much yarn does one mouse require?
A small pendant uses very little yarn. Leftover scraps from previous projects can often provide enough material for the body, ears, and tail.
3. How do I make the tail flexible?
A narrow chain of crochet stitches can create a simple flexible tail. You can also use a thin crocheted cord. Secure the base with multiple stitches so it does not pull away from the body.
4. Can I embroider the mouse’s eyes?
Absolutely. Embroidery is a practical option for miniature crochet because you can control the size and placement of the eyes. It also avoids the need for separate small components.
5. Can I use the mouse as something other than a necklace?
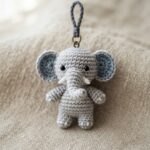
Yes. The same design can become a keychain, zipper pull, bag charm, backpack decoration, or small hanging ornament. Simply change the attachment method to suit the intended purpose.
Conclusion
A crocheted mouse pendant is a small project with plenty of creative potential. Its basic rounded shape, tiny ears, expressive face, and flexible tail make it both recognizable and fun to customize. With smooth yarn, a suitable hook, and careful finishing, even beginners can create a charming miniature accessory.
Start with a simple design and focus on consistent stitches, gentle stuffing, and secure attachments. Once you are comfortable with the basic construction, try different colors and details to create a collection of tiny mice. Whether worn as jewelry or given as a handmade gift, each little mouse can become a unique expression of your creativity.
Leave a Reply