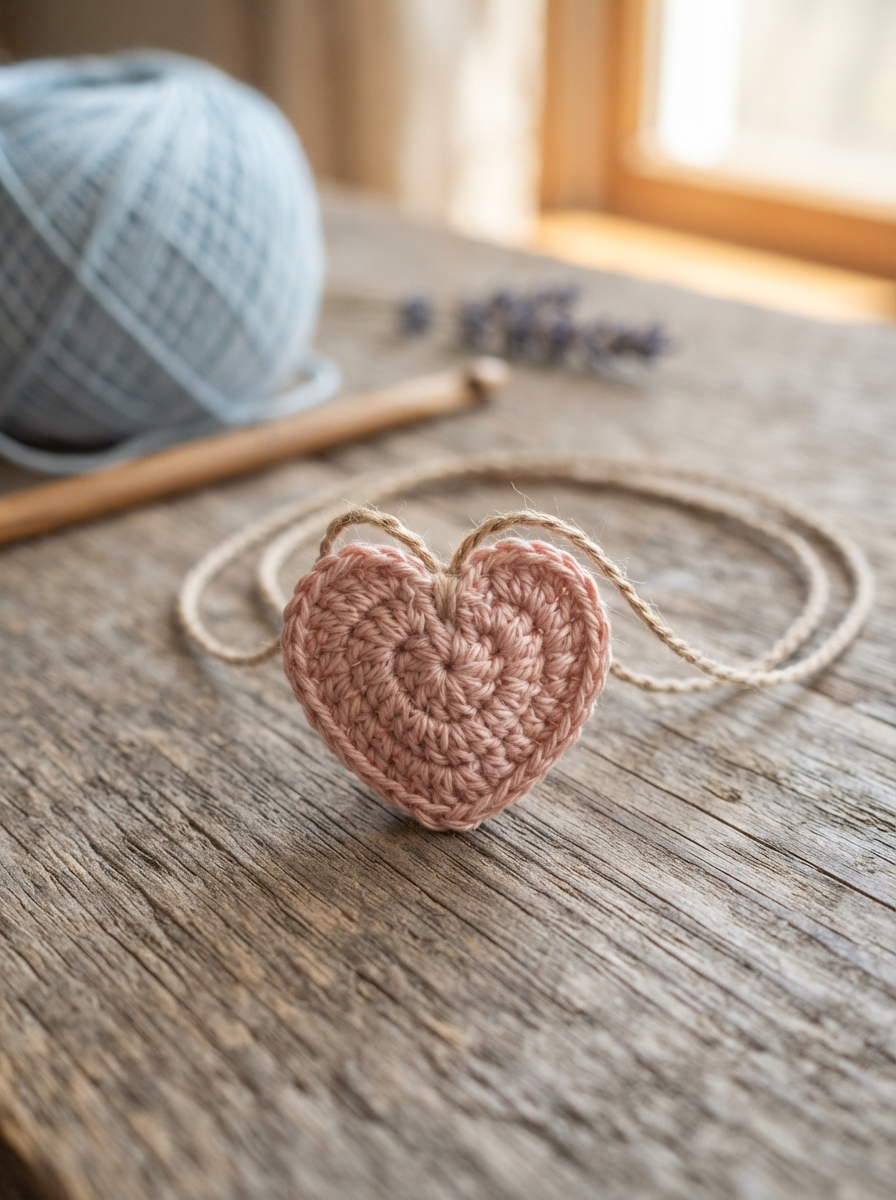
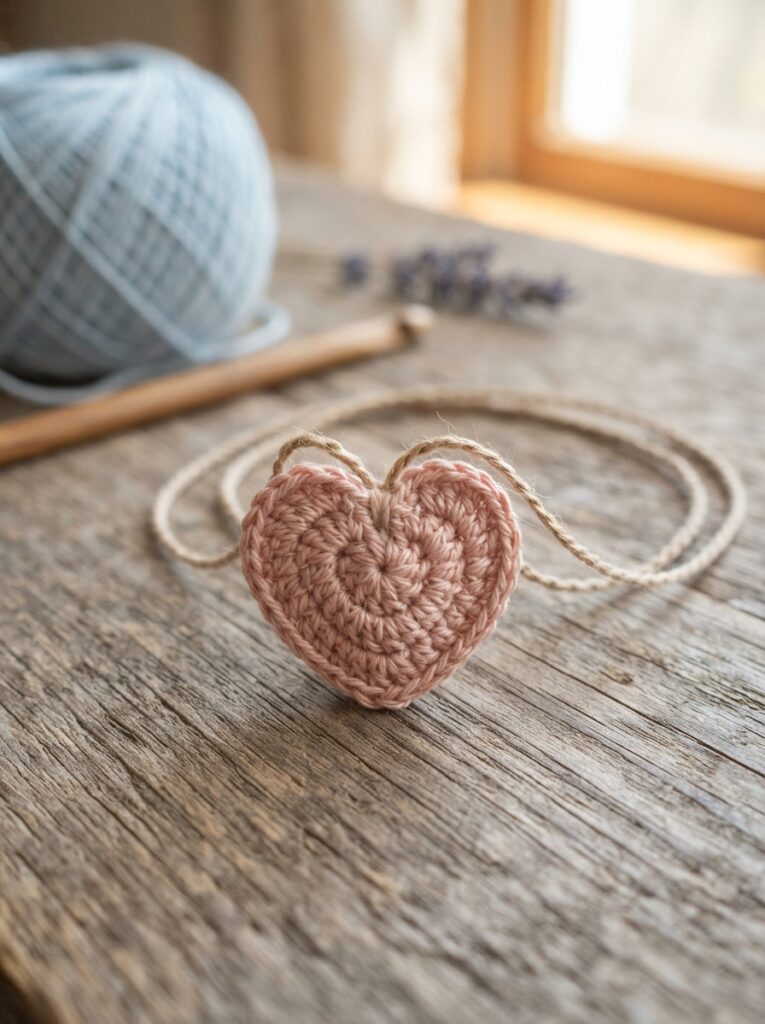
A tiny crocheted heart pendant is a charming way to turn a few strands of yarn into a meaningful handmade accessory. It can be worn on a necklace, attached to a keychain, added to a bag, or given as a thoughtful little gift. Best of all, you don’t need advanced crochet skills to make one.
With basic stitches and a little patience, beginners can create a neat heart shape and customize it with different colors, yarn textures, and finishing details. This project is also a great way to use leftover yarn from larger crochet projects.
Materials You’ll Need
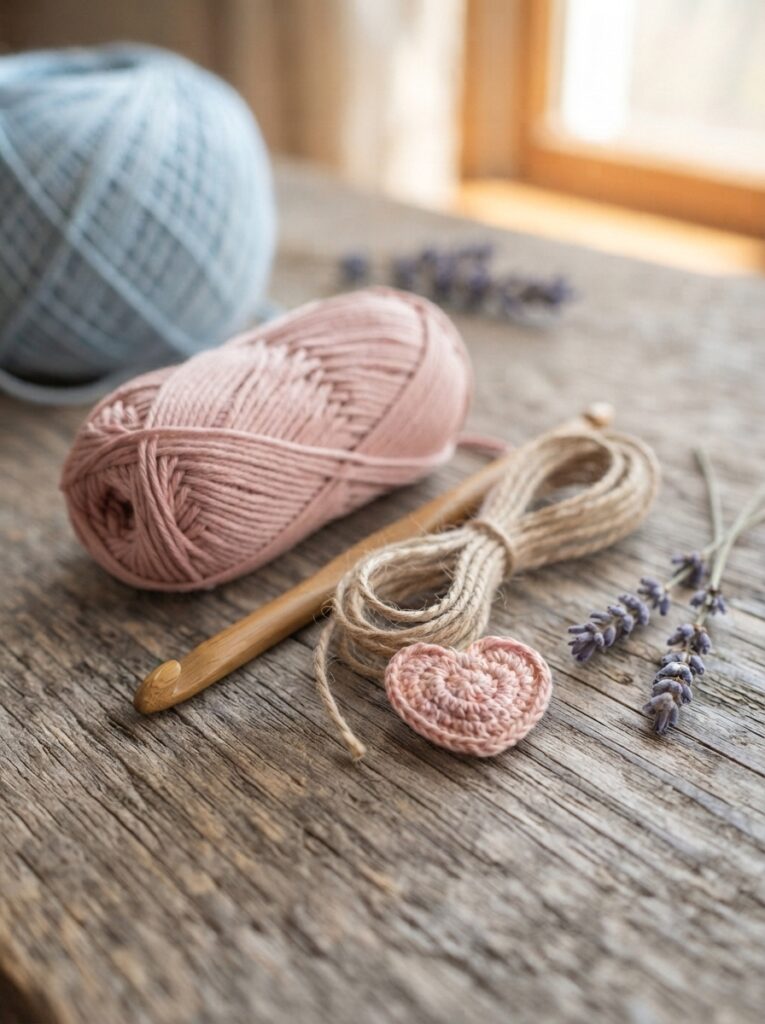
Prepare your materials before starting.
| Material | Recommended Choice | Purpose |
|---|---|---|
| Yarn | Fine or medium cotton yarn | Creates a neat heart |
| Crochet hook | 2.5–4 mm | Matches the yarn thickness |
| Yarn needle | Small, large-eye needle | Finishing loose ends |
| Scissors | Sharp craft scissors | Cutting yarn |
| Jump ring | Small metal ring | Attaching the heart |
| Necklace chain | Optional | Turning it into a pendant |
Cotton yarn is particularly useful because it gives the stitches clear definition. For a delicate pendant, choose thinner yarn and a smaller hook.
Choosing Your Heart Style
Before crocheting, decide how you want to use the finished heart.
| Style | Suggested Size | Best Use |
|---|---|---|
| Tiny heart | 2–3 cm | Necklace or bracelet |
| Small heart | 3–5 cm | Pendant or keychain |
| Medium heart | 5–7 cm | Bag charm or decoration |
| Large heart | 8+ cm | Wall or gift decoration |
For a necklace pendant, a heart measuring around 3–5 cm is usually a comfortable starting point.
How to Crochet the Heart
Step 1: Create the Center
Start with a small magic ring. If you prefer, you can also use a short chain joined into a ring.
Work a few stitches into the center. The exact stitch count will depend on the heart pattern you choose, but the goal is to create a compact base from which the two rounded sections can develop.
Step 2: Shape the Heart
A simple heart can be formed by creating two rounded bumps at the top and then shaping the bottom into a point.
For beginners, work slowly and pay attention to where increases and decreases are placed.
A general process is:
- Crochet the center section.
- Form the first rounded top.
- Work the second rounded top.
- Join the upper sections.
- Gradually decrease toward the bottom.
- Finish with a pointed tip.
- Fasten off securely.
Because crochet patterns differ, follow your chosen stitch sequence carefully rather than relying only on the general construction.
Step 3: Refine the Shape
Gently arrange the stitches with your fingers so both sides look balanced.
If one side appears larger than the other, check your stitch count before finishing. Small differences can often be corrected while the yarn is still attached.
Turning the Heart Into a Pendant
Once the heart is complete, you need a secure attachment point.
Add a Hanging Loop
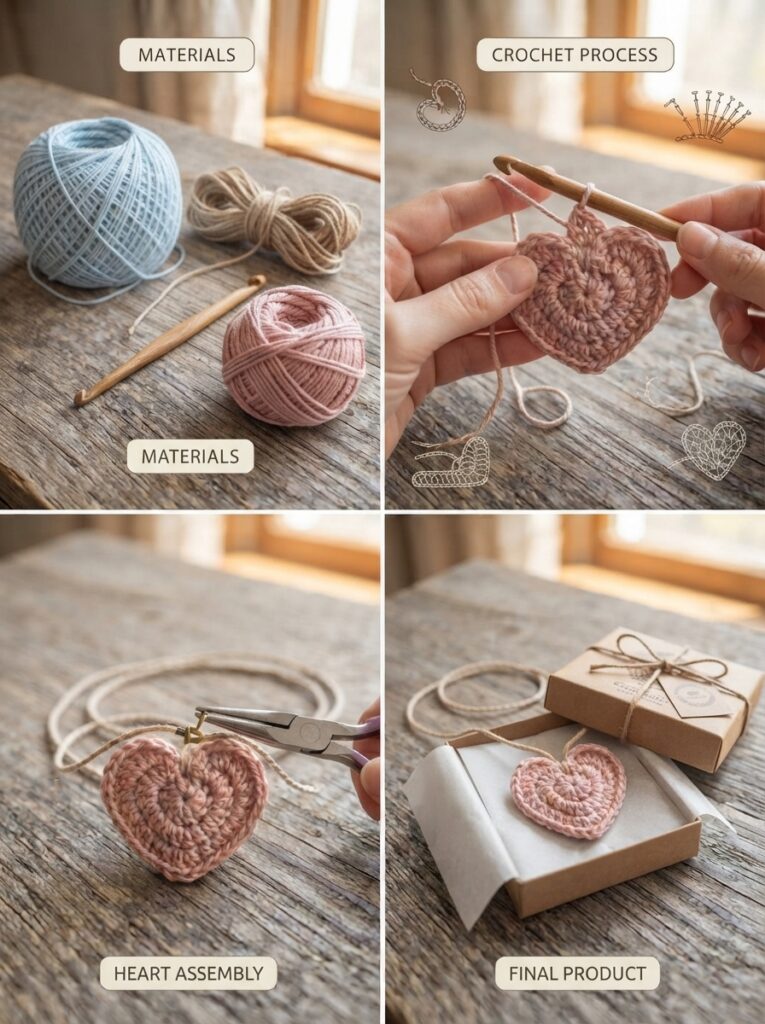
You can crochet a tiny loop directly onto the top center of the heart. Alternatively, attach a small jump ring through a strong section of the crochet fabric.
If using a metal jump ring, make sure it closes completely so the pendant does not accidentally detach.
| Attachment | Difficulty | Appearance |
|---|---|---|
| Crochet loop | Easy | Soft and handmade |
| Jump ring | Easy | Clean and professional |
| Ribbon loop | Easy | Decorative |
| Small chain | Intermediate | Elegant |
Attach the finished heart to a necklace chain, cord, or ribbon according to your preferred style.
Adding Personal Details
This is where a simple heart can become truly unique.
Try:
- Two-tone color combinations
- Tiny embroidered initials
- A contrasting border
- Small beads or buttons
- Metallic or glitter yarn
- Matching hearts in different colors
For example, a red cotton heart on a simple cord creates a classic romantic accessory, while pastel colors can give the pendant a softer everyday appearance.
Tips for a Neat Finish
Keep Your Tension Consistent
Very loose stitches can make a tiny heart lose its shape. Use a hook appropriate for your yarn and maintain steady tension.
Secure the Yarn Carefully
A pendant will be handled and worn regularly, so weave the yarn tail through several stitches on the back before trimming it.
| Problem | Possible Cause | Solution |
|---|---|---|
| Heart looks uneven | Uneven stitch count | Count each section |
| Shape is too loose | Large hook or loose tension | Use a smaller hook |
| Point looks rounded | Decreases are incorrect | Check the final shaping |
| Pendant detaches | Weak attachment | Reinforce the loop or ring |
FAQ
1. Is a crocheted heart pendant suitable for beginners?
Yes. Small hearts are excellent beginner projects because they introduce shaping while requiring very little yarn.
2. What yarn should I use?
Cotton is a great choice because it provides clear stitch definition and holds its shape well. Fine yarn creates a delicate pendant, while medium yarn produces a more noticeable charm.
3. How do I make the heart smaller?
Use thinner yarn with a smaller crochet hook, or follow a pattern designed for miniature hearts. Avoid simply reducing random stitches because this can distort the shape.
4. Can I use the heart as a gift?
Absolutely. A handmade heart can be attached to a necklace, greeting card, gift box, or keychain. Making several hearts in different colors is also a lovely idea for friends and family.
5. How do I keep the pendant secure?
Reinforce the hanging point and weave in all yarn ends securely. If you use a jump ring, close it completely and attach it through a sturdy part of the crochet fabric.
Conclusion
A crocheted heart pendant is a quick, creative project that combines simple crochet techniques with plenty of personalization. Once you understand how to shape the two rounded tops and pointed bottom, you can experiment with different yarns, colors, sizes, and attachment styles.
Start with a small cotton heart and a simple crochet loop. As your confidence grows, try two-color designs, decorative borders, or matching handmade sets. Whether worn as jewelry or given as a thoughtful gift, a tiny crocheted heart adds a warm handmade touch to almost anything.





Leave a Reply