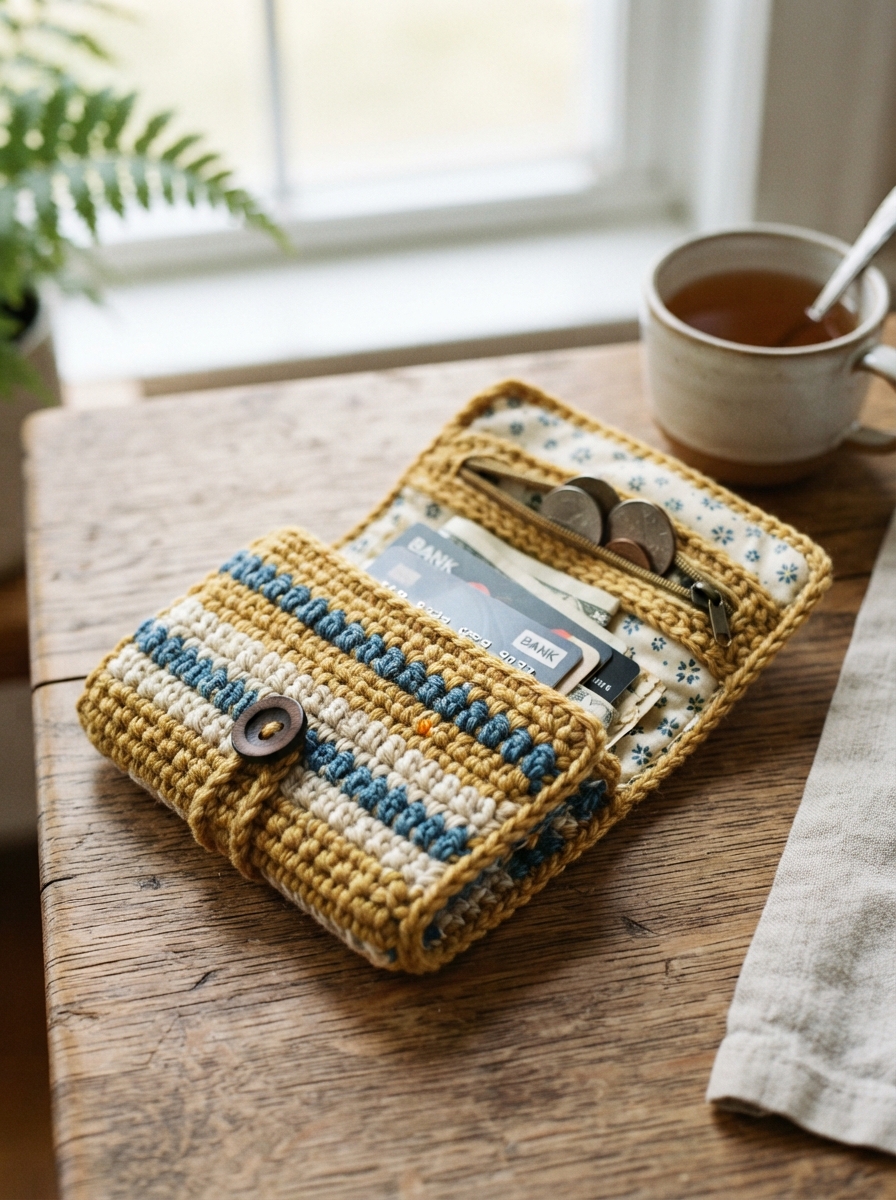
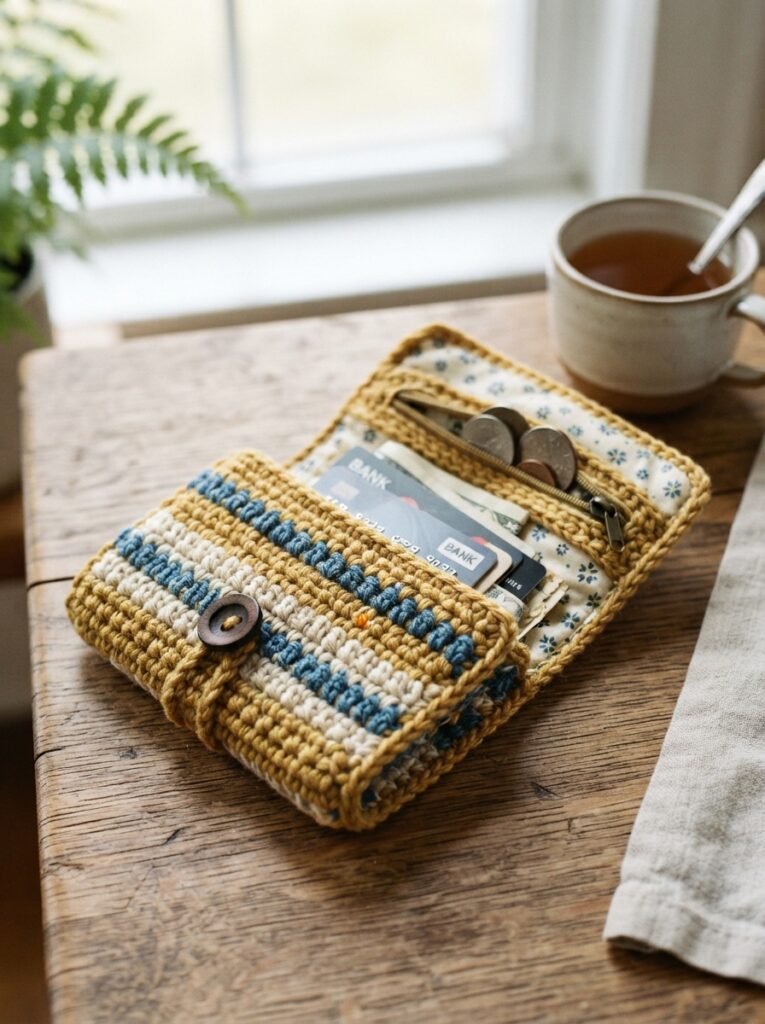
A handmade crochet wallet is a small project with plenty of personality. It is practical enough for everyday use, yet simple enough for beginners who want to practice basic crochet techniques. With a little yarn, a suitable hook, and a few finishing materials, you can create a compact wallet for cards, cash, coins, or small essentials.
The beauty of making your own wallet is the freedom to choose the size, color, texture, and closure. You can keep it minimal and elegant or add playful details for a more distinctive accessory.
Materials You’ll Need
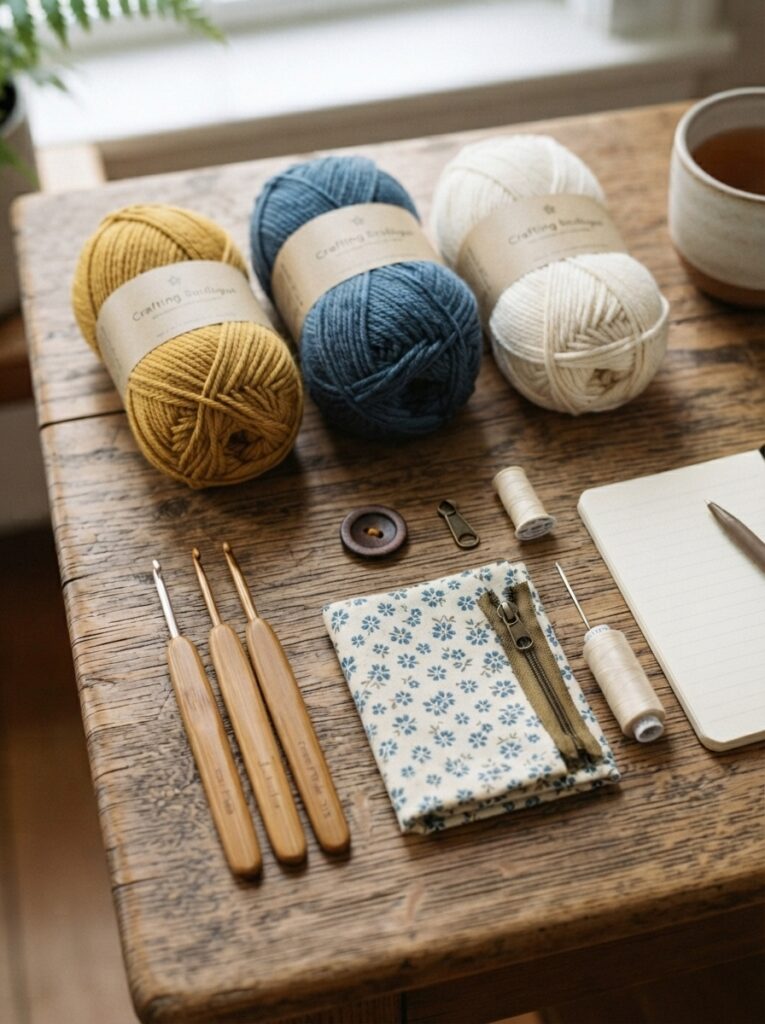
Before starting, gather everything you need.
| Material | Recommended Choice | Purpose |
|---|---|---|
| Yarn | Cotton or cotton blend | Durable wallet fabric |
| Crochet hook | 3–4 mm | Creates firm stitches |
| Yarn needle | Large-eye needle | Sewing and finishing |
| Scissors | Sharp scissors | Cutting yarn |
| Button or snap | Optional | Closing the wallet |
| Fabric lining | Optional | Adds structure |
Cotton yarn is an excellent choice because it is durable and generally holds its shape well. For a firmer wallet, choose a slightly smaller hook than you might use for a loose crochet garment.
Choosing the Wallet Design
A simple rectangular wallet is one of the easiest designs to make. You can create one flat piece and fold it, or crochet separate front and back panels and join them.
| Wallet Style | Approximate Size | Useful For |
|---|---|---|
| Card wallet | 8 × 11 cm | Cards and IDs |
| Small coin wallet | 9 × 10 cm | Coins and small items |
| Fold-over wallet | 10 × 18 cm | Cards and folded cash |
| Mini pouch wallet | 12 × 15 cm | Mixed small essentials |
These measurements are only examples. Measure your cards, cash, or other items before starting so you can customize the finished size.
How to Crochet the Wallet
Step 1: Create the Foundation Chain
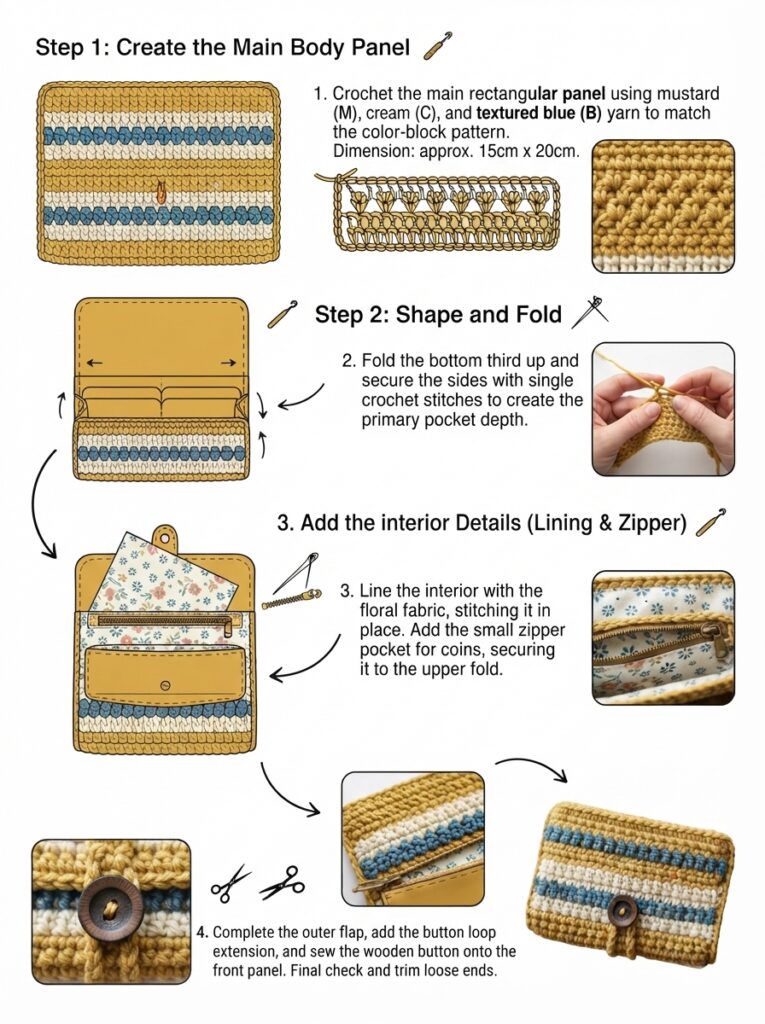
Start with a foundation chain corresponding to the desired wallet width.
For a basic card or coin wallet, around 15–25 chains may be suitable depending on your yarn and stitch size.
Work single crochet across the chain. Keep your tension consistent because a firm fabric will help the wallet maintain its shape.
Step 2: Build the Main Piece
Continue working rows of single crochet until the piece reaches the desired length.
Follow these basic steps:
- Make the foundation chain.
- Crochet single crochet stitches across the chain.
- Chain one and turn.
- Repeat the rows until the wallet reaches the desired height.
- Check the size against your cards or cash.
- Finish the final row neatly.
If you want a little more texture, try half double crochet or a simple ribbed pattern.
Step 3: Fold and Join
For a fold-over wallet, fold the lower portion upward to create the pocket.
Use a yarn needle to sew both side edges securely. Keep the top open so cards or cash can be inserted easily.
For a wallet made from two panels, place the pieces together and crochet or sew around the sides and bottom.
Adding Compartments
Extra pockets can make a crochet wallet much more useful.
Simple Card Pocket
Crochet a smaller rectangle and attach it to the inside of the wallet along three edges. Leave the top edge open.
This creates a convenient compartment for cards without making the wallet significantly bulkier.
| Feature | Benefit | Construction Idea |
|---|---|---|
| Card pocket | Keeps cards organized | Small attached rectangle |
| Coin section | Holds loose change | Separate zipped or buttoned pouch |
| Cash section | Stores folded notes | Main interior pocket |
| Lining | Adds structure | Sew fabric inside |
Adding a Closure
A closure keeps the wallet’s contents secure. A button-and-loop is beginner-friendly and easy to customize.
Other options include:
- Snap fasteners
- Zippers
- Magnetic closures
- Crochet ties
- Decorative buttons
When attaching a button, sew it firmly through the crochet fabric. If the fabric is lightweight, reinforce the area on the inside.
Tips for a Strong, Neat Wallet
Keep Your Stitches Firm
A loose crochet fabric may stretch when cards or coins are placed inside. If your fabric feels too flexible, try a smaller hook.
Reinforce Stress Points
The corners, seams, button area, and pocket openings receive the most use. Secure these areas carefully.
| Problem | Possible Cause | Solution |
|---|---|---|
| Wallet stretches | Loose stitches | Use a smaller hook |
| Edges look uneven | Inconsistent tension | Count stitches regularly |
| Button pulls fabric | Weak attachment | Reinforce the inside |
| Wallet loses shape | Soft construction | Add a lining |
FAQ
1. Is a crochet wallet easy for beginners?
Yes. A basic wallet can be made using simple stitches such as single crochet. It is an excellent project for practicing rows, counting stitches, sewing, and finishing.
2. What yarn works best?
Cotton is one of the most practical choices because it is durable and provides good stitch definition. Cotton blends can also work well.
3. How can I prevent the wallet from stretching?
Use firm stitches and avoid choosing a hook that is too large for your yarn. Adding a fabric lining can also provide extra structure.
4. Can I add a zipper?
Yes. A zipper can provide secure closure, especially for a coin wallet. It requires basic sewing, so beginners may find a button-and-loop closure easier.
5. Can I customize the wallet size?
Absolutely. Measure the items you plan to carry and adjust the foundation chain and number of rows accordingly. Remember to allow enough room for comfortable insertion and removal.
Conclusion
Making a crochet wallet is a practical and enjoyable way to turn a small amount of yarn into a useful everyday accessory. A simple rectangular design can be completed with basic stitches, while pockets, closures, colors, and linings allow you to make the project uniquely yours.
Start with a small card wallet if you’re a beginner, then experiment with larger designs and additional compartments. With careful tension and reinforced seams, your handmade wallet can be both attractive and functional.





Leave a Reply