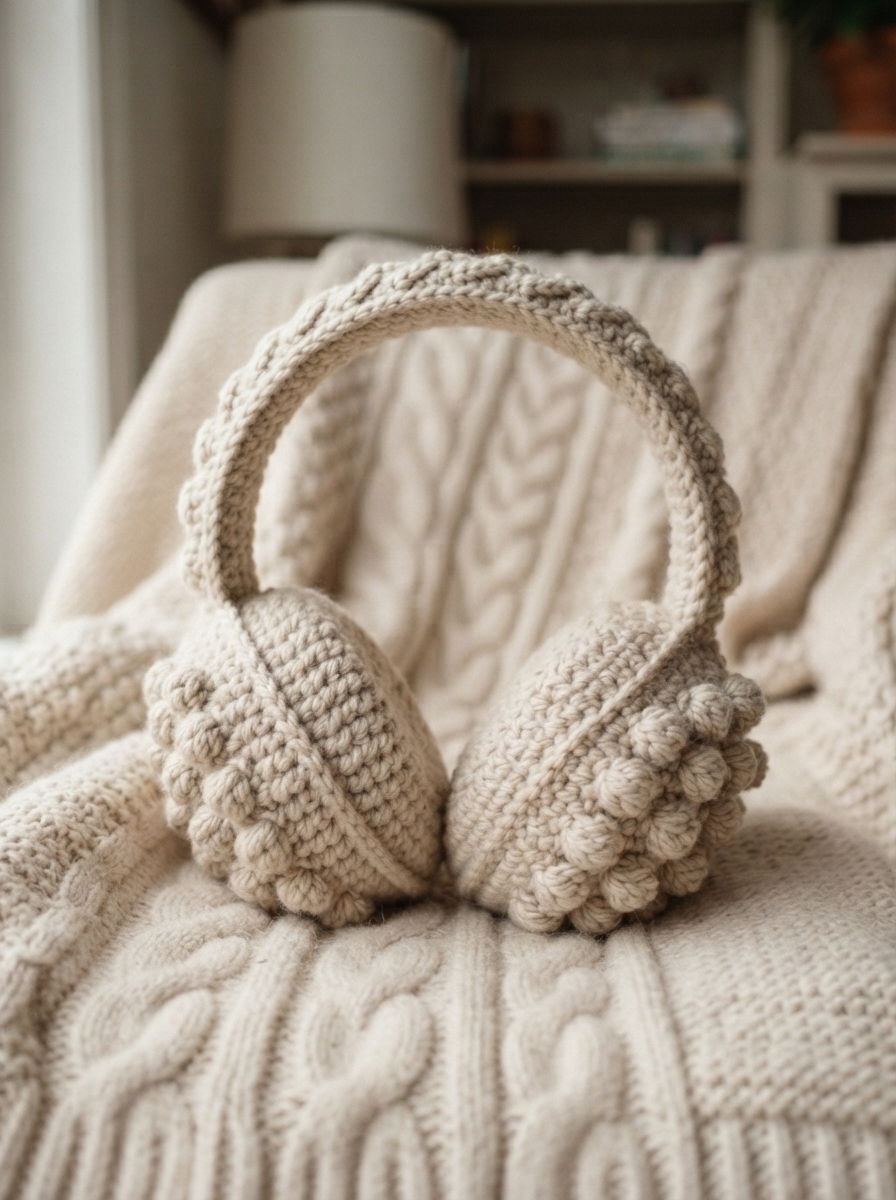
When the weather turns chilly, you don’t always need a thick winter hat to stay comfortable. A crocheted ear warmer is a simple, stylish alternative that keeps your ears cozy while leaving your hairstyle visible. It is also a fantastic beginner-friendly crochet project because it requires only a small amount of yarn and can usually be completed quickly.
Whether you prefer a classic neutral accessory, a colorful winter piece, or a textured handmade gift, you can easily customize an ear warmer to match your style.
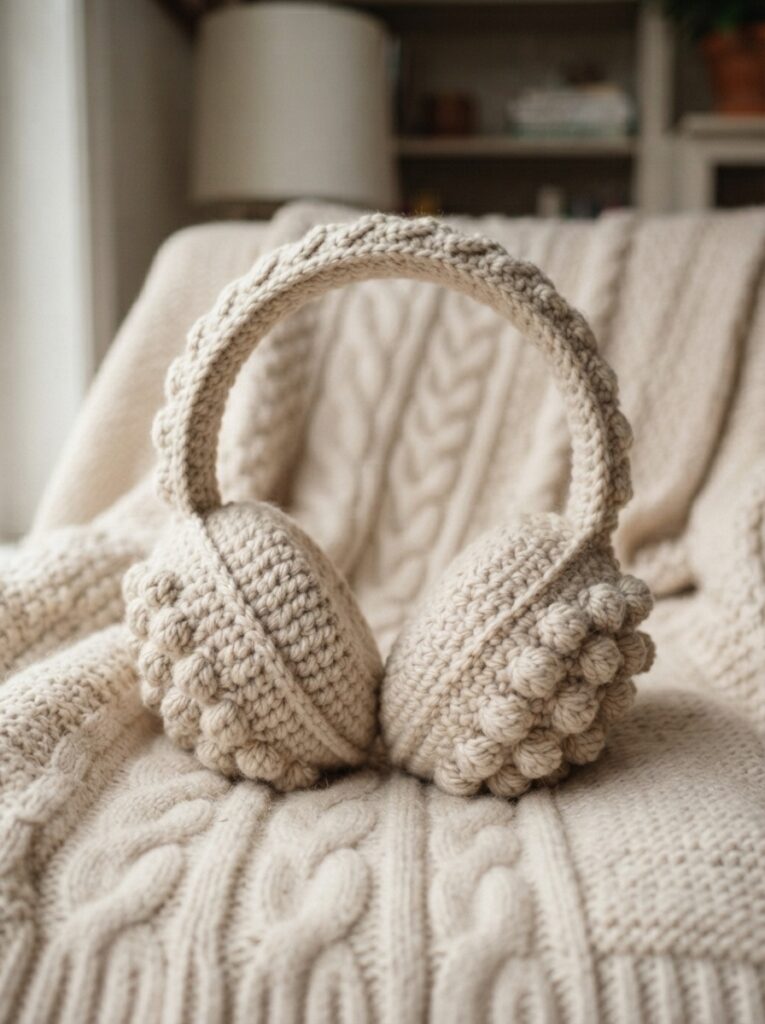
Materials You’ll Need
Choose soft, comfortable materials because the finished piece will sit directly against your skin.
| Material | Recommended Choice | Purpose |
|---|---|---|
| Yarn | Medium-weight acrylic or wool blend | Warmth and structure |
| Crochet hook | 4–5 mm | Suitable for medium yarn |
| Yarn needle | Large-eye needle | Sewing and hiding ends |
| Scissors | Sharp craft scissors | Cutting yarn |
| Measuring tape | Flexible tape | Checking head size |
| Stitch marker | Optional | Tracking stitches |
For sensitive skin, choose a soft yarn that does not feel scratchy. A washable acrylic yarn is also convenient for an accessory that will be worn regularly.
Choosing the Right Size
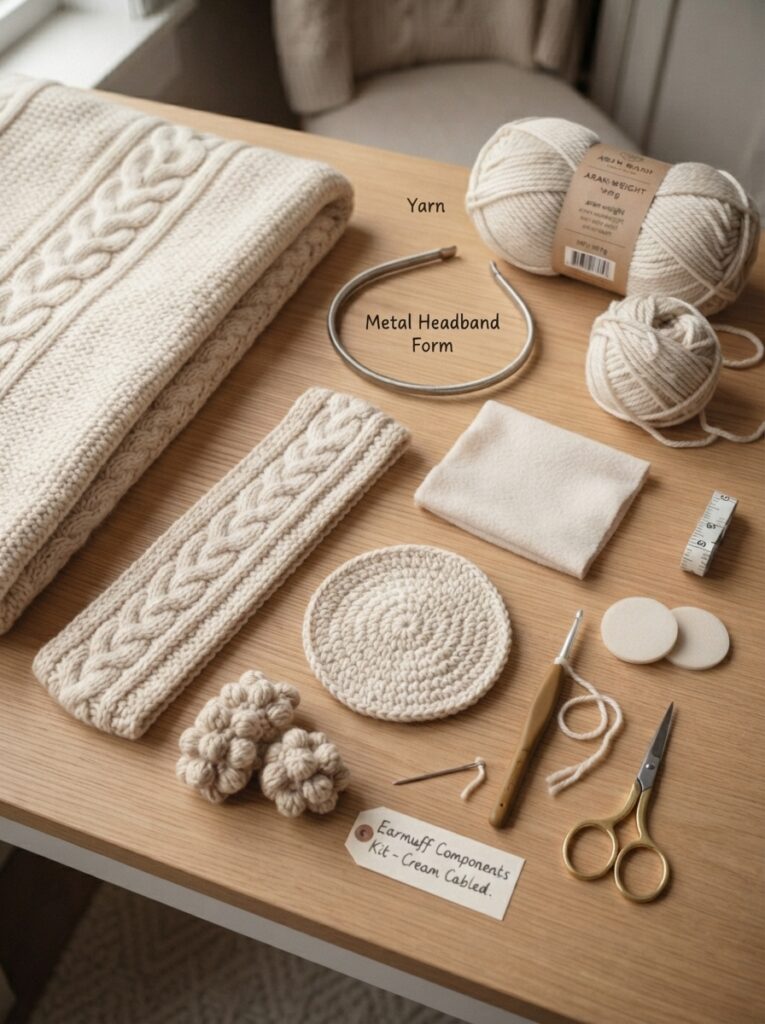
A comfortable ear warmer should fit securely without creating uncomfortable pressure.
Measure around your head at the level where you want the warmer to sit, usually across the forehead and around the back of the head.
| Size | Approximate Head Circumference | Suggested Finished Length |
|---|---|---|
| Child | 48–52 cm | 44–48 cm |
| Teen | 52–56 cm | 48–52 cm |
| Small adult | 54–57 cm | 50–53 cm |
| Adult | 56–60 cm | 52–56 cm |
These are starting measurements rather than strict rules. Crochet stretches, so the finished band can be slightly smaller than the head circumference for a snug fit.
How to Crochet an Ear Warmer
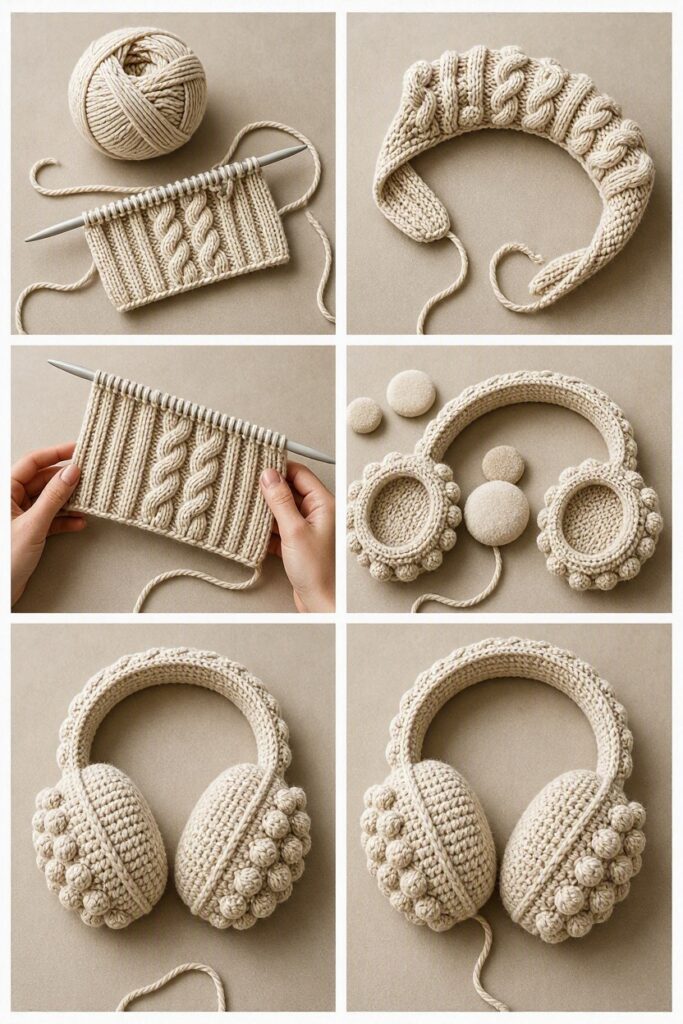
The easiest construction is a simple rectangular band worked in rows and then joined at the ends.
Step 1: Make the Foundation Chain
Choose a chain length that determines the width of the ear warmer. For a typical design, around 10–14 stitches can create a comfortable band, depending on your yarn and stitch choice.
If you want a wider warmer, simply add more chains.
Step 2: Work the Rows
Single crochet is a great choice for beginners, while half double crochet creates a softer and slightly taller fabric.
Follow these basic steps:
- Make the foundation chain.
- Crochet across the chain using your chosen stitch.
- Chain one and turn.
- Continue working rows until the piece reaches your desired length.
- Wrap it around your head to check the fit.
Keep your tension consistent. Uneven tension can cause the band to become wider or narrower as you work.
Step 3: Join the Ends
Once the ear warmer reaches the desired length, place the two short ends together.
You can sew them together using a yarn needle, slip stitch them together, or create a decorative twisted center before joining.
A twisted front is especially popular because it adds visual interest without requiring complicated stitches.
Step 4: Hide the Loose Ends
Thread each yarn tail onto your needle and weave it through several stitches on the inside of the band.
Pull gently and trim the excess yarn after securing it. A neat finish will help your handmade accessory look polished and durable.
Make Your Ear Warmer More Stylish
Once you understand the basic construction, there are many ways to personalize your design.
Try:
- Alternating two complementary colors
- Adding a textured stitch pattern
- Creating a twisted front
- Using a ribbed stitch for stretch
- Adding a small crochet flower
- Making matching warmers for family members
For example, a cream-colored ear warmer with a twisted front can create a minimalist everyday look, while burgundy or forest green works beautifully for a cozy autumn outfit.
Troubleshooting Tips
| Problem | Likely Cause | Solution |
|---|---|---|
| Band feels too tight | Finished length is too short | Add a few rows |
| Band slips off | Too much length or loose stitches | Reduce length or tighten tension |
| Edges look uneven | Inconsistent tension | Work more slowly |
| Fabric feels stiff | Hook is too small | Try a larger hook |
| Band lacks stretch | Rigid stitch or yarn | Try ribbing or a flexible yarn |
A Simple Fit Test
Before finishing, gently stretch the band around your head. It should sit comfortably over your ears without squeezing.
Remember that some yarns relax slightly with use, so avoid making the warmer excessively loose.
FAQ
1. Is a crocheted ear warmer easy for beginners?
Yes. A basic ear warmer can be made using chains and simple crochet stitches. It is a good project for practicing tension and working evenly across rows.
2. How much yarn do I need?
Because an ear warmer is relatively small, it usually requires much less yarn than a hat or scarf. The exact amount depends on yarn weight, width, stitch pattern, and size.
3. Which stitch is best for an ear warmer?
Half double crochet and ribbed stitches are excellent choices because they create comfortable fabric with some flexibility. Single crochet is also suitable if you prefer a firmer design.
4. How can I make the ear warmer warmer?
Choose a thicker yarn or a dense stitch pattern. Wool and wool blends can provide additional warmth, while a wider band can offer more coverage around the ears.
5. Can I make one without measuring my head?
You can estimate the size, but measuring gives a much better fit. If possible, measure the intended wearer’s head before starting and allow for the natural stretch of the crochet fabric.
Conclusion
A crocheted ear warmer is a practical project that combines comfort, style, and creativity. With soft yarn, a suitable hook, and a few simple rows, even beginners can make a useful cold-weather accessory.
Start with a basic rectangular band, check the fit as you work, and then experiment with colors, textures, and a twisted front. Once you’ve made one, you may find yourself creating several for different outfits, seasons, or handmade gifts.





Leave a Reply