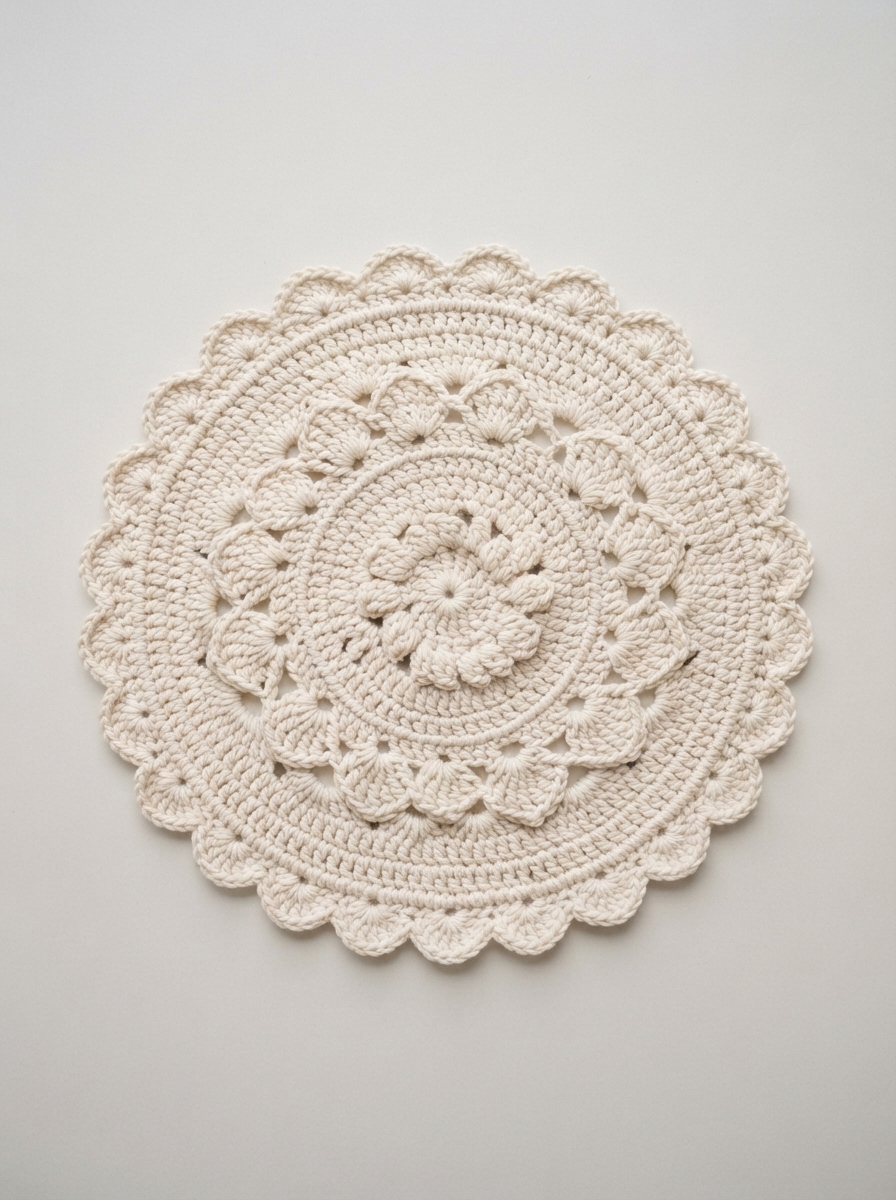
A small crochet coaster is one of those projects that proves handmade crafts don’t have to be complicated to be useful. With a little yarn and a basic crochet hook, you can create a practical piece that protects tables from warm mugs, cold glasses, and small spills.
This project is also ideal for beginners because it is quick, inexpensive, and easy to customize. Once you understand the basic technique, you can make a matching set for your kitchen, coffee table, or even as a thoughtful handmade gift.
Materials You’ll Need
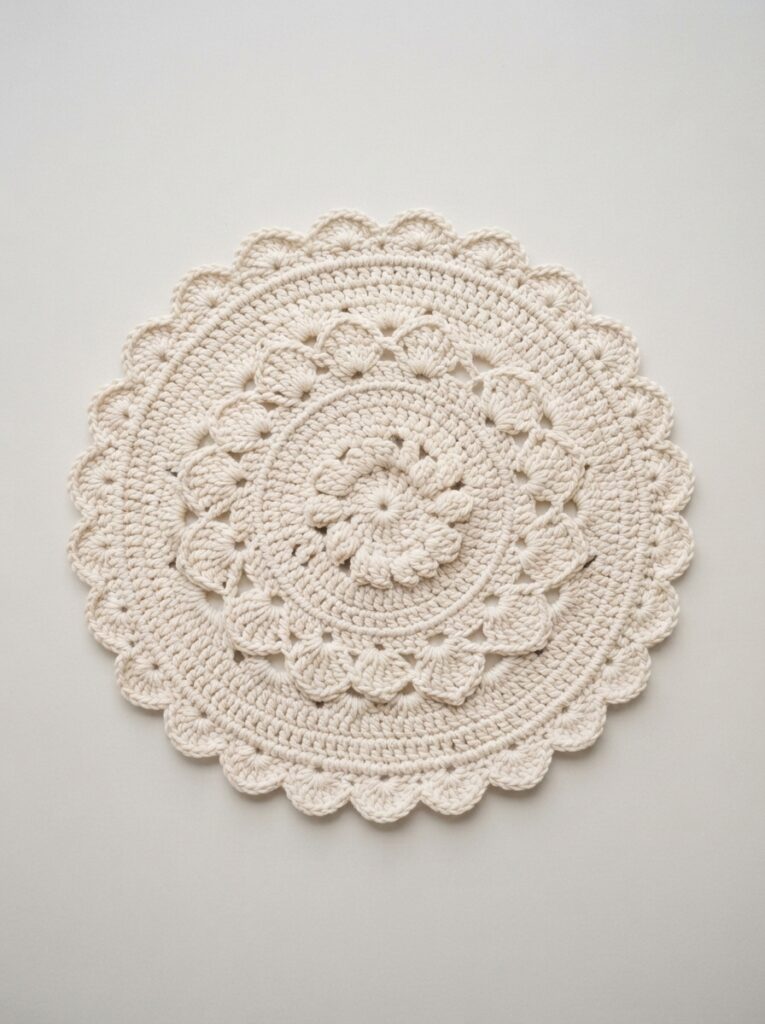
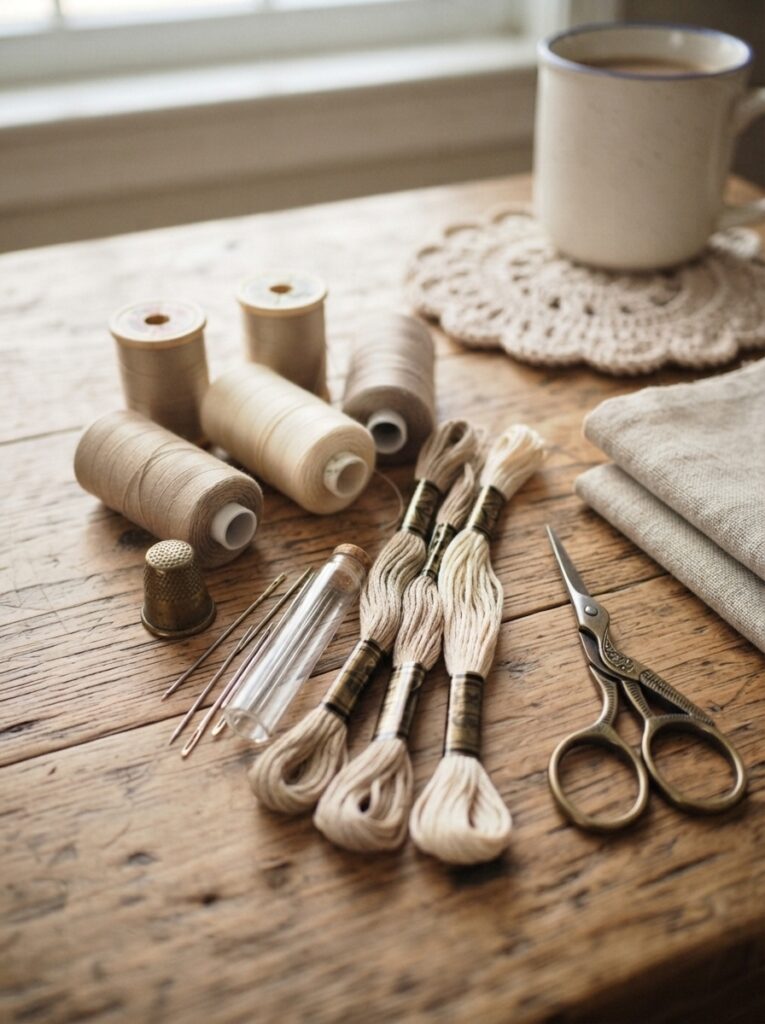
You only need a few supplies to get started.
| Material | Recommended Choice | Purpose |
|---|---|---|
| Yarn | Cotton or cotton blend | Durable and absorbent |
| Crochet hook | 3–4 mm | Creates firm stitches |
| Scissors | Sharp scissors | Cutting the yarn |
| Yarn needle | Large-eye needle | Hiding loose ends |
| Stitch marker | Optional | Tracking rounds |
Cotton yarn is usually a great choice for coasters because it is washable, durable, and less likely to stretch excessively. Choose a color that complements your tableware or home décor.
Choosing the Size and Shape
A small coaster can be round, square, hexagonal, or even flower-shaped. For a first project, a simple round coaster is one of the easiest options.
| Coaster Style | Beginner Level | Suggested Use |
|---|---|---|
| Round | Easy | Coffee mugs and glasses |
| Square | Easy | Modern table settings |
| Flower | Easy–Intermediate | Decorative occasions |
| Hexagonal | Intermediate | Contemporary sets |
A diameter of around 9–11 cm (3.5–4.3 inches) works well for many standard cups and glasses. However, you can make your coaster larger if you regularly use wide mugs or bowls.
How to Crochet a Small Coaster
Step 1: Start the Center
Begin with a magic ring. If you are not comfortable with a magic ring, you can chain a few stitches and join them into a small circle.
Work several single crochet stitches into the center. Keep your tension even so the starting circle stays flat.
Step 2: Increase Gradually
To make a round coaster grow, you need to add stitches regularly.
Follow this basic process:
- Crochet the first round into the center.
- Add increases evenly around the next round.
- Continue crocheting in rounds.
- Check that the coaster remains flat.
- Stop increasing when you reach your preferred diameter.
You do not necessarily need to follow one exact stitch count because yarn thickness and tension can vary. The important thing is to distribute increases evenly.
Step 3: Create a Decorative Border
Once the coaster reaches the desired size, finish with a simple border. You could use single crochet for a clean edge or try a contrasting color for extra definition.
For example, a pale blue coaster with a white border can create a fresh look, while mustard yellow and cream can give your table setting a warm, cozy feel.
Step 4: Finish Neatly
After completing the final round, fasten off and leave a yarn tail. Thread the tail through a yarn needle and weave it securely through several stitches on the back.
Trim any remaining excess yarn once the end is secure.
Tips for a Flat, Professional Coaster
A coaster should sit comfortably on the table rather than curling upward.
Watch Your Tension
If your stitches are extremely tight, the coaster may curl. If they are too loose, the finished piece may become floppy.
Check the Shape
| Problem | Possible Cause | Solution |
|---|---|---|
| Coaster curls upward | Too few increases | Add increases gradually |
| Coaster becomes wavy | Too many increases | Reduce increase frequency |
| Shape is uneven | Inconsistent tension | Slow down and count stitches |
| Coaster feels floppy | Hook too large | Try a smaller hook |
If the piece begins to curl slightly, don’t panic. A gentle blocking process after finishing can help improve its shape.
Creative Ideas for Your Crochet Coasters
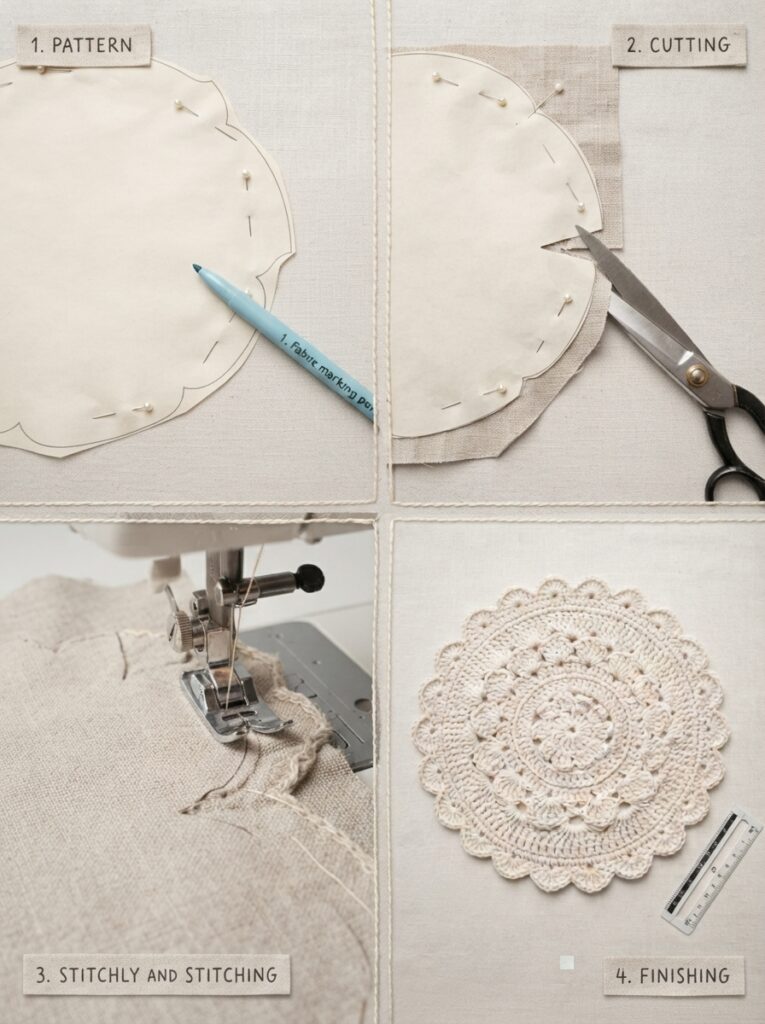
Once you’ve mastered the basic design, experiment with different combinations:
- Make a rainbow-colored set.
- Use leftover cotton yarn from other projects.
- Add a contrasting border.
- Create seasonal colors for holidays.
- Make flower-shaped versions for parties.
- Combine several colors to create simple geometric patterns.
A set of four or six matching coasters can also make a lovely handmade housewarming gift.
FAQ
1. What yarn is best for crochet coasters?
Cotton yarn is generally one of the best choices because it is durable, washable, and handles everyday use well. Cotton blends can also work nicely.
2. How big should a crochet coaster be?
Around 9–11 cm is a useful starting size for mugs and glasses. Measure your favorite cups if you want a more precise fit.
3. Why is my coaster curling?
Curling can happen when there are not enough increases in the round or when your tension is too tight. Try adding increases more evenly or using a slightly larger hook.
4. Can beginners make this project?
Yes. A basic coaster requires only a few fundamental techniques, making it an excellent practice project for learning chains, single crochet, increases, and finishing.
5. How should I wash a crochet coaster?
Check the yarn label first. Many cotton coasters can be gently machine washed or hand washed. Allow them to dry flat to help maintain their shape.
Conclusion
Making a small crochet coaster is a simple way to turn a little yarn into something useful and attractive. With cotton yarn, a suitable hook, consistent tension, and evenly spaced increases, beginners can create a neat coaster in very little time.
Start with a classic round design, then experiment with colors, borders, and shapes as your confidence grows. Whether you’re protecting your coffee table or creating a handmade gift, these tiny crochet projects are practical, enjoyable, and easy to personalize.





Leave a Reply