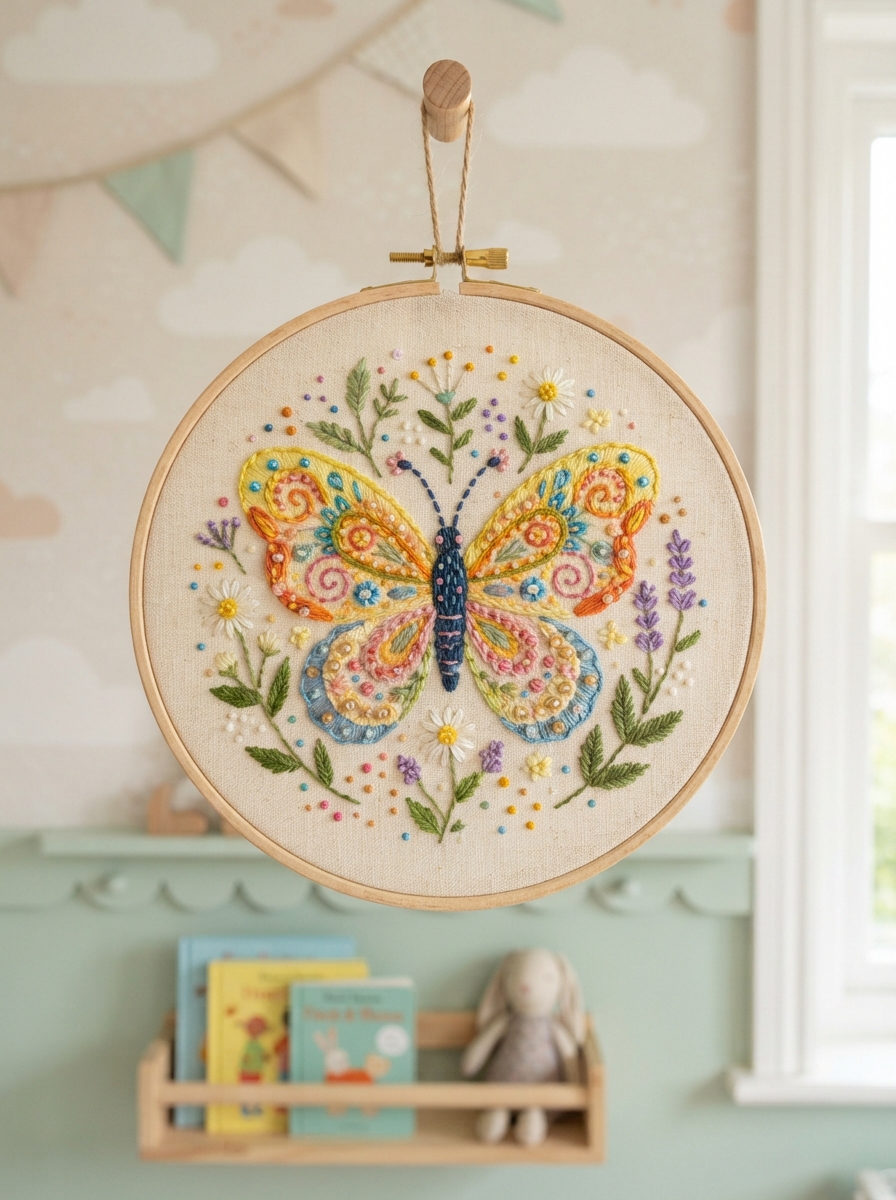
A colorful butterfly is one of the sweetest designs to introduce children to embroidery. With simple shapes, cheerful colors, and beginner-friendly stitches, this project can become a fun creative activity rather than a complicated sewing lesson. Children can choose their favorite colors, experiment with patterns, and create a little butterfly to decorate fabric, a pencil case, a tote bag, or a small framed piece.
This project is best suited to children who can safely handle an embroidery needle under appropriate adult supervision. The design is intentionally simple, making it a great way to practice basic stitches while creating something they can be proud of.
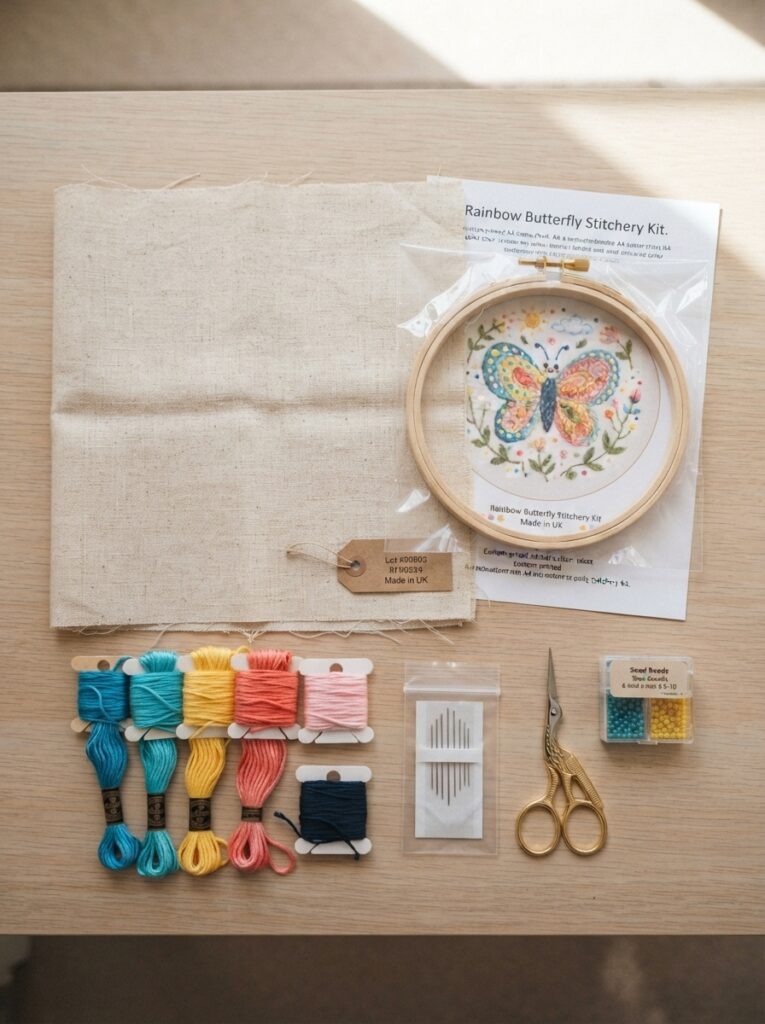
Materials You’ll Need
Gather the supplies before starting so the child can focus on the creative process.
| Material | Suggested Choice | Why It Helps |
|---|---|---|
| Fabric | Cotton or linen | Stable and easy to stitch |
| Embroidery hoop | Small, 10–15 cm | Keeps fabric tight |
| Embroidery floss | 3–5 bright colors | Creates cheerful details |
| Embroidery needle | Blunt or child-appropriate needle | Easier for supervised beginners |
| Fabric marker | Washable pen | Makes the butterfly outline |
| Small scissors | Sharp craft scissors | Cuts thread neatly |
| Pencil and paper | Plain paper | Useful for practicing the design |
Choosing a Simple Butterfly Design
Before stitching, draw a basic butterfly on paper. Start with a small body, two large upper wings, and two smaller lower wings.
Fun Color Ideas
Children can personalize their butterflies with combinations such as:
- Pink and purple wings
- Blue and yellow wings
- Orange and red wings
- Rainbow-colored wings
- Pastel pink, green, and blue
There is no need to make both wings perfectly identical. Small differences can make the finished butterfly look more playful and handmade.
How to Embroider the Butterfly
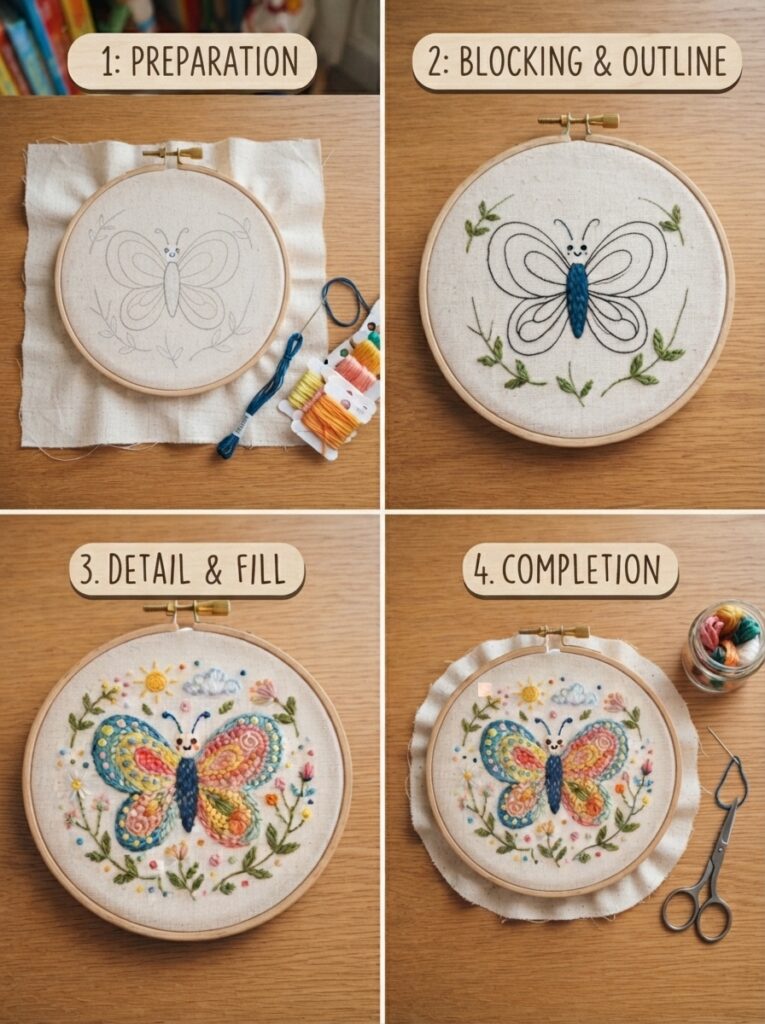
Once the fabric is prepared, place it firmly inside the embroidery hoop. The fabric should feel smooth without being stretched excessively.
Step 1: Draw the Butterfly
Use a washable fabric marker to lightly sketch the butterfly in the center of the fabric. Keep the outline large enough for a child to stitch comfortably.
For a first project, avoid tiny details or complicated patterns.
Step 2: Stitch the Body
Use dark brown, black, or another contrasting color for the butterfly’s body. Simple backstitches work well.
- Bring the needle up through the fabric.
- Make a small stitch forward.
- Bring the needle back up slightly ahead of the previous stitch.
- Continue along the body outline.
Keep the stitches fairly short and even.
Step 3: Create the Wings
Lazy daisy stitches are a fun option for decorating the wings. Each stitch forms a small loop that resembles a petal.
You can arrange several stitches inside each wing or use straight stitches to create stripes and spots.
| Butterfly Area | Beginner Stitch | Decorative Idea |
| Body | Backstitch | Add a simple outline |
| Large wings | Lazy daisy | Create colorful patterns |
| Small wings | Straight stitch | Make stripes or dots |
| Antennae | Backstitch | Use a contrasting color |
| Wing spots | French knots | Add playful details |
Step 4: Add Antennae and Details
Finish the butterfly with two thin antennae using straight stitches. Children can then add small French knots, dots, stripes, or tiny flowers to the wings.
If French knots are difficult, simply use small straight stitches instead.
Tips for a Successful Children’s Project
Embroidery should feel enjoyable rather than stressful. Keep the first project short and allow children to make their own creative decisions.
- Use bright, easy-to-see threads.
- Choose a simple design with large stitching areas.
- Encourage children to select their own colors.
- Avoid pulling the thread too tightly.
- Work slowly and take breaks.
- Always supervise children when using needles and scissors.
- Practice unfamiliar stitches on scrap fabric first.
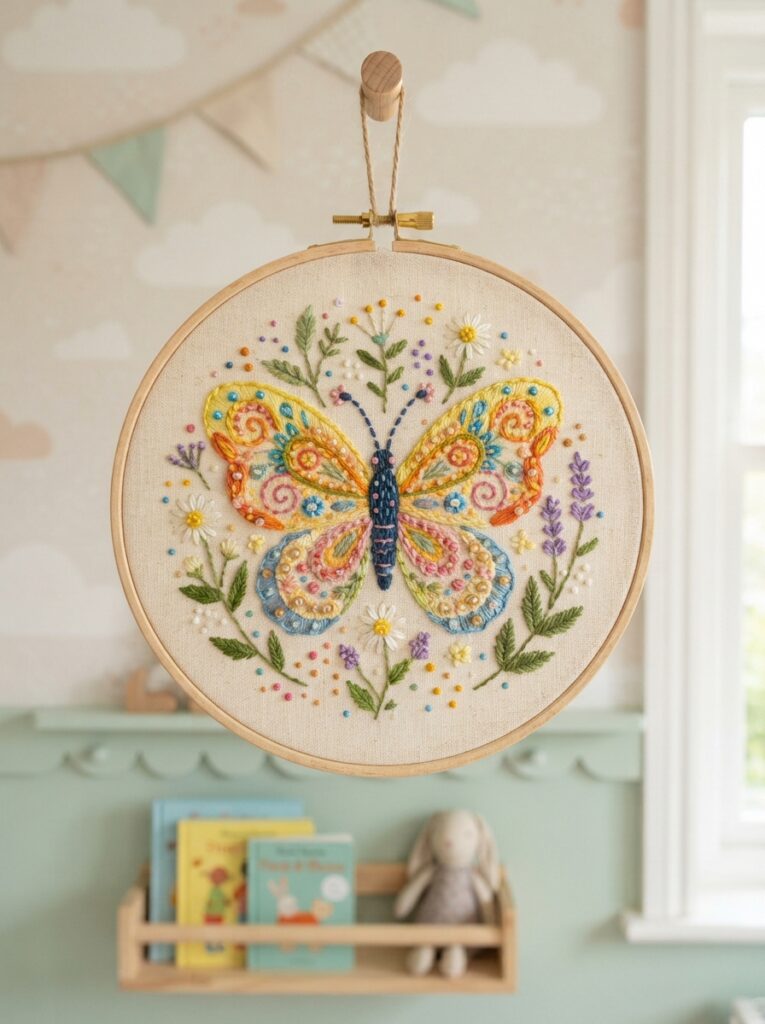
For example, a child might embroider a blue butterfly with yellow wing spots and place it inside a small wooden hoop. It can then become a bedroom decoration or a handmade gift for a family member.
Making the Project More Creative
Once the basic butterfly is finished, children can turn it into a larger artwork. Add embroidered flowers, leaves, clouds, or tiny stars around the butterfly.
| Extra Detail | Simple Technique | Effect |
| Flowers | Lazy daisy stitches | Creates a garden scene |
| Grass | Straight stitches | Adds a natural background |
| Clouds | Satin stitches | Makes the scene softer |
| Dots | French knots | Adds texture |
| Leaves | Straight stitches | Completes the garden |
This also makes the project excellent for Pinterest-inspired craft sessions because each child can create a completely different design.
FAQ
1. What age is suitable for children’s embroidery?
It depends on the child’s coordination and experience. Younger children should work only with close adult supervision and suitable tools. Older children who can safely manage a needle may be able to complete more of the project independently.
2. Which embroidery stitch is easiest for beginners?
Straight stitch and backstitch are among the easiest to learn. Lazy daisy stitches are also useful because they create attractive decorative shapes without complicated techniques.
3. Can children embroider on felt?
Yes. Felt is easy to handle and does not fray like many woven fabrics. It can be a convenient material for simple children’s embroidery projects.
4. How can I prevent the thread from tangling?
Use a manageable length of thread rather than a very long piece. Encourage the child to pull the thread gently and allow it to untwist when necessary.
5. What can children do with their finished butterfly?
The embroidery can be displayed in a hoop, placed in a small frame, sewn onto a fabric project, or used as inspiration for a larger embroidered garden scene.
Conclusion
Learning how to embroider a cute butterfly can be a wonderful introduction to the world of handmade crafts. With a simple outline, colorful floss, and a few basic stitches, children can create something unique while developing patience, concentration, and creativity.
The goal is not perfect stitching—it is enjoying the process and giving children the freedom to make the butterfly their own. 🦋





Leave a Reply