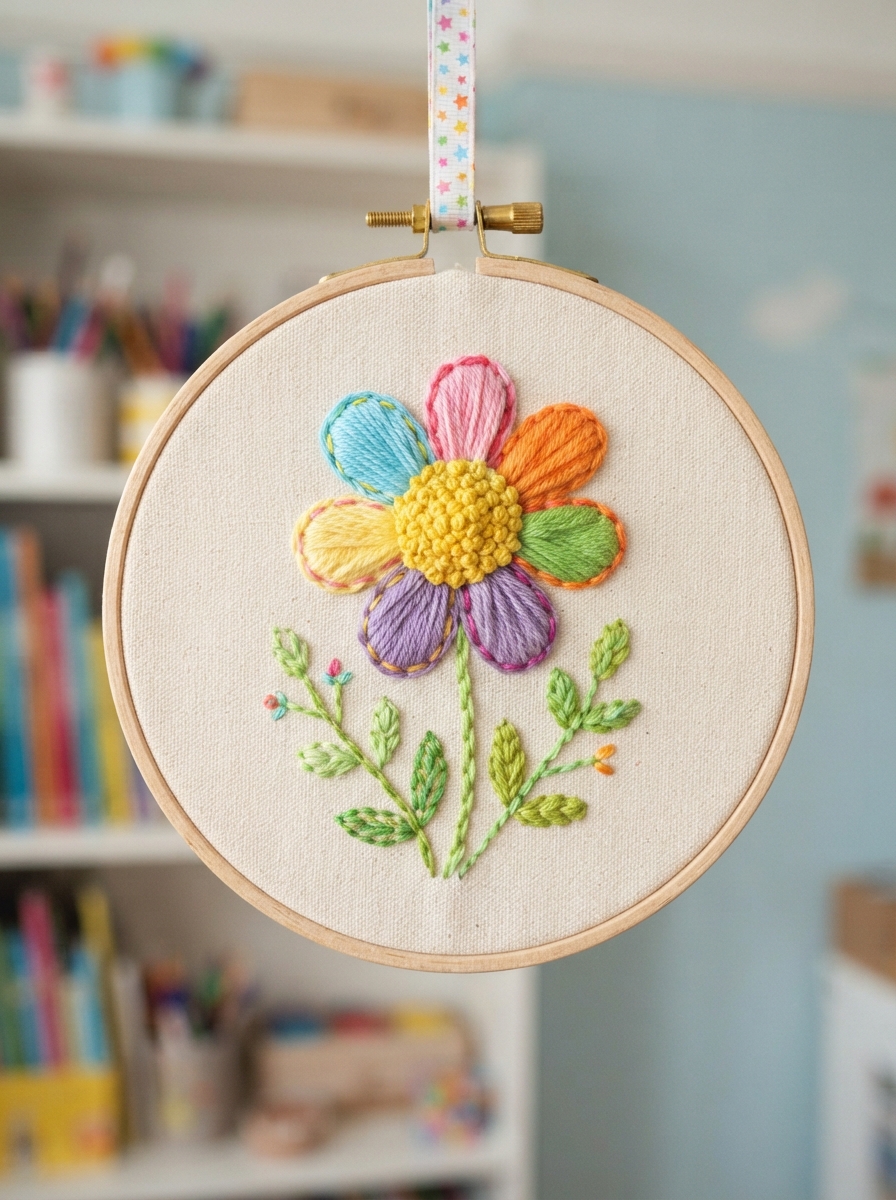
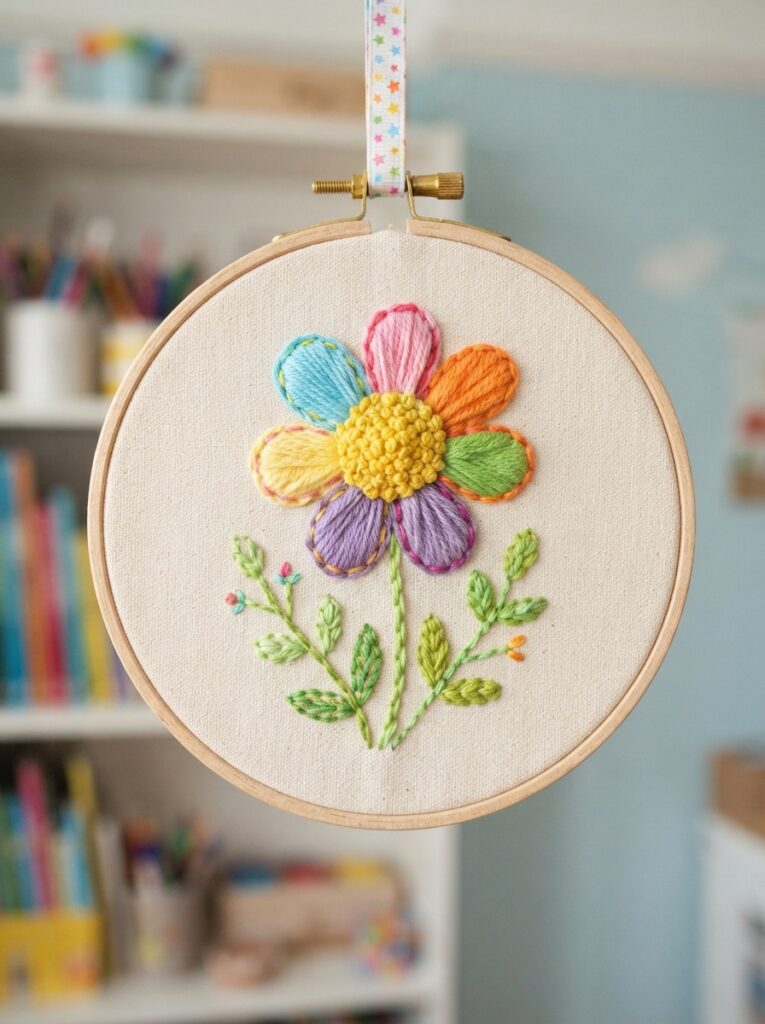
A tiny embroidered flower can turn an ordinary piece of fabric into a charming handmade decoration. Framed floral embroidery is especially beginner-friendly because you can create a beautiful result with just a few basic stitches, some colorful thread, and a small embroidery hoop. Whether you want to decorate a bedroom, create a thoughtful handmade gift, or make a pretty Pinterest-inspired project, this simple flower is a wonderful place to start.
The best part? You do not need advanced embroidery skills. With a little patience and a few easy techniques, you can create a delicate floral design that looks polished and personal.
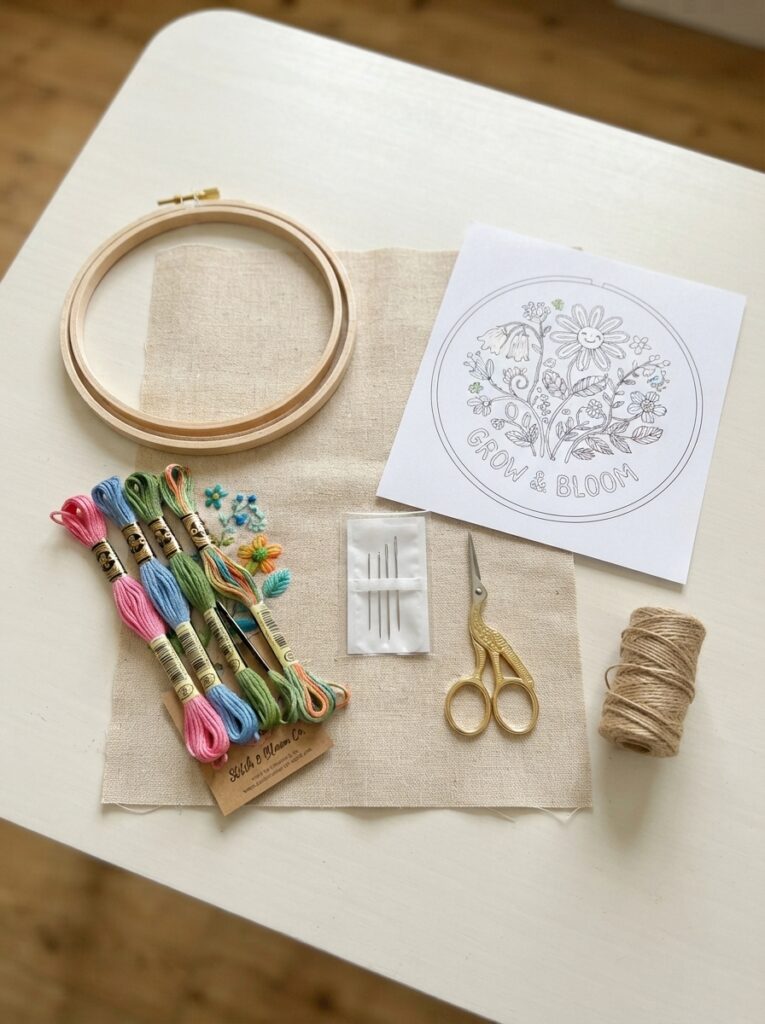
Materials You’ll Need
Before starting, gather everything you need. Choosing the right materials makes the embroidery process much easier.
| Material | Recommended Choice | Purpose |
|---|---|---|
| Fabric | Cotton or linen | Provides a stable embroidery surface |
| Embroidery hoop | 10–15 cm | Keeps fabric stretched while stitching |
| Embroidery floss | 2–4 colors | Creates petals, center, and leaves |
| Embroidery needle | Sharp, medium-sized | Makes stitching easier |
| Small scissors | Sharp craft scissors | Trims thread neatly |
| Pencil or fabric pen | Washable | Draws the flower outline |
| Small frame | Wooden or decorative | Displays the finished embroidery |
Choosing Your Flower Design
Keep your first flower simple. A five- or six-petal flower is ideal because it allows you to practice without becoming overwhelmed.
Easy Color Combinations
Try combinations such as:
- Pink petals with a yellow center
- White petals with a golden center
- Purple petals with a soft green stem
- Blue petals with a yellow center
- Red petals with green leaves
For a natural appearance, avoid using too many colors in your first project. Two or three shades are usually enough.
How to Embroider the Flower
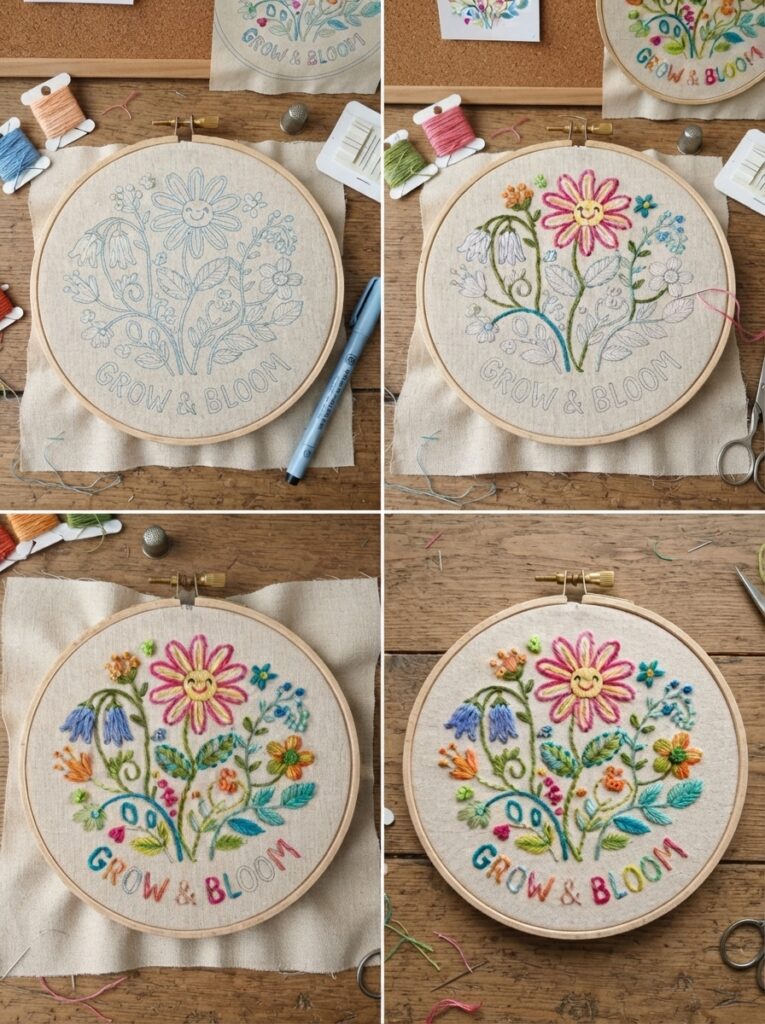
Once your materials are ready, you can begin.
| Flower Part | Suggested Stitch | Difficulty |
| Petals | Satin stitch or lazy daisy | Easy |
| Flower center | French knots | Easy |
| Stem | Stem stitch | Easy |
| Leaves | Satin stitch | Easy |
| Small details | Straight stitch | Very easy |
Step 1: Prepare the Fabric
Cut a piece of fabric large enough to fit comfortably inside your embroidery hoop and frame. Place it in the hoop and tighten the screw until the fabric feels firm but not stretched excessively.
Lightly draw a small flower in the center. You can sketch five rounded petals around a small circle.
Step 2: Stitch the Petals
Thread your needle with embroidery floss and make a small knot at the end if that is your preferred method.
For a simple floral design, use lazy daisy stitches. Bring the needle up at the petal’s base, make a loop toward the outer edge, and bring the needle back down near the starting point. Secure the loop with a tiny stitch.
Repeat this process for every petal.
Step 3: Add the Flower Center
French knots are perfect for creating a textured flower center. Wrap the thread around the needle once or twice, then pull the needle through carefully.
If French knots feel difficult, small straight stitches arranged in a circle are an easier alternative.
Step 4: Embroider the Stem and Leaves
Use a stem stitch or simple backstitch to create the stem. Add one or two leaves using satin stitch or small straight stitches.
Keep the leaves slightly different in size or angle to make the flower look more natural.
Finishing and Framing Your Embroidery
When the stitching is complete, check the back of your work and trim loose threads. Remove the fabric from the hoop and gently press it if necessary.
| Finishing Step | What to Do |
| Check stitching | Look for loose or uneven threads |
| Trim threads | Cut excess floss carefully |
| Press fabric | Use gentle heat if the fabric requires it |
| Position design | Center the flower in the frame |
| Secure fabric | Pull evenly and attach it to the frame |
A simple wooden frame works beautifully for floral embroidery. You can also use a painted frame to match your room or gift recipient’s style.
Practical Tips for Beginners
- Start with a small design rather than a complicated bouquet.
- Keep your thread tension even; pulling too tightly can wrinkle the fabric.
- Use shorter lengths of floss to reduce tangling.
- Practice French knots on a scrap piece of fabric first.
- Leave enough fabric around the design so it can be properly secured inside the frame.
- Take breaks if your hands become tired.
For example, a small pink flower on cream-colored linen can make a lovely handmade nursery decoration. Several tiny flowers in different frames can also create an attractive gallery wall.
FAQ
1. What fabric is best for beginner embroidery?
Cotton and linen are excellent choices because they are relatively easy to stitch through and hold their shape well. Avoid very stretchy fabrics when learning.
2. How many strands of embroidery floss should I use?
For small floral designs, two or three strands are usually a good starting point. Use fewer strands for delicate details and more for thicker areas.
3. Can I embroider without an embroidery hoop?
Yes, but a hoop is strongly recommended for beginners. It keeps the fabric stable and helps maintain more consistent stitches.
4. What if my petals are not perfectly even?
That is completely fine. Handmade embroidery does not need to look machine-made. Slight variations often give a flower more personality and charm.
5. How can I make my framed embroidery look more professional?
Use clean fabric, consistent thread tension, carefully trimmed threads, and a frame that complements the colors of your design. Centering the finished piece also makes a big difference.
Conclusion
Embroidering a simple flower inside a frame is an easy and rewarding craft for beginners. With basic stitches, a few colorful threads, and a little patience, you can create a decorative piece that feels truly handmade. Start with a simple flower, experiment with colors, and gradually add leaves or extra details as your confidence grows.
Whether displayed on a wall, placed on a shelf, or given as a handmade gift, your little embroidered flower can bring a warm and personal touch to any space. 🌸





Leave a Reply