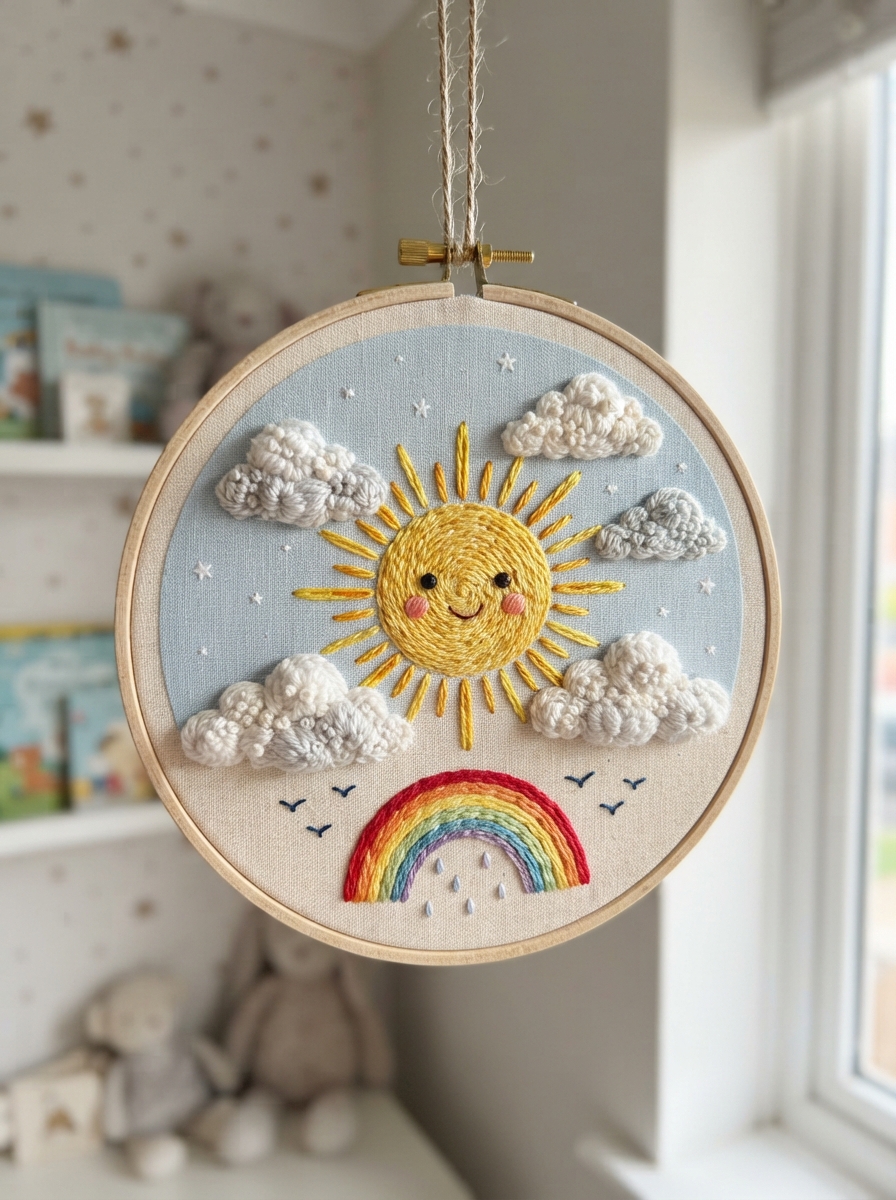
Embroidery is a wonderful way for children to explore creativity while developing patience, concentration, and hand coordination. A cheerful sun and fluffy cloud design is especially beginner-friendly because it uses simple shapes, bright colors, and basic stitches. With a little fabric, colorful thread, and adult guidance, children can turn an ordinary piece of cloth into a charming decoration, gift, or keepsake.
This project is suitable for craft afternoons, classroom activities, rainy-day fun, or a relaxing weekend at home.
Why Children Will Enjoy This Project
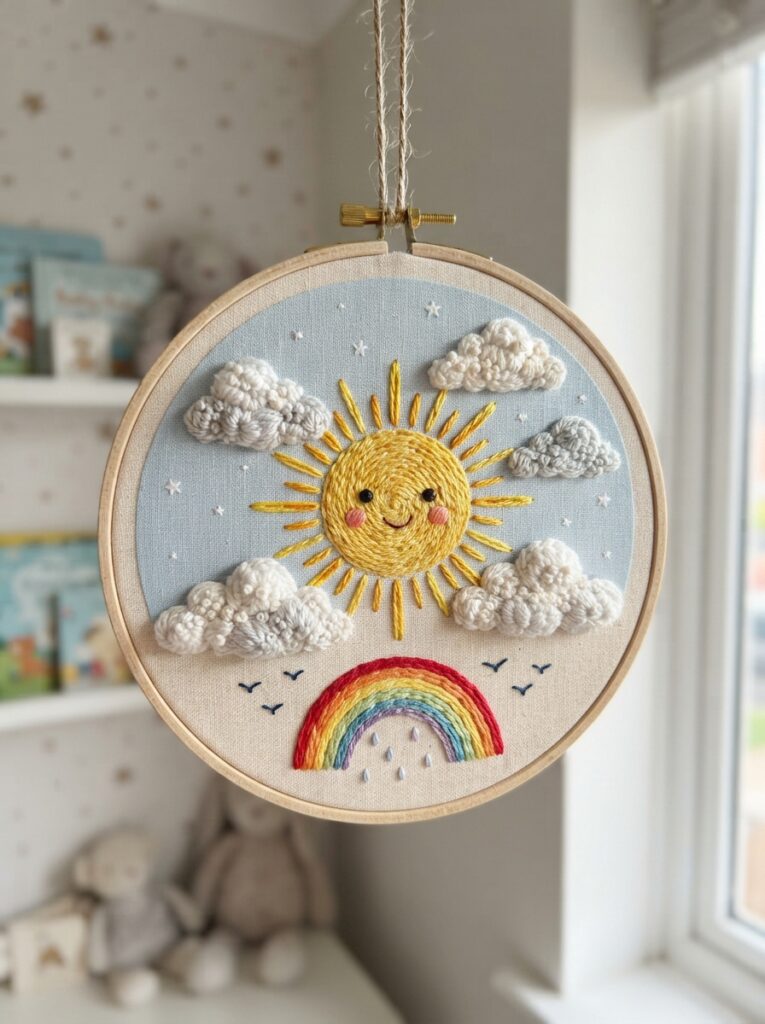
Sun and cloud embroidery combines two familiar shapes into one cheerful picture. Children can choose their own colors and add details such as raindrops, flowers, birds, or a smiling face.
| Skill | What Children Practice |
|---|---|
| Fine motor skills | Guiding the needle and thread |
| Concentration | Following shapes and stitch patterns |
| Creativity | Choosing colors and adding details |
| Patience | Completing the design step by step |
Materials You Will Need
Keep the supplies simple so beginners can concentrate on learning the stitches rather than managing complicated equipment.
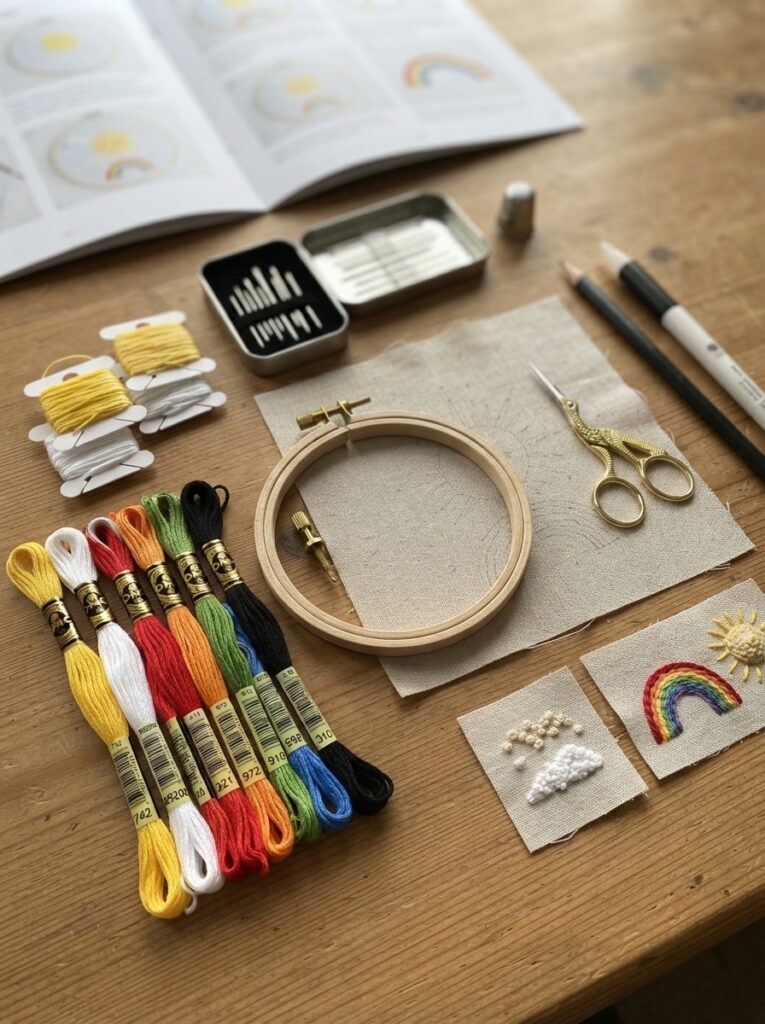
- A small piece of cotton or embroidery fabric
- Embroidery hoop
- Embroidery floss in yellow, white, blue, and optional colors
- Child-safe embroidery needle
- Embroidery scissors
- Fabric pencil or washable marker
- Simple sun-and-cloud template
- Optional: felt, small beads, or fabric scraps for decoration
Choosing Safe Materials
For younger children, an adult should supervise the activity, especially when using needles and scissors. A blunt-tipped embroidery needle can be easier for beginners to handle.
| Material | Beginner-Friendly Choice | Purpose |
| Fabric | Cotton or linen | Easy to stitch |
| Thread | 6-strand embroidery floss | Bright, flexible colors |
| Needle | Blunt embroidery needle | Easier for children |
| Hoop | Small or medium hoop | Keeps fabric stretched |
How to Make the Sun and Cloud
1. Prepare the Design
Place the fabric inside the embroidery hoop and tighten it gently until the surface is smooth. Lightly draw a circle for the sun and a few rounded shapes for the cloud.
Keep the design fairly large. Bigger shapes are easier for children to stitch neatly.
2. Embroider the Sun
Thread the needle with yellow floss and make simple backstitches around the sun. Backstitch creates a clean outline and is one of the easiest embroidery stitches to learn.
For the sun rays, use short straight stitches extending outward from the circle.
A simple sequence is:
- Outline the sun.
- Add evenly spaced rays.
- Fill small areas if desired.
- Add a friendly face using dark thread.
3. Add the Cloud
Use white or light-blue thread to outline the cloud. Children can practice small running stitches or backstitches along the curved edge.
For extra creativity, add tiny blue raindrops beneath the cloud or stitch a few colorful flowers beside it.
4. Finish the Embroidery
When the design is complete, check the back for loose threads. An adult can help secure the ends and carefully trim excess thread.
If the embroidery is being turned into wall art, place the finished fabric in a clean frame or leave it inside the hoop as a simple decoration.
Practical Tips for Better Results
A few small adjustments can make the project much easier for beginners:
- Draw simple shapes instead of complicated patterns.
- Use contrasting thread colors so the design is easy to see.
- Encourage children to make their own design choices.
- Avoid pulling the thread too tightly, as this can wrinkle the fabric.
- Take short breaks if children become tired or frustrated.
- Celebrate the finished project rather than focusing on perfect stitches.
A Fun Real-Life Example
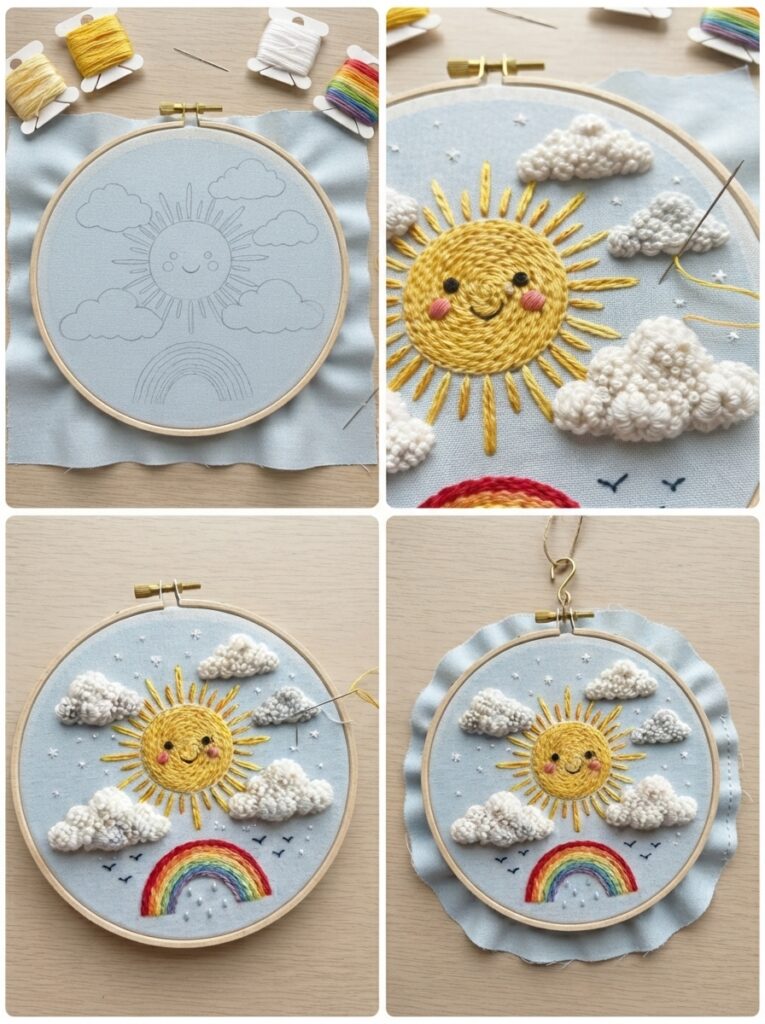
For a classroom activity, each child could embroider the same basic sun and cloud pattern but personalize it differently. One child might add a rainbow, another could create flowers, while someone else might stitch birds or butterflies. Displaying the finished pieces together can create a colorful classroom sky.
FAQ
1. What age is suitable for this embroidery project?
Children who can safely handle a needle with adult supervision can try this activity. The exact age depends on the child’s coordination and experience with crafts.
2. Which embroidery stitch should beginners learn first?
Running stitch and backstitch are excellent starting points. They are simple to understand and work well for outlining the sun and cloud.
3. Can children use colors other than yellow and white?
Absolutely. Let children experiment with orange, pink, purple, turquoise, or any colors they enjoy. Creative freedom is one of the best parts of embroidery.
4. What if the fabric becomes wrinkled?
Loosen the stitches and gently smooth the fabric inside the hoop. Keeping the fabric comfortably stretched—not overly tight—usually helps prevent wrinkles.
5. What can children do with their finished embroidery?
The design can become wall art, a small framed picture, a hoop decoration, a handmade card, or a thoughtful gift for a family member.
Conclusion
Sun and cloud embroidery is a simple, cheerful craft that gives children an opportunity to create something with their own hands. By using basic stitches, colorful thread, and an uncomplicated design, beginners can enjoy embroidery without feeling overwhelmed. Most importantly, the project encourages creativity, patience, and confidence. Let children personalize their little sky with their favorite colors and details—the result will be a unique handmade creation worth displaying





Leave a Reply