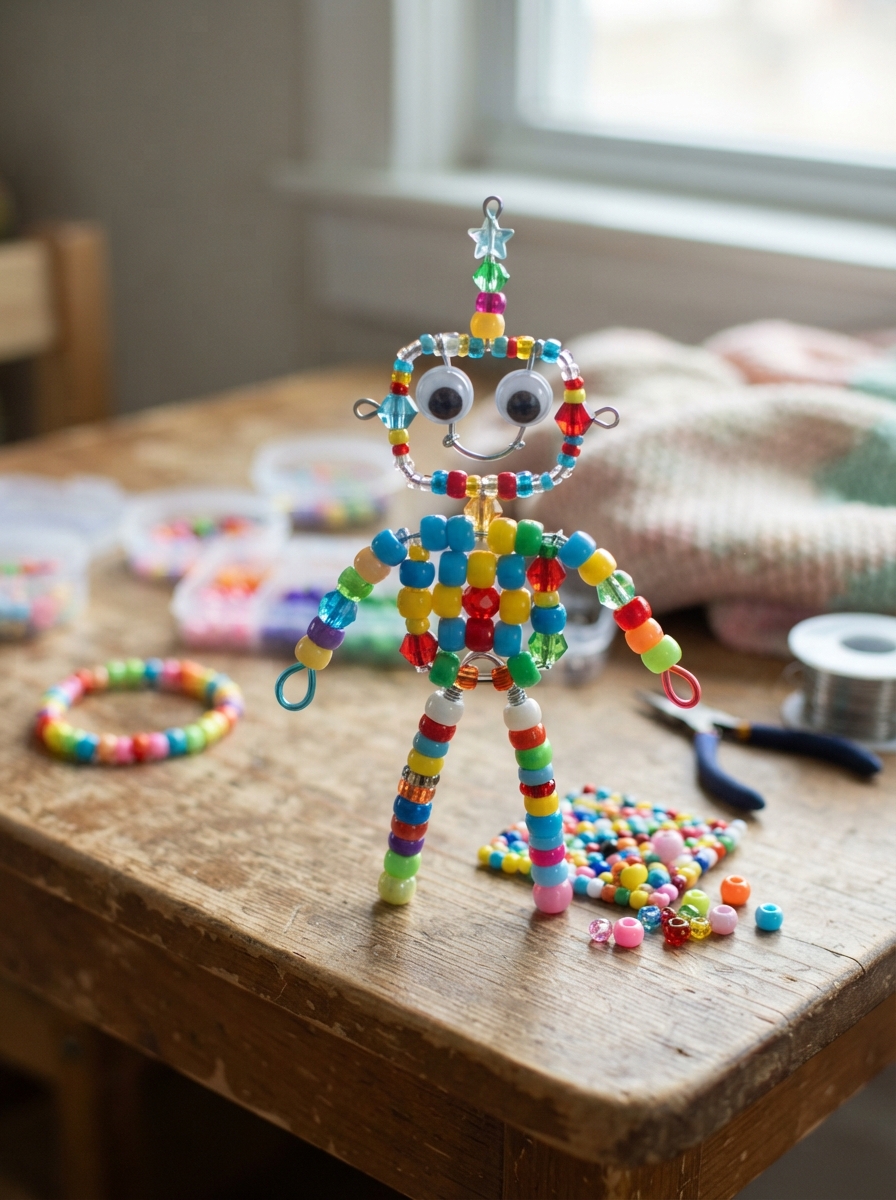
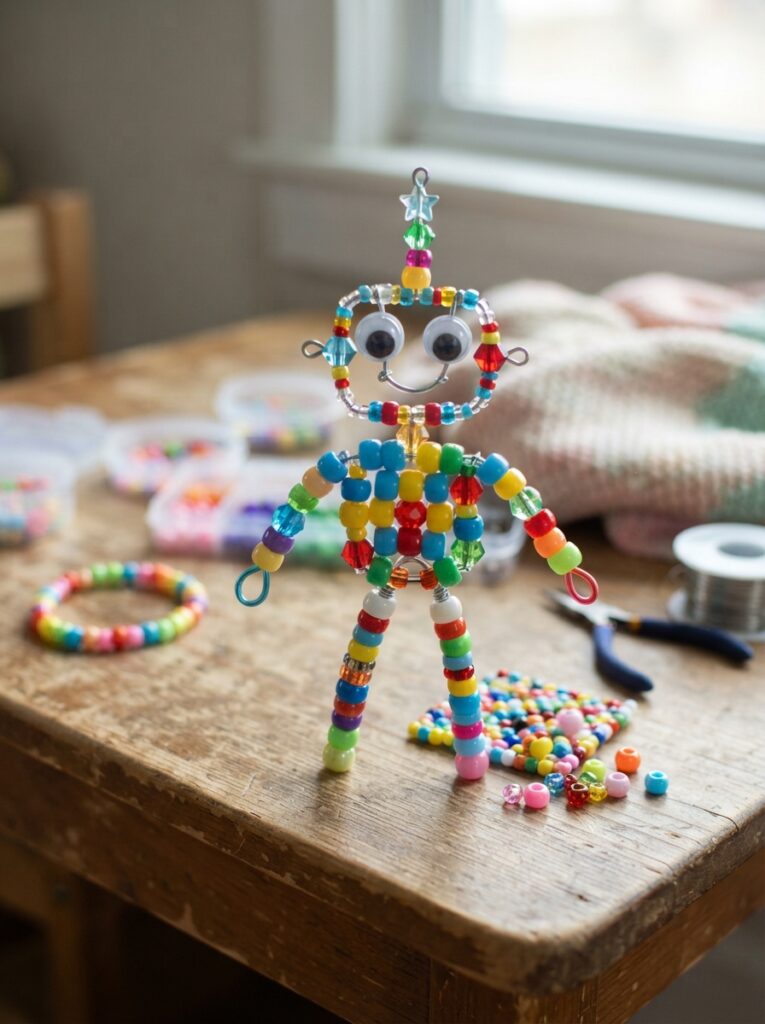
Making a small robot using beads is a fun craft project that lets children turn simple materials into a tiny, colorful character. With a few beads, some cord, and a little imagination, kids can create a robot that works as a decoration, backpack charm, keychain, or handmade gift.
This project is especially enjoyable for beginners because the design can be kept simple. Children can choose their robot’s colors, facial expression, and accessories while practicing patience, concentration, and hand-eye coordination.
Materials You’ll Need
Start by preparing all the supplies before beginning. A clean, flat workspace makes it easier to organize the beads and follow the pattern.
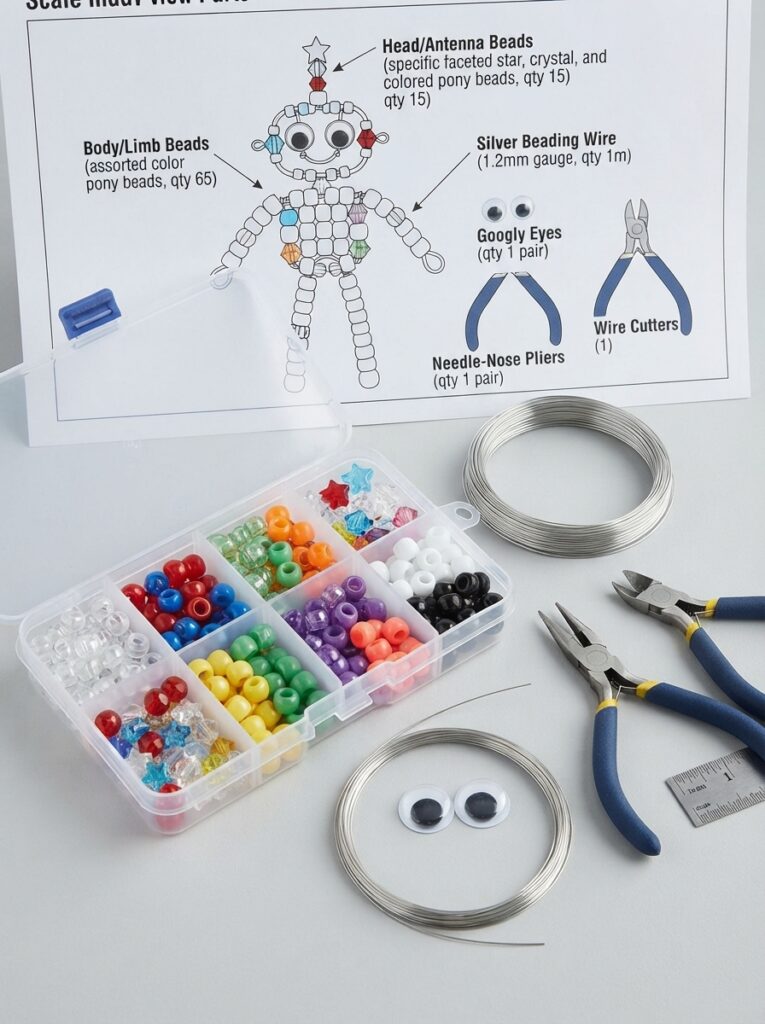
| Material | Recommended Option | Purpose |
|---|---|---|
| Main beads | Pony or medium-size craft beads | Robot body |
| Small beads | Black or dark-colored beads | Eyes and details |
| Accent beads | Red, blue, yellow, or green | Buttons and decoration |
| Elastic cord | Flexible beading cord | Connecting the beads |
| Scissors | Small craft scissors | Cutting the cord |
| Keychain ring | Optional | Turning the robot into a charm |
For younger children, larger beads are usually easier to hold and thread. Tiny beads should be used only with appropriate adult supervision because they can be a choking hazard.
Planning Your Robot Design
Before threading the beads, decide what your robot should look like. A simple robot can have a square or rectangular body, two eyes, short arms, and small legs.
Choose Your Colors
You could use:
- Silver or gray for a classic robot appearance
- Blue and white for a friendly futuristic robot
- Red and yellow for a playful design
- Several bright colors for a rainbow robot
It can also be helpful to place the beads in small groups before starting. This makes the pattern easier to follow and reduces the chance of accidentally using the wrong color.
Step-by-Step Instructions
Once your materials are ready, you can begin building the robot.
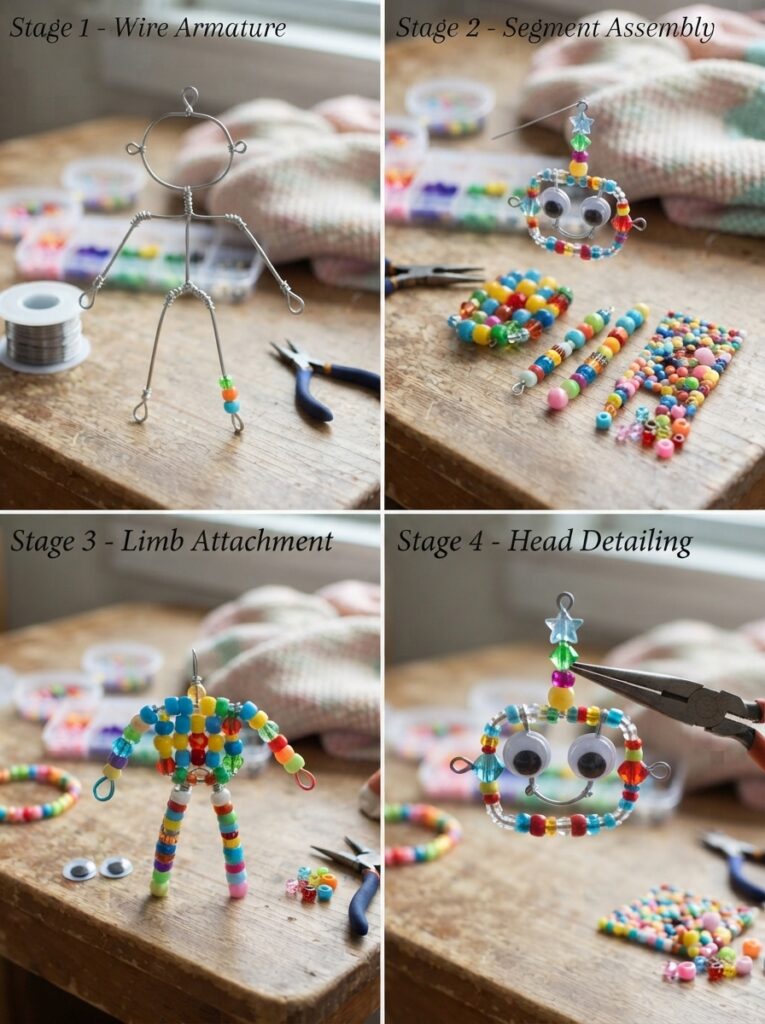
- Cut the cord: Cut a comfortable length of elastic cord, leaving extra space at the ends for securing the finished design.
- Create the body: Start threading the main-colored beads to form the robot’s body. Keep the rows even so the character maintains a recognizable shape.
- Add the face: Use two dark beads for the eyes. A contrasting bead can be added below them to create a simple mouth or control panel.
- Build the arms: Add beads to each side of the body to create short arms. Keeping both sides similar will make the robot look balanced.
- Add the legs: Continue with a few beads underneath the body for two small legs.
- Decorate the robot: Add colorful beads as buttons, lights, or other futuristic details.
- Secure the design: When you’re satisfied with the shape, carefully tie the cord with a strong knot. An adult can help with this step if needed.
Helpful Tips for Beginners
| Common Problem | Practical Solution |
|---|---|
| Beads roll away | Work inside a shallow tray |
| Pattern is confusing | Separate beads by color first |
| Cord is difficult to handle | Use larger-hole beads |
| Robot looks uneven | Count beads on each side |
| Knot feels loose | Ask an adult to secure it |
Don’t worry if the first robot isn’t perfect. Handmade crafts often look more charming because of their small differences.
Creative Ways to Customize It
Once the basic robot is finished, encourage children to give it a personality. A few simple changes can make every robot unique.
Try adding:
- A single antenna made with extra beads
- Different-colored eyes
- A colorful chest panel
- Larger feet for a funny appearance
- A small loop for attaching it to a backpack
| Robot Style | Design Idea |
|---|---|
| Friendly robot | Bright colors and a smiling face |
| Space robot | Silver, blue, and dark beads |
| Rainbow robot | Use several colors throughout |
| Mini robot | Use fewer beads for a smaller character |
Turning the Robot Into a Useful Craft
A finished beaded robot can become more than a simple decoration. Attach it to a keychain ring to create a backpack charm, or make several robots and connect them to a colorful craft display.
For a classroom or children’s craft activity, each child can design a different robot and give it a name. This adds storytelling to the project and encourages creativity beyond the beadwork itself.
FAQ
1. What type of beads are best for beginners?
Medium or large pony beads are a good starting choice because they are easy to hold and usually have holes large enough for flexible cord.
2. Can younger children make this robot?
Yes, but younger children should be closely supervised, especially when working with small beads and scissors.
3. Can I make the robot without elastic cord?
Yes. Beading thread or another suitable craft cord can work, depending on the pattern. Make sure the material is strong enough to hold the beads securely.
4. How can I make a smaller robot?
Use fewer beads in each section and choose smaller beads. Start with a simple body and reduce the number of beads used for the arms and legs.
5. What can I do with the finished robot?
You can use it as a decoration, keychain, backpack charm, handmade gift, or part of a larger collection of beaded characters.
Conclusion
Making a small robot using beads is an enjoyable beginner craft that combines creativity with practical skills. By choosing simple colors, organizing the beads, and following the pattern step by step, children can create a fun robot character they can proudly display or use as a charm.
The best part is that there is no single correct robot design. Encourage children to experiment with colors, faces, shapes, and accessories. With each new creation, they can develop their confidence while turning a handful of beads into something imaginative and unique.





Leave a Reply