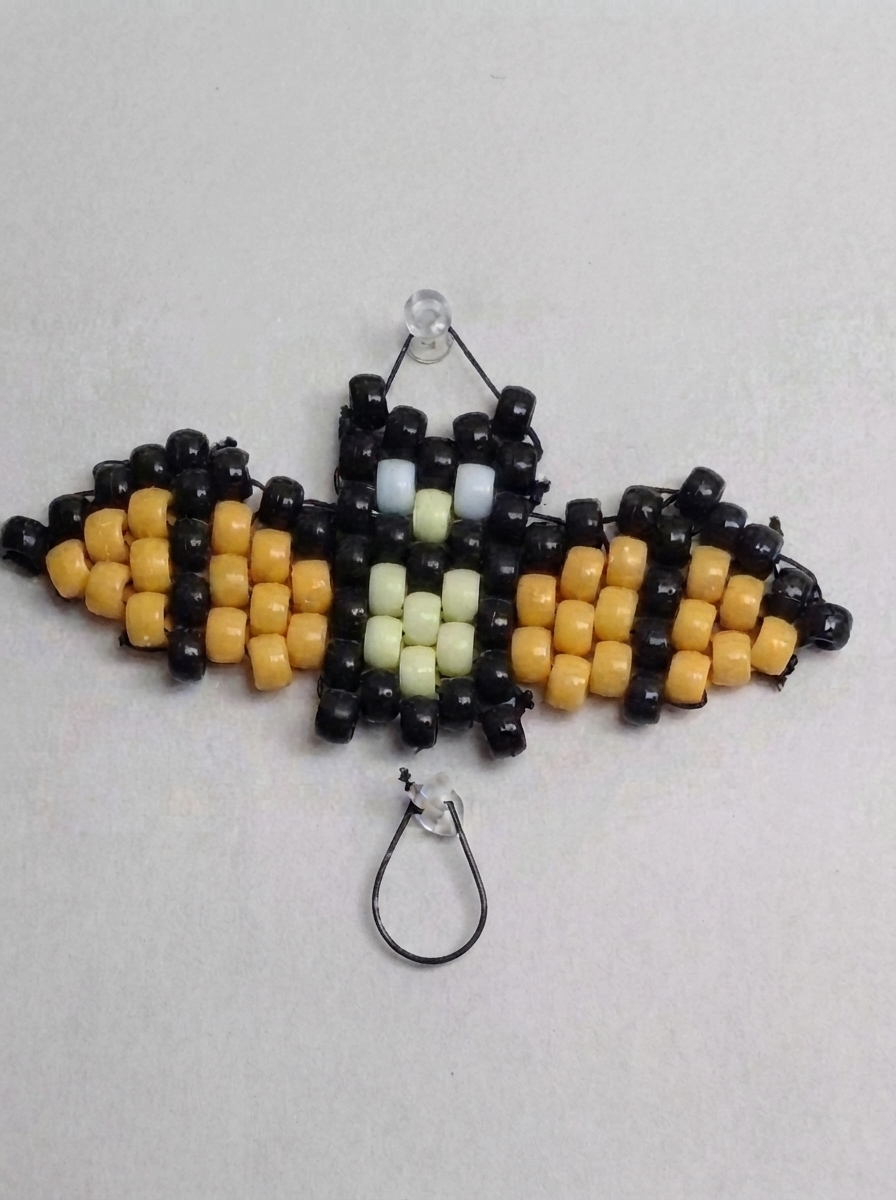
Looking for a fun animal craft with a little spooky charm? Making a bat with beads is an easy and creative project for children, beginners, or anyone who enjoys handmade decorations. With a few colorful beads, flexible cord or craft wire, and a simple pattern, you can create a cute bat for a keychain, backpack charm, classroom display, or Halloween decoration.
Materials You’ll Need
Gather everything before beginning so the project is easier to follow. A shallow tray is useful for keeping loose beads in one place.
| Material | Suggested Amount | Purpose |
|---|---|---|
| Black beads | 25–40 | Main body and wings |
| Gray or dark-purple beads | 6–12 | Details and contrast |
| White beads | 2 | Eyes |
| Pink beads | 1–2 | Nose or inner ears |
| Craft wire or elastic cord | 60–90 cm | Connecting beads |
| Scissors or wire cutters | 1 pair | Cutting material |
For young children, use larger beads and provide close adult supervision. Small beads can be a choking hazard.
Choose Your Bat Colors
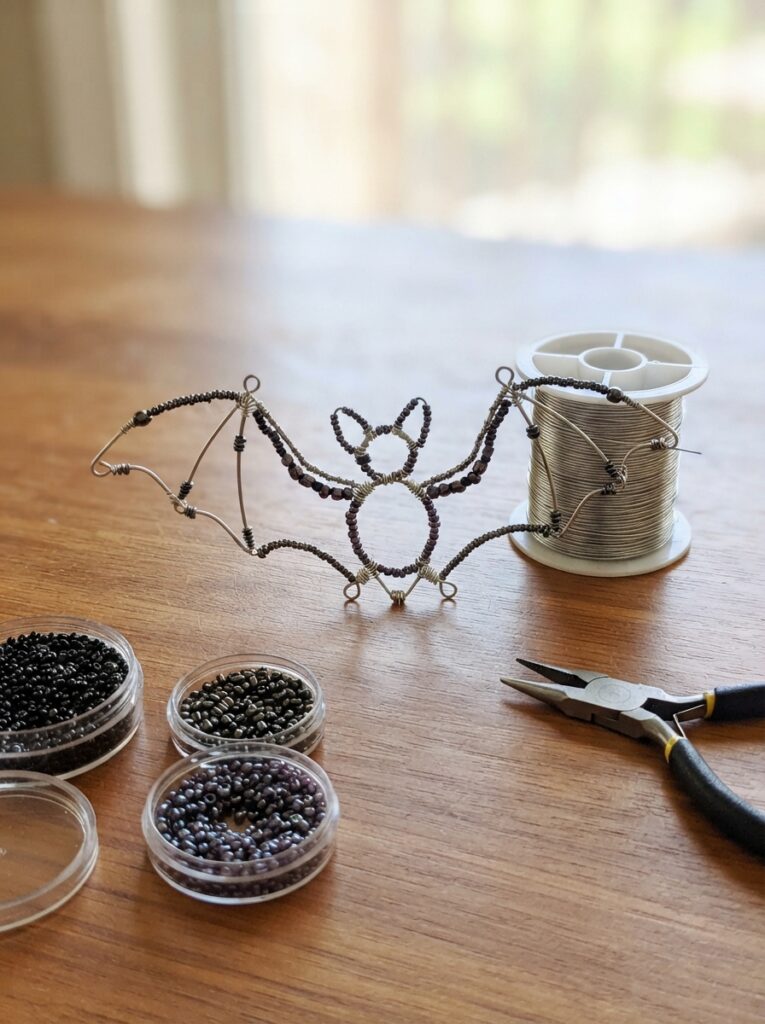
Black is the most recognizable color for a bat, but children can make their designs more imaginative.
| Bat Feature | Suggested Color | Alternative |
| Body | Black | Dark purple |
| Wings | Black | Gray |
| Eyes | White | Yellow |
| Nose | Pink | Black |
| Ears | Black | Dark gray |
Sorting the beads into separate groups before starting can make the activity much easier, especially for beginners.
Step-by-Step Instructions
1. Prepare the Cord or Wire
Cut approximately 60–90 cm of flexible craft wire or elastic cord. Leave some extra material at both ends so the finished bat can be secured.
Place the first beads near the center of the cord. Keeping both sides reasonably even will help you create a balanced figure.
2. Make the Bat’s Head
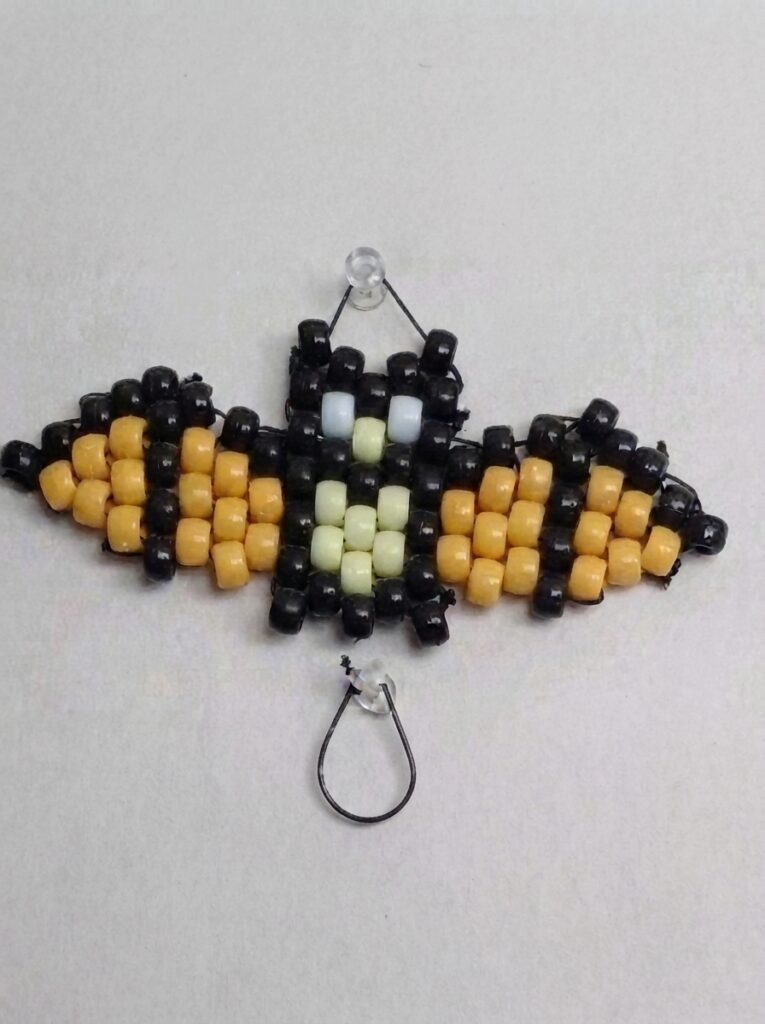
Start with black beads to create the head. Add two white beads for the eyes and a small pink or black bead for the nose.
Follow these simple steps:
- Thread the first row of black beads.
- Add beads for the sides of the head.
- Place two contrasting beads for the eyes.
- Add small sections for the pointed ears.
- Gently tighten the row.
- Check the shape before continuing.
Do not pull the cord excessively. The beads should stay together while still allowing you to adjust the design.
3. Build the Body and Wings
Continue adding black beads underneath the head to create the body. Keep the center section relatively compact.
The wings can be made with wider rows extending from both sides. Arrange the beads in a stepped or slightly pointed pattern to suggest the bat’s distinctive wing shape.
Add the Finishing Details
| Detail | Easy Technique | Purpose |
| Ears | Small pointed sections | Defines the head |
| Eyes | Two contrasting beads | Adds expression |
| Wings | Wider bead sections | Creates the bat silhouette |
| Body | Compact rows | Supports the figure |
| Tail | Small pointed section | Completes the shape |
When the bat is finished, secure the wire by twisting it carefully or tie the elastic cord with a firm knot. Trim excess material and check that no sharp wire ends remain.
Helpful Tips for Beginners

- Sort beads by color before starting.
- Work over a tray to prevent beads from rolling away.
- Follow a simple pattern for your first bat.
- Count the beads in each row.
- Keep the cord untangled while working.
- Take breaks if the project becomes frustrating.
For example, a child could make a small black bat with purple wings and yellow eyes, then attach a secure loop to use it as a backpack charm.
FAQ
What beads are best for making a bat?
Large pony beads are a practical choice for beginners because they are easy to hold and thread. They also come in many colors.
Can young children make this craft?
Older children can participate with supervision. Small beads should be kept away from toddlers and children who may put craft materials in their mouths.
Should I use wire or elastic cord?
Both can work. Wire provides more control when shaping the wings, while elastic cord is flexible and easy to thread.
Can I turn the bat into a keychain?
Yes. Add a secure loop or keychain ring after completing the design. Make sure the attachment is firmly connected before carrying it.
Does the bat need to be black?
No. Children can experiment with purple, gray, blue, orange, or even rainbow-colored beads to create a playful design.
Conclusion
Making a bat with beads is a simple craft that combines creativity, concentration, and fine-motor practice. By choosing easy-to-handle beads, following a basic pattern, and shaping the wings carefully, beginners can create a charming bat without complicated techniques. Whether used as a decoration, backpack charm, or seasonal project, this handmade bat is a fun way to let children’s creativity take flight.
Leave a Reply