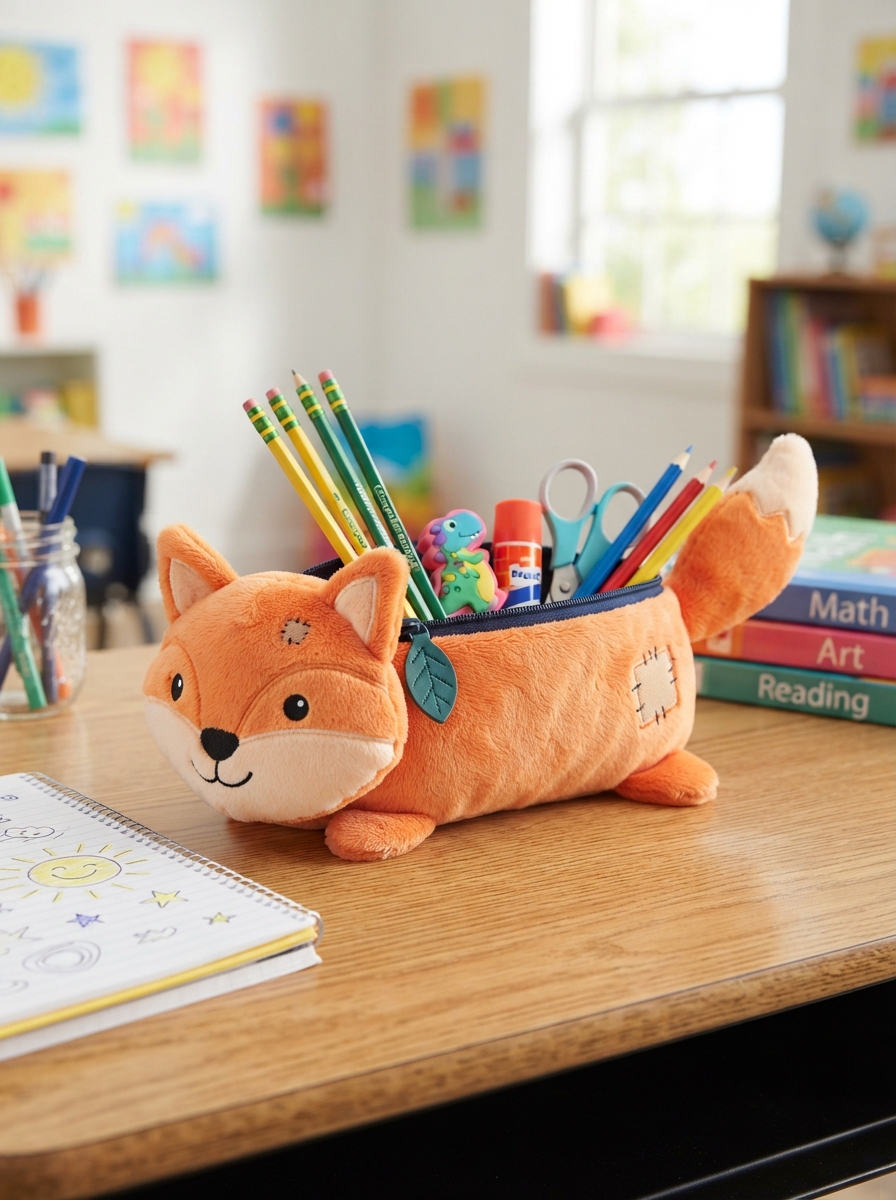
Turn an ordinary school supply into something fun and personal with a handmade animal-shaped pencil case! This simple craft is perfect for children who enjoy colorful projects and want a pencil case that reflects their favorite animals. With a few basic materials, you can create a cute cat, bunny, bear, fox, or other character while encouraging creativity and practical sewing skills.
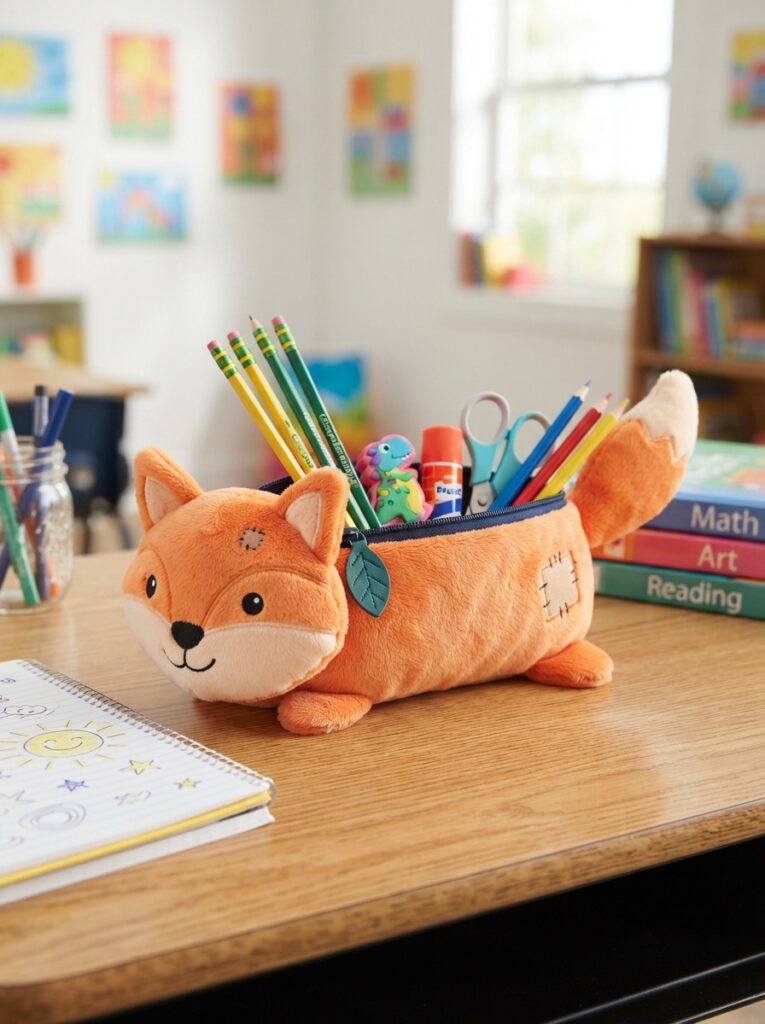
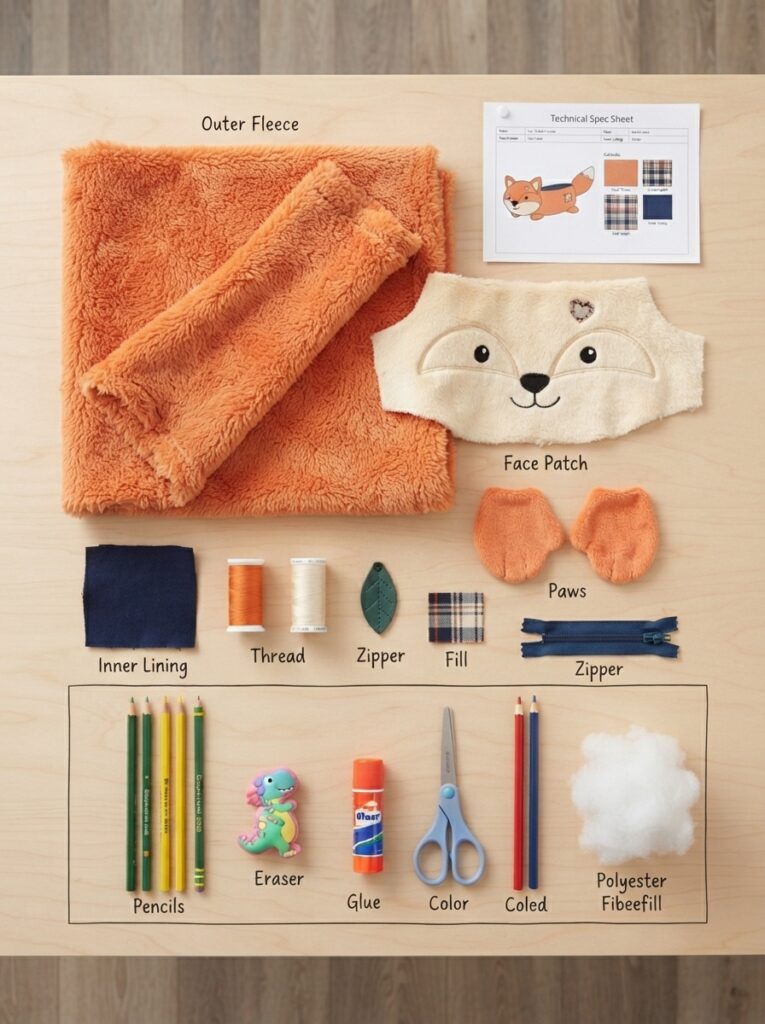
Materials You’ll Need
Choose soft, durable fabric and colors that match the animal you want to make.
| Material | Suggested Amount | Purpose |
|---|---|---|
| Cotton or felt fabric | 2 pieces | Main pencil case |
| Zipper | 15–20 cm | Opening and closure |
| Fabric scissors | 1 pair | Cutting fabric |
| Needle and thread | As needed | Sewing |
| Fabric glue | Small amount | Attaching decorations |
For children, adults should supervise the use of scissors, needles, and other sharp tools.
Choosing the Animal Design
Keep the first project simple. A basic shape with a few recognizable features is easier for beginners.
Popular ideas include:
- Cat: triangular ears and embroidered whiskers
- Bunny: long ears and a small pink nose
- Bear: round ears and simple eyes
- Fox: pointed ears and an orange-and-white color combination
- Panda: black ears and eye patches
| Animal | Main Colors | Easy Decorative Details |
| Cat | Gray, black, white | Whiskers, ears |
| Bunny | White, pink | Long ears, nose |
| Bear | Brown, beige | Round ears, muzzle |
| Panda | White, black | Eye patches, ears |
Step-by-Step Instructions
1. Prepare the Pattern
Draw a simple pencil-case shape on paper. Make it slightly larger than the pencils and pens you want to store. Add ears, fins, or other animal features to the outline if desired.
Cut out the paper pattern and place it over the fabric. Trace two identical pieces and cut them carefully.
2. Add the Animal Features
Before joining the main pieces, decorate the front panel.
You can add:
- Felt eyes
- A small fabric nose
- Embroidered whiskers
- Felt ears
- A simple mouth
For younger children, fabric glue can be easier than stitching small decorations, although an adult should check that everything is securely attached.
3. Attach the Zipper
Place the zipper along the top edge of the fabric pieces, with the zipper facing inward. Sew carefully along both sides.
If you are new to sewing, pin the zipper first and sew slowly. Keeping the fabric flat will help prevent uneven stitching.
4. Sew the Pencil Case Together
- Open the zipper slightly.
- Place the two fabric pieces together with their decorated sides facing inward.
- Sew around the remaining edges.
- Leave the zipper area properly secured.
- Trim excess fabric from the corners.
- Turn the pencil case right side out.
Practical Tips for Better Results
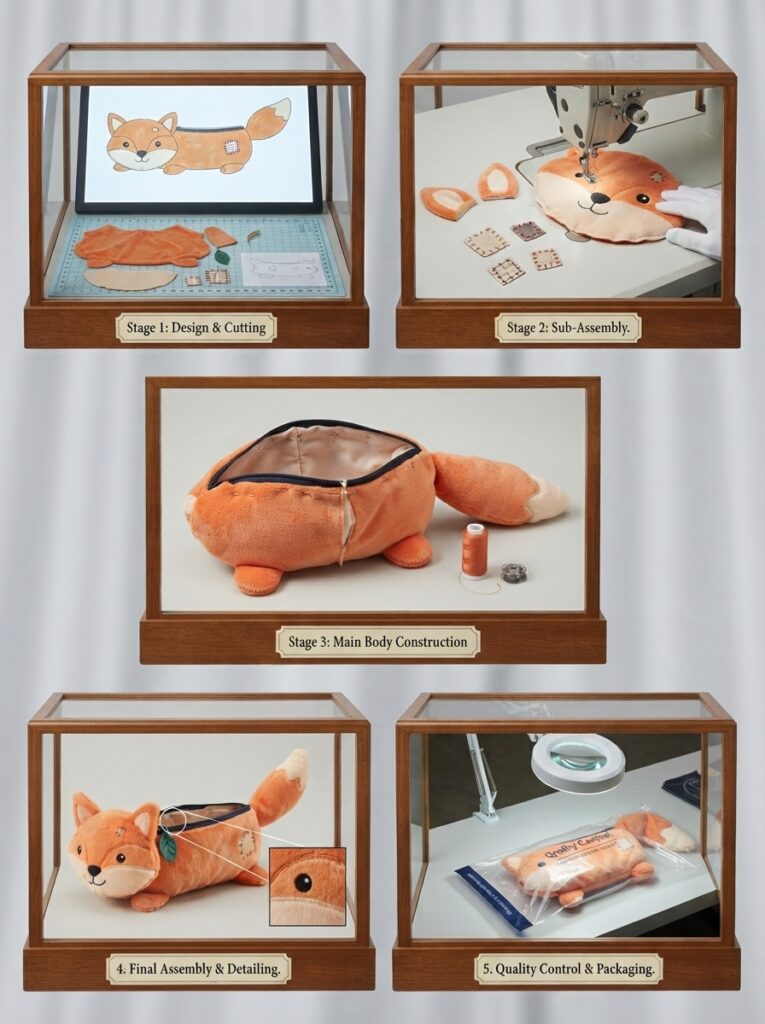
A few small details can make the finished project much stronger and more attractive.
| Tip | Why It Helps |
| Use sturdy fabric | Makes the case last longer |
| Reinforce zipper ends | Prevents loose stitching |
| Keep decorations small | Leaves more usable storage space |
| Choose washable fabric | Makes cleaning easier |
| Test the zipper first | Helps avoid problems after sewing |
For example, if a child loves cats, use gray fabric, pink felt for the ears, and black embroidery thread for whiskers. The result can be both practical and uniquely personal.
FAQ
Can beginners make this pencil case?
Yes. A simple animal design with straight seams is suitable for beginners. Start with felt or cotton and avoid complicated shapes.
What fabric is best?
Cotton, felt, or lightweight canvas are good choices because they are relatively easy to cut and sew.
Can children make it themselves?
Older children can complete many steps with supervision. Younger children should have adult help with cutting, sewing, and attaching the zipper.
How can I make the pencil case washable?
Use washable fabric and securely stitch or attach the decorations. Avoid materials that can easily dissolve or bleed when washed.
Can I make different sizes?
Absolutely. Simply enlarge or reduce the paper pattern while keeping the zipper size in mind.
Conclusion
Making an animal-shaped pencil case is a creative way to combine crafting and everyday usefulness. By choosing a simple animal, preparing the materials carefully, and following each step patiently, beginners can create a charming school accessory. Let children choose the animal and colors themselves—the personal touches are what make this project especially fun!





Leave a Reply