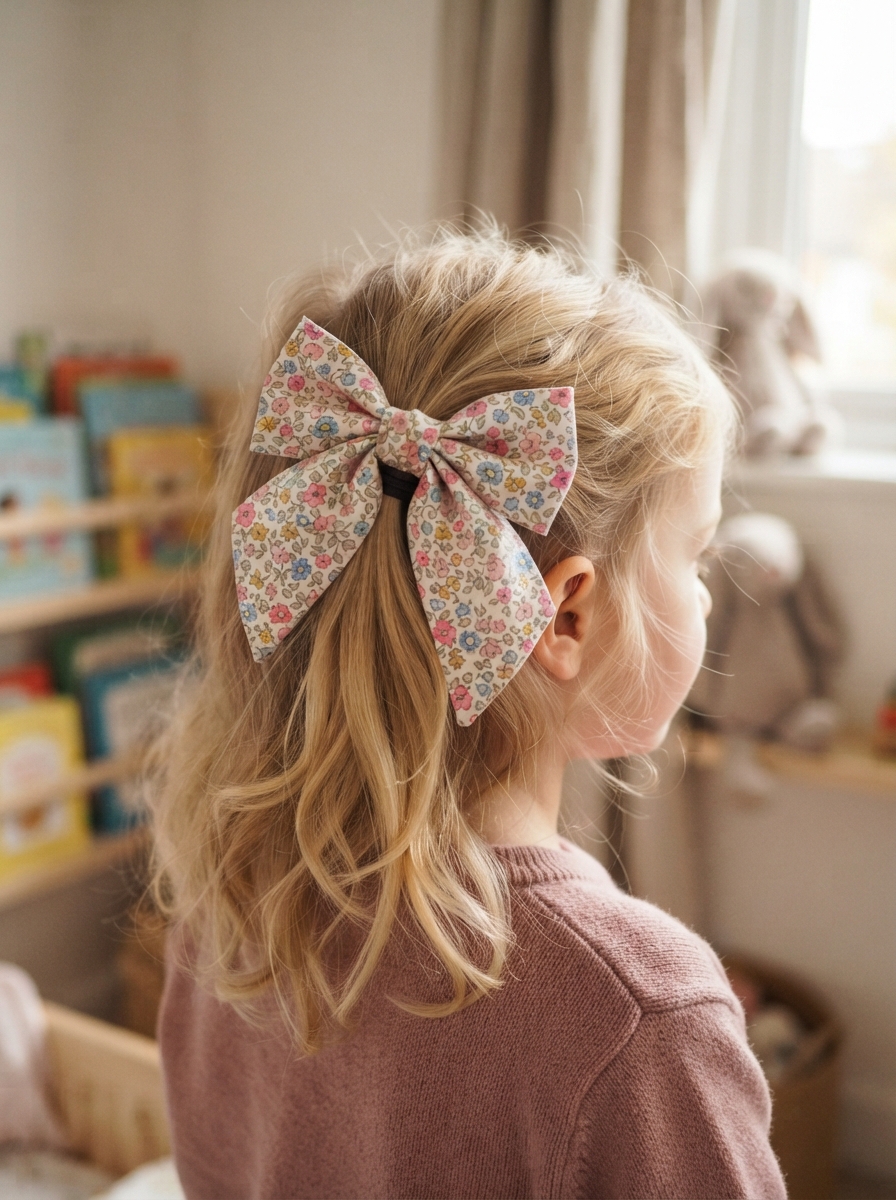
A handmade fabric bow is a simple way to create a cute hair accessory without spending much money. With a small piece of colorful fabric, basic sewing supplies, and a little patience, you can make beautiful bows for ponytails, headbands, or hair clips. This beginner-friendly project is also a lovely activity to enjoy with children, especially when choosing fabrics and colors together.
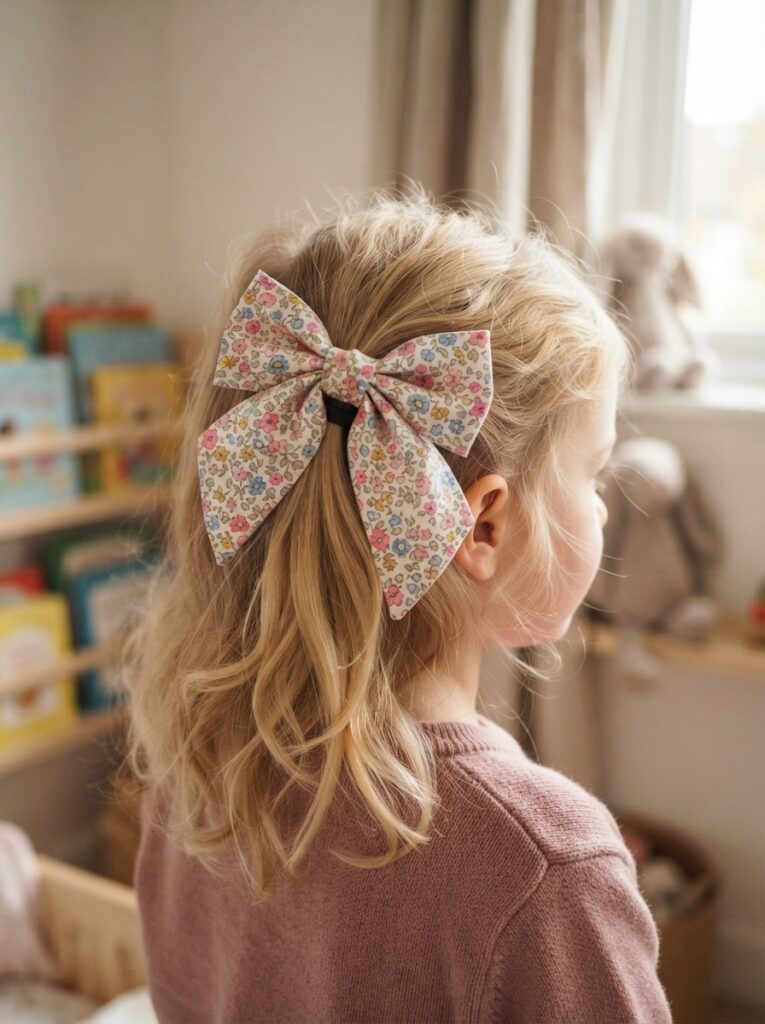
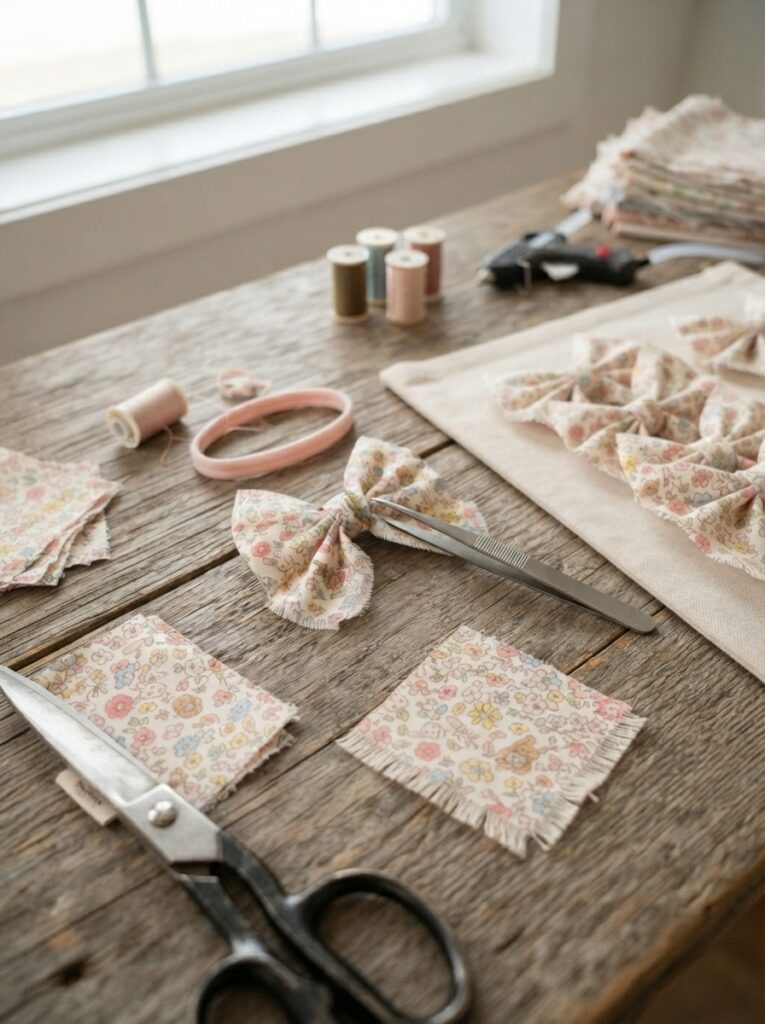
Materials You Will Need
You only need a few supplies to get started. Cotton, cotton blends, and lightweight woven fabrics are particularly easy to work with.
| Material | Suggested Amount | Purpose |
|---|---|---|
| Fabric | 20 × 12 cm | Main bow |
| Small fabric strip | 6 × 3 cm | Center wrap |
| Thread | Matching or contrasting | Sewing |
| Needle or sewing machine | 1 | Joining fabric |
| Scissors | 1 pair | Cutting |
| Hair clip or elastic | 1 | Attaching the bow |
Choosing the Right Fabric
The fabric you choose can completely change the appearance of the finished bow. Floral prints create a delicate look, while polka dots or bright colors are playful and fun.
For a child’s accessory, choose fabric that is:
- Lightweight but not extremely thin
- Comfortable and soft
- Easy to wash
- Free from loose decorations
- Strong enough to hold its shape
| Fabric Type | Appearance | Beginner Friendly |
| Cotton | Crisp and colorful | Excellent |
| Cotton blend | Soft and flexible | Excellent |
| Lightweight denim | Structured | Good |
| Satin | Smooth and shiny | Moderate |
| Felt | Firm and simple | Excellent |
Preparing the Bow Pieces
Measure and Cut
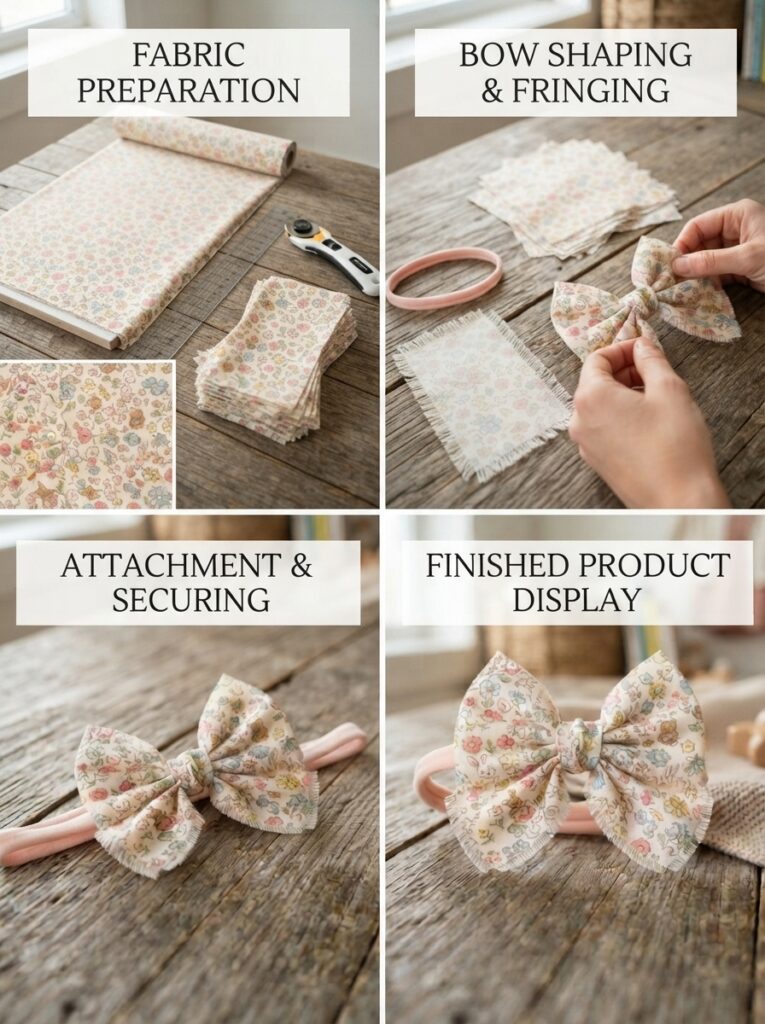
Start by pressing your fabric so there are no wrinkles. Cut one rectangle approximately 20 × 12 cm for the main bow and another small rectangle, around 6 × 3 cm, for the center band.
You can adjust these measurements to create smaller bows for toddlers or larger statement bows for older girls.
Sewing the Fabric Bow
Once your pieces are ready, follow these simple steps:
- Fold the main rectangle. Place the fabric with the right sides facing each other and fold it lengthwise.
- Sew the long edge. Stitch along the long open edge, leaving the short ends open.
- Turn the fabric. Carefully turn the tube right side out and press it flat.
- Form the bow. Bring the short ends together and stitch them securely to create a loop.
- Create the center. Pinch the middle of the loop to form two symmetrical bow sections.
- Prepare the center strip. Fold the small strip lengthwise, sew it, and turn it right side out.
- Wrap the center. Place the strip around the middle of the bow and stitch or secure it at the back.
- Attach the accessory. Sew the finished bow securely to a hair clip or elastic.
| Stage | What to Check | Useful Tip |
| Cutting | Pieces are even | Measure before cutting |
| Sewing | Seams are secure | Use small, consistent stitches |
| Folding | Bow sides match | Adjust before securing |
| Center wrap | Middle is snug | Avoid pulling too tightly |
| Attachment | Bow is firmly fixed | Reinforce the stitches |
Practical Tips for Better Results
A few finishing touches can make a handmade bow look polished:
- Press the fabric before and after sewing.
- Trim loose threads carefully.
- Make both bow loops approximately the same size.
- Use fabric scraps to create matching sets.
- For washable accessories, choose durable thread and secure every attachment point.
For example, you could make three bows from the same fabric collection: a small bow for school, a medium bow for everyday outfits, and a larger one for birthdays or celebrations.
FAQ
1. Can I make this bow without a sewing machine?
Yes. The bow is small enough to sew completely by hand. Use neat, tight stitches and reinforce areas that receive tension.
2. What is the easiest fabric for beginners?
Cotton is one of the easiest choices because it is stable, easy to cut, and simple to sew.
3. How can I make a smaller bow?
Reduce the length and width of the main rectangle while keeping the center strip proportional. Make a small test bow first if you are unsure about the size.
4. Can I attach the bow to a headband?
Yes. Sew the finished bow securely around or onto a fabric-covered headband. Check that no sharp edges or loose parts are exposed.
5. How can I personalize the bow?
Try different prints, contrasting center bands, embroidered initials, or matching fabric combinations. Keep small decorative pieces firmly attached when the accessory is intended for young children.
Conclusion
Making a fabric bow for girls is an enjoyable beginner sewing project that turns simple fabric into a charming handmade accessory. With careful measuring, secure stitching, and a little creativity, you can create bows in many colors and sizes. Whether you are making one for everyday wear or a special occasion, this project is an easy way to add a personal handmade touch to a child’s wardrobe.





Leave a Reply