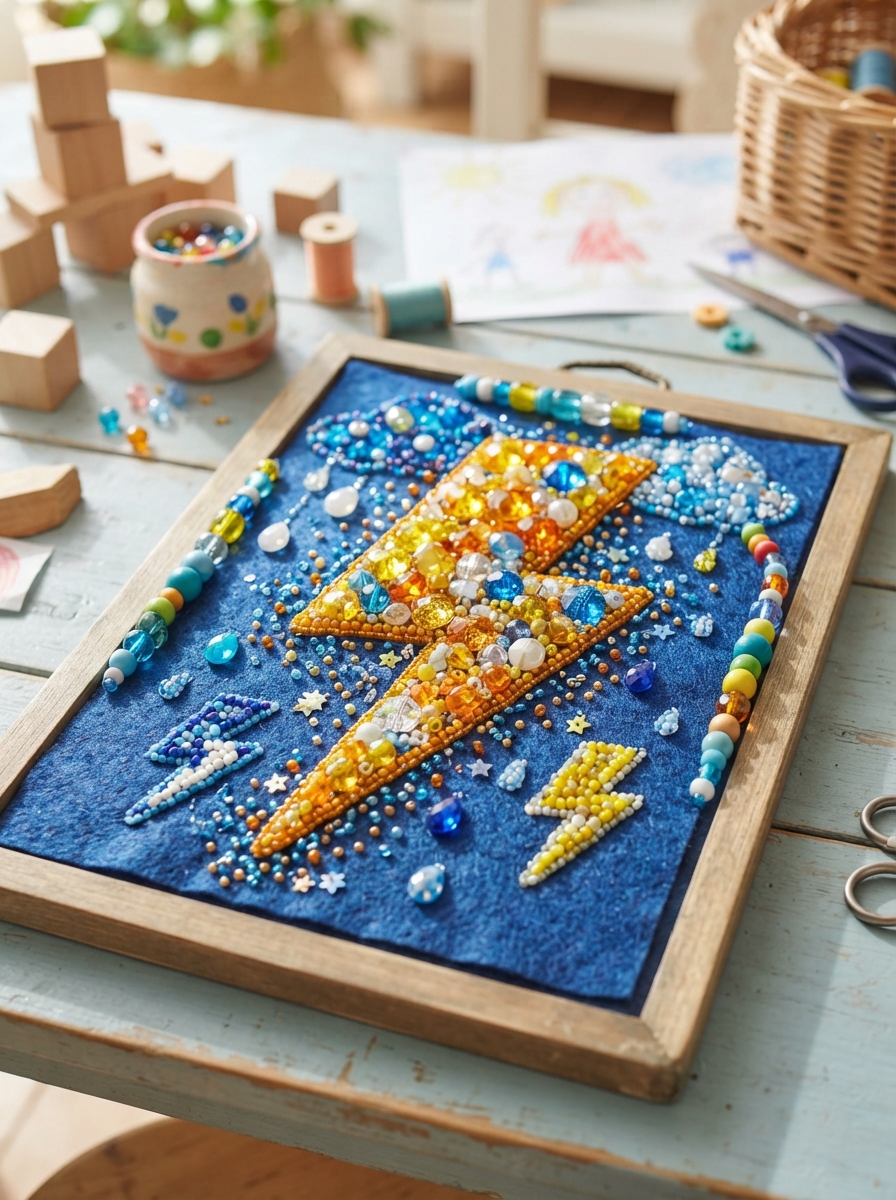
Bring the excitement of a summer storm to the craft table with a sparkling beaded lightning bolt! This colorful project is easy enough for beginners and gives children plenty of room to experiment with shapes, colors, and patterns. A lightning bolt can become a fun decoration, backpack charm, keychain, or part of a larger weather-themed craft collection.
Besides being enjoyable, bead crafts can help children develop concentration, hand-eye coordination, and patience. Since small beads can be a choking hazard, younger children should always complete this activity with close adult supervision.
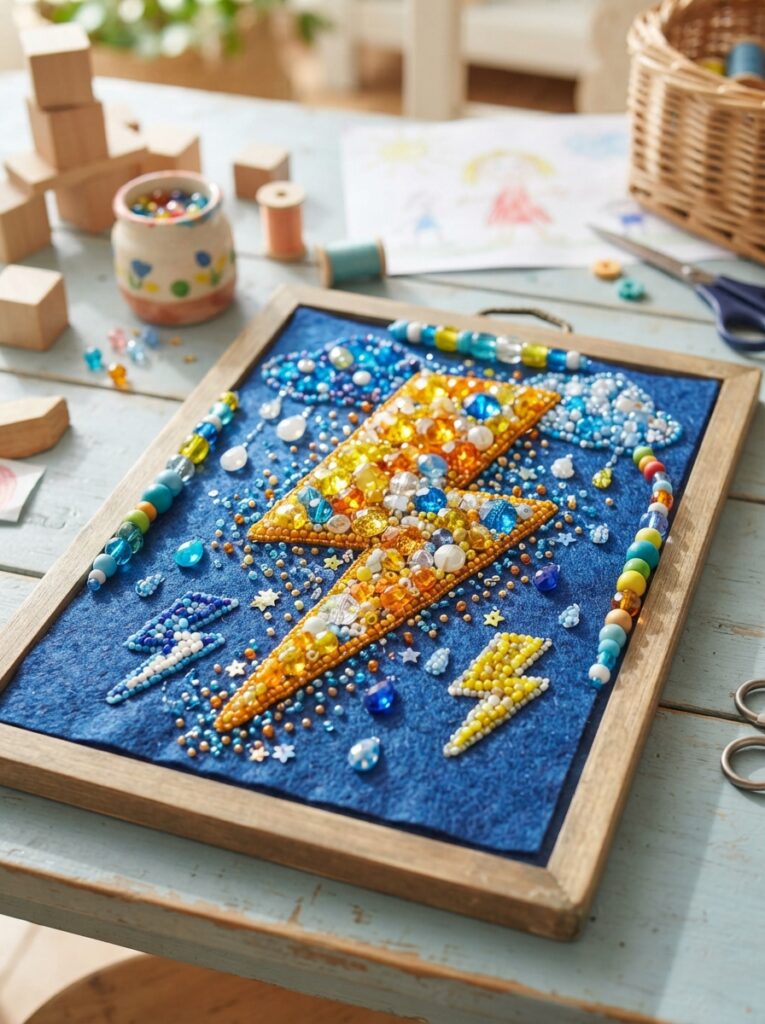
Materials You’ll Need
Gather the supplies before beginning. Keeping everything organized makes threading easier and reduces the chance of beads rolling away.
| Material | Recommended Choice | Purpose |
|---|---|---|
| Yellow beads | Bright yellow or gold | Main lightning bolt |
| White beads | White or clear | Sparkling highlights |
| Black beads | Small black beads | Optional outline |
| Beading cord | Strong, flexible cord | Holds the design together |
| Craft wire | Flexible beading wire | Optional for structured shapes |
| Scissors | Child-safe scissors | Cutting cord |
| Keychain ring | Optional | Turning the bolt into a charm |
Choosing Colors and Beads

Yellow is the most recognizable color for lightning, but children can create imaginative designs too. Gold beads can make the bolt look bright and shiny, while white beads can add a glowing effect.
For beginners, larger pony beads are usually easier to hold and thread. Children who already have experience with bead crafts can try smaller beads for finer details.
How to Make the Beaded Lightning Bolt
1. Prepare the Workspace
Choose a clean, flat table and place the beads in small bowls or sections of a bead tray. Separate them by color so children can easily find what they need.
Cut a manageable length of beading cord or flexible wire. Leave extra material at both ends so the finished design can be secured properly.
2. Create the Lightning Shape
A lightning bolt is basically a zigzag shape with several angled sections. Begin with a simple pattern rather than trying to make a complicated three-dimensional design.
Follow these steps:
- Thread several yellow beads to create the top section.
- Change direction slightly to form the first diagonal.
- Continue adding beads along the zigzag shape.
- Create a sharp point toward the lower section.
- Finish with another diagonal row.
- Secure the ends carefully when the shape is complete.
The number of beads will depend on their size and how large you want the lightning bolt to be.
3. Add Sparkling Details
Once the main shape is finished, add a few white or clear beads. These can represent flashes of light and make the design stand out.
| Lightning Feature | Suggested Beads | Design Idea |
| Main bolt | Yellow | Keep the central shape consistent |
| Highlights | White or clear | Add small accents |
| Outline | Black | Use sparingly for contrast |
| Sparkles | Clear or gold | Add around the bolt |
Practical Tips for Kids
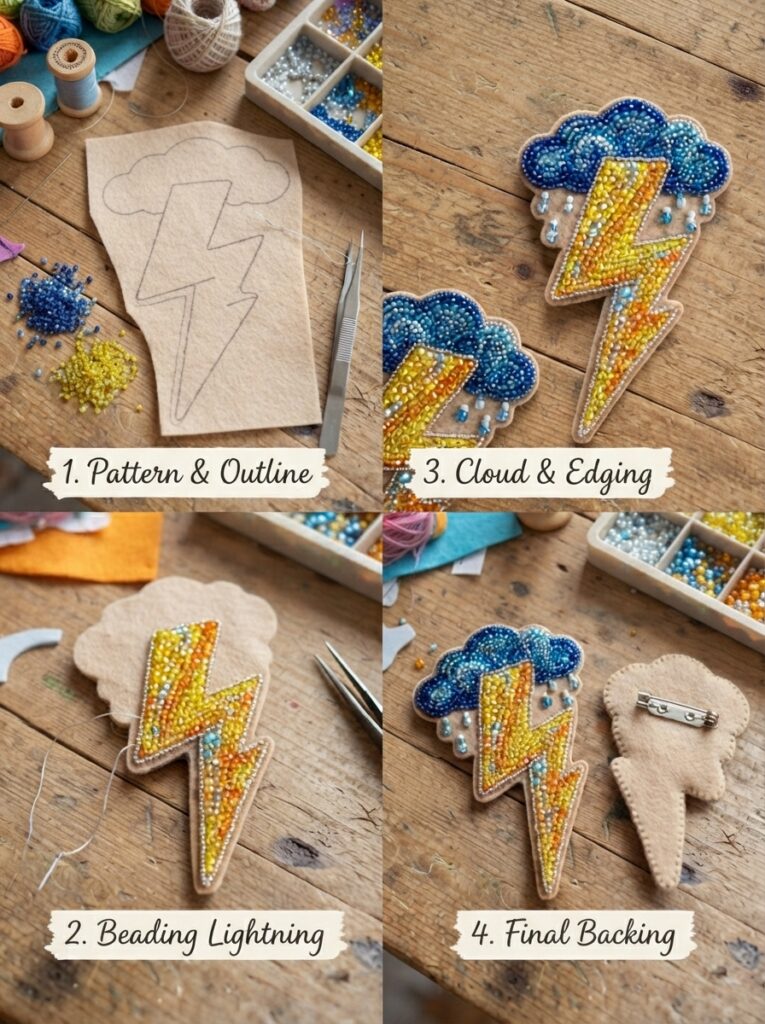
Keep the activity simple and enjoyable. These tips can make the project easier:
- Sort beads before starting.
- Use larger beads for beginners.
- Count beads together as children work.
- Avoid pulling the cord too tightly.
- Check the finished piece for loose beads.
- Have an adult secure or trim wire ends.
- Encourage children to create their own color combinations.
Fun Ways to Use Your Lightning Bolt
| Project | How to Use It |
| Backpack charm | Attach a small craft clip |
| Keychain | Add a secure keyring |
| Wall decoration | Hang several bolts together |
| Weather project | Combine with clouds and raindrops |
| Handmade gift | Give it to a friend |
FAQ
1. What beads are easiest for beginners?
Large pony beads are a great starting point because they are easy to hold and have relatively large holes. They also make the lightning bolt easier to see.
2. Can I make lightning in colors other than yellow?
Absolutely. Try blue, purple, orange, silver, or rainbow colors. A child might even create a fantasy lightning bolt using several colors.
3. Can I make the lightning bolt without wire?
Yes. Strong beading cord can work well for a simple flat design. Flexible wire is useful when you want the bolt to hold a more defined shape.
4. How can children make the bolt look more realistic?
Use bright yellow or gold beads for the main shape and add a few white or clear beads as highlights. Keeping the zigzag angles sharp also helps make the design recognizable.
5. What can children make after finishing the lightning bolt?
Try creating a complete weather collection with clouds, raindrops, suns, rainbows, and snowflakes. These pieces can be combined into a colorful classroom or bedroom display.
Conclusion
Making lightning with beads is a creative and beginner-friendly project that turns simple materials into a striking weather-inspired decoration. Children can practice threading, counting, planning, and color matching while designing their own unique lightning bolt. Start with a simple yellow zigzag, then experiment with highlights, different bead sizes, and imaginative colors. With a little creativity, every child can create a bright little flash of handmade fun!





Leave a Reply